18 Simple Makeup Looks for Beginners Worth Trying
You don’t need a makeup artist or a full vanity to look good. These 18 simple makeup looks cover everything from your morning routine to your wedding day, with products most beginners already own or can grab for under $50. Each look is designed around one idea: do less, look better. Whether you are heading to the office, prom, or just want your skin to look alive on a Tuesday, there is something here that works for your face, your budget, and your skill level right now.
1. Start With Skin Prep, Not Foundation
Skin prep is the step most beginners skip, and it shows. If your skin is dry or uneven before you apply anything, even the best products will look patchy. Start with a hydrating moisturizer and let it absorb for two minutes before touching any makeup.
A primer is optional, but if your skin gets oily by noon, a pore-minimizing primer on your T-zone will make a real difference. This step takes under five minutes and sets up everything else to sit better and last longer.
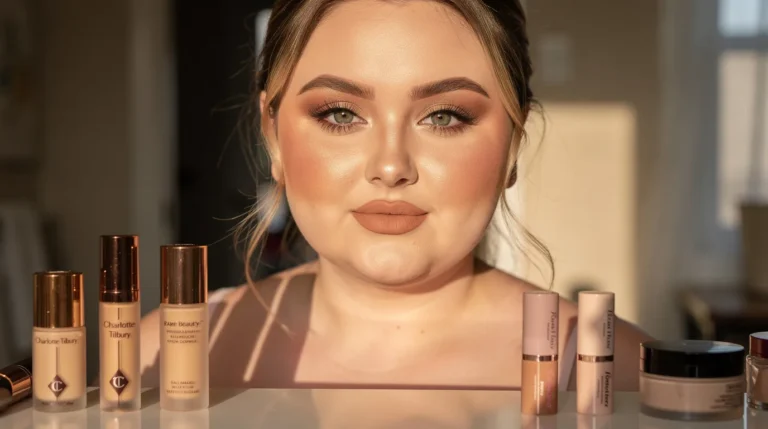
2. The One-Product Base That Works for Every Skin Tone
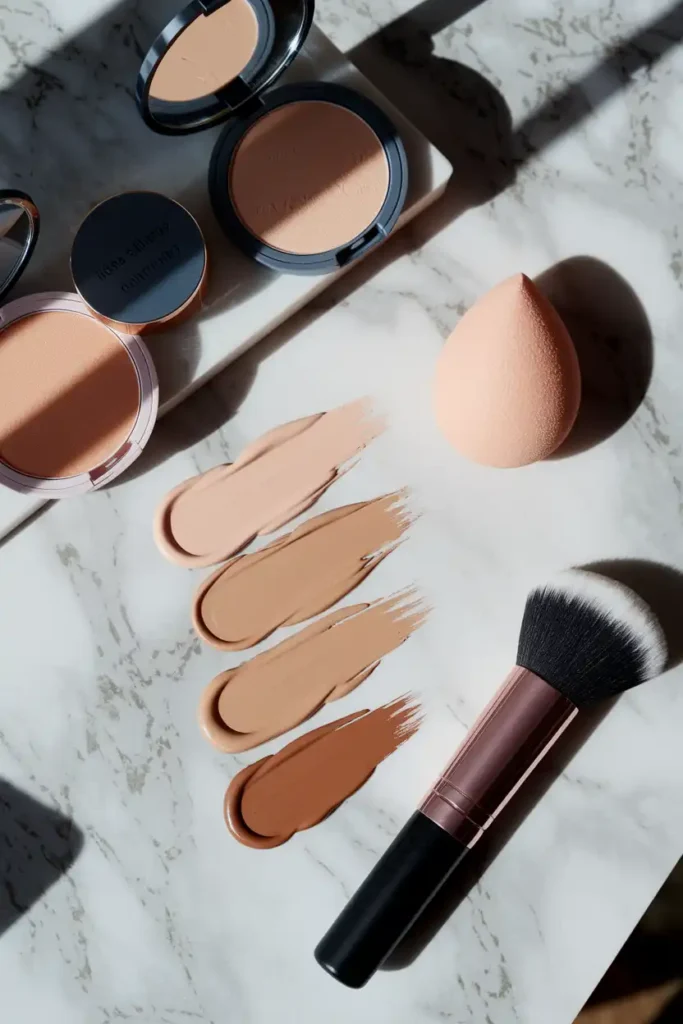
Tinted moisturizer is the best starting point if you want coverage without feeling like you are wearing a mask. It evens out your skin tone, adds a subtle glow, and takes less than a minute to blend in. Choose a shade that matches your jawline, not your hand.
For beginners, a BB cream with SPF kills two steps at once. Brands like Maybelline Fit Me or Laura Mercier Tinted Moisturizer work across a wide shade range. Blend it outward from the center of your face using a damp beauty blender for the most natural finish.
3. How to Cover Dark Circles Without Looking Cakey
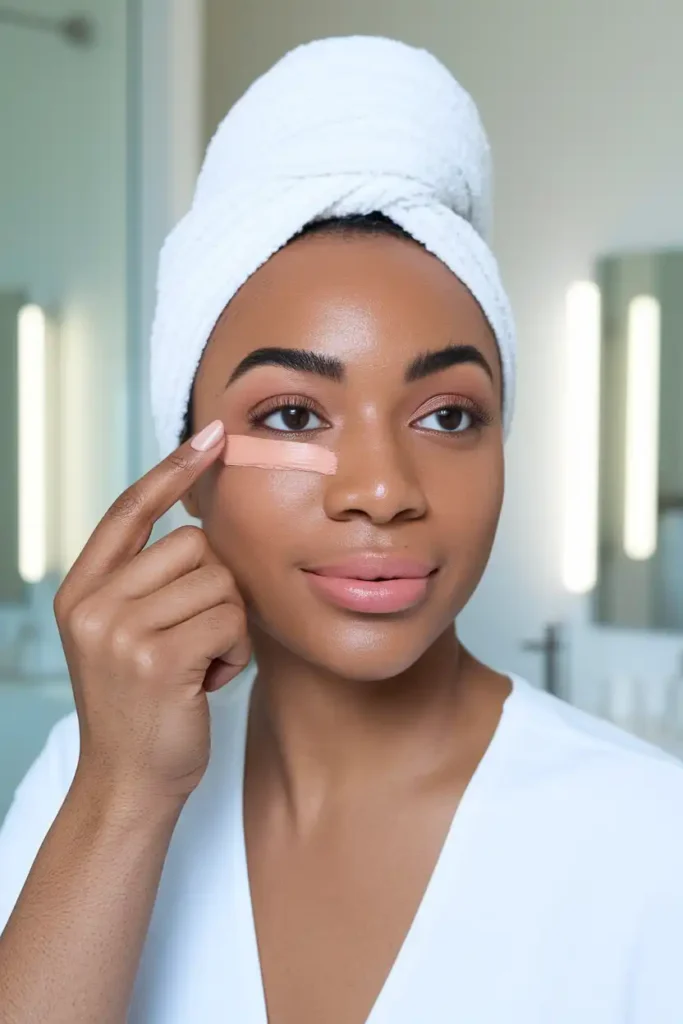
Dark circles are one of the top concerns for beginners, and the mistake most people make is using too much product. One thin layer of concealer applied with your ring finger, then tapped lightly, gives more coverage than swiping on three coats.
Pick a concealer that is one shade lighter than your skin tone, with a peach or orange undertone if your circles run purple or blue. Set it with a tiny amount of loose powder using a small fluffy brush. This prevents creasing without flattening the natural look you are going for.
4. A Simple Brow Routine That Takes 90 Seconds
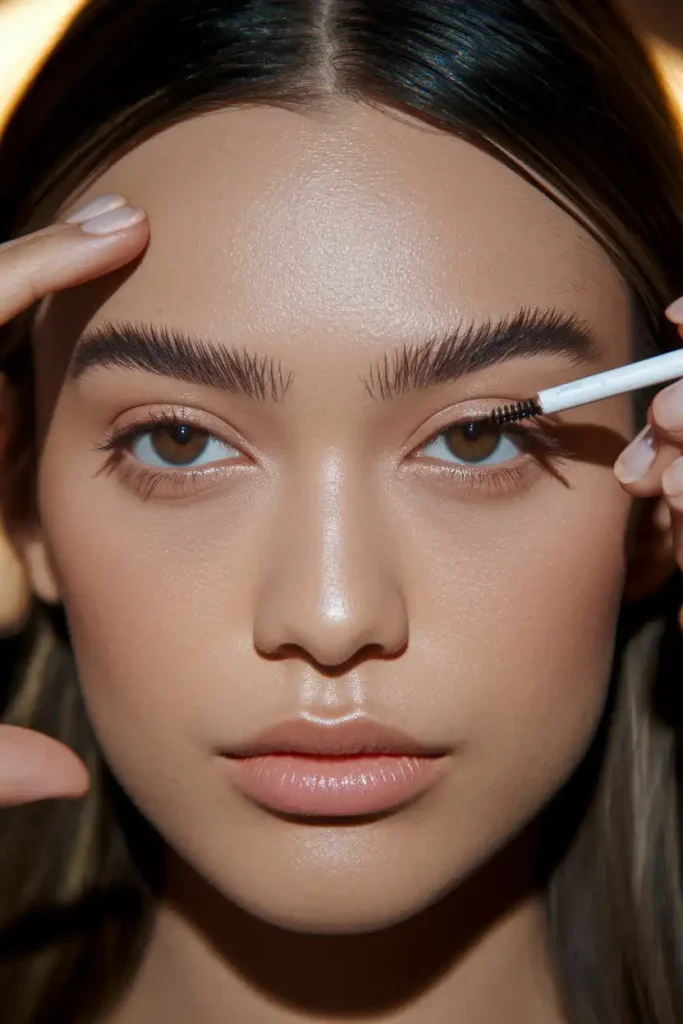
Your brows frame your face more than any other feature. You do not need to be precise or artistic. You just need to follow the shape you already have and fill in any gaps.
Use a brow pencil that matches your natural hair color and use short, light strokes. Avoid drawing a solid line. A clear brow gel brushed through at the end keeps everything in place. This step alone makes a no-makeup makeup look feel polished and intentional.
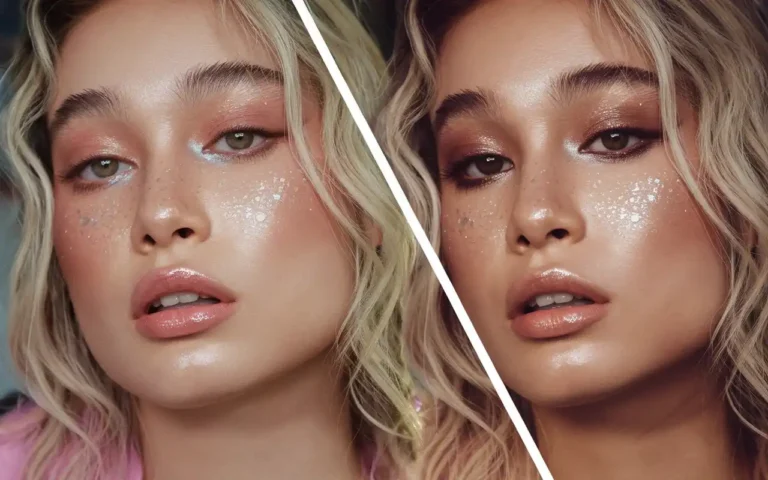
5. The Easiest Eye Look for Absolute Beginners
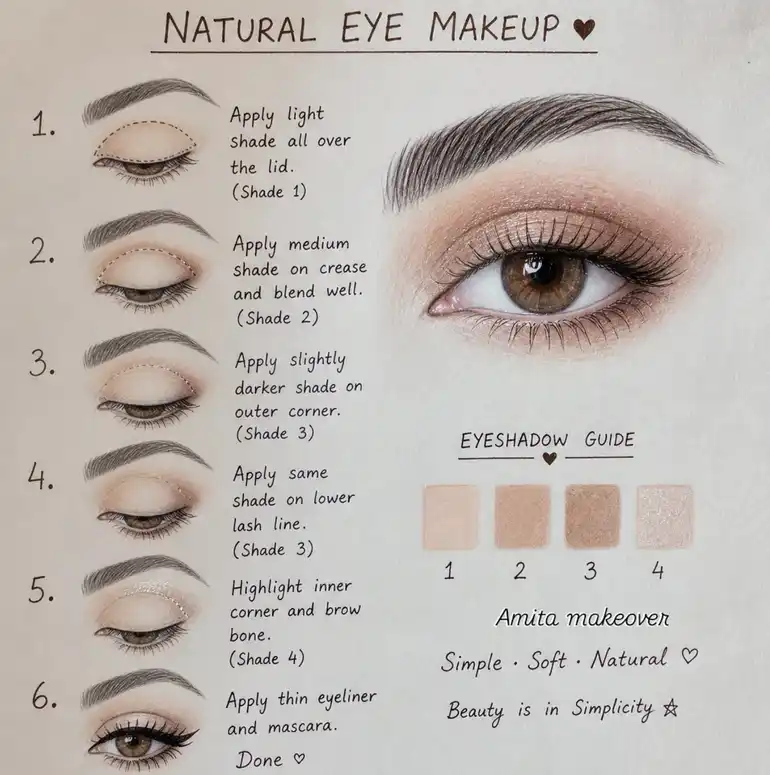
Credit: amita_makeover_
One eyeshadow shade applied with your finger is genuinely enough. A matte warm brown or taupe swept across the lid and blended slightly into the crease adds depth without requiring any skill or tools.
Skip eyeliner if you are just starting out. It has a learning curve, and smudged liner makes a fresh look feel messy fast. Mascara on your upper lashes does more work than liner anyway. Start simple, get comfortable, then build from there.
6. Mascara Application Tips That Open Up Your Eyes
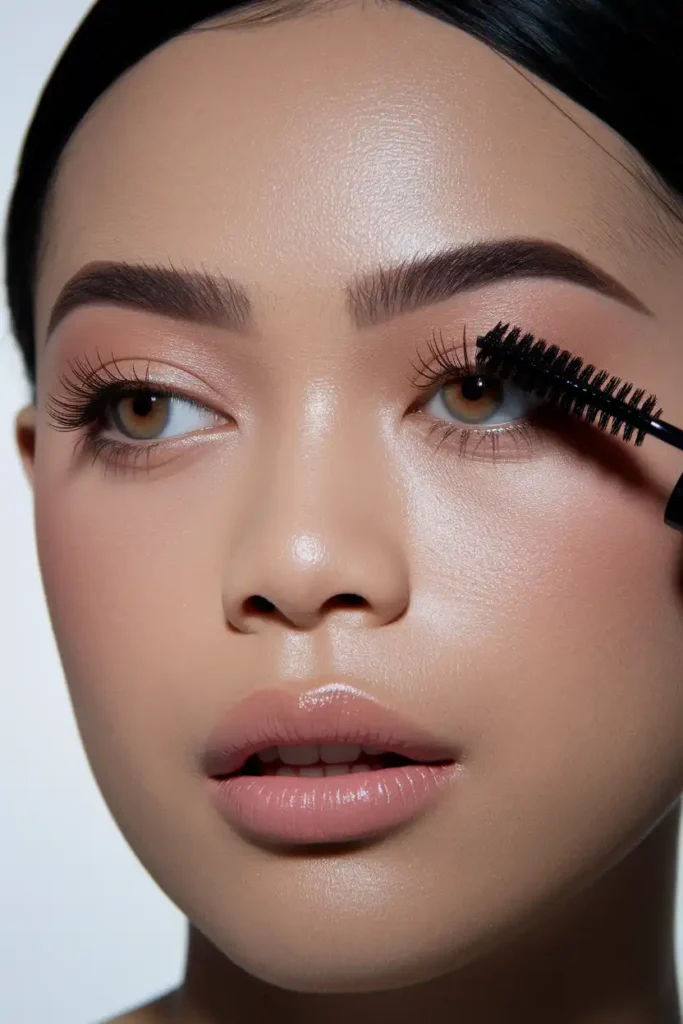
Curl your lashes before you apply mascara. It takes five seconds and makes a bigger difference than switching to a lengthening formula. Hold the curler at the base of your lashes, squeeze gently, and hold for ten seconds.
Apply mascara in a zigzag motion from root to tip on your upper lashes. One coat is enough for a natural look. Two coats works for a more polished result. Let the first coat dry before adding a second or you will get clumping. Avoid applying mascara to lower lashes for a clean, fresh finish.
7. Blush Placement That Suits Your Face Shape
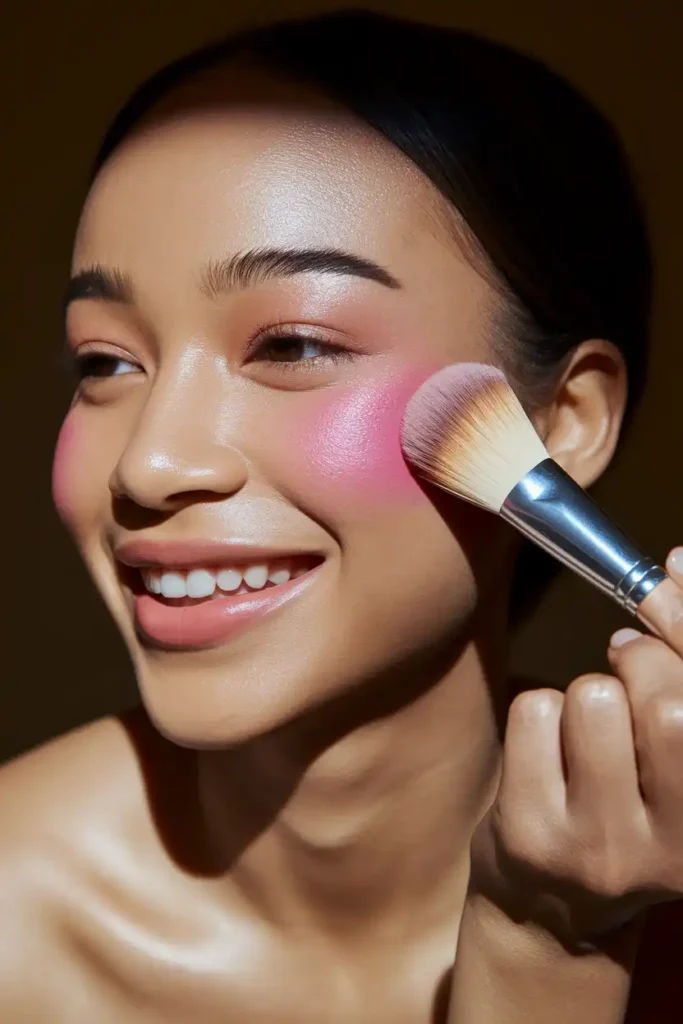
Blush placement is where most beginners go wrong. Applying it too low or too close to your nose makes the look drag. Smile lightly, and apply blush to the roundest part of your cheek, then blend upward toward your temple.
For a corporate or everyday look, a soft rose or nude pink works on most skin tones. For warmer skin, a terracotta or peach adds life without looking overdone. Cream blush applied with your fingers gives the most natural finish on bare or minimal base makeup.
8. A Natural Glowy Look for Your Wedding Day
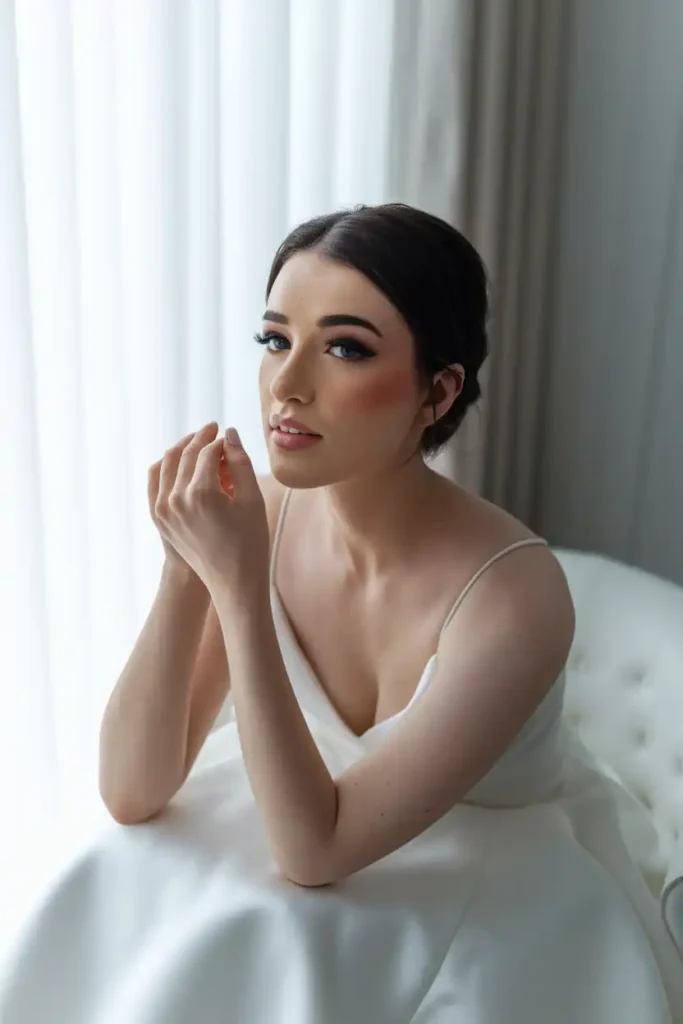
Wedding makeup does not have to be heavy to last or photograph well. A hydrating primer, light coverage foundation, and a liquid highlighter on your cheekbones and cupid’s bow create a natural glow that reads beautifully in photos.
Key things to keep in mind for a wedding day look:
- Set your base with a light dusting of setting powder only on the T-zone
- Use waterproof mascara and a long-wear tinted lip balm
- Bring blotting papers instead of powder for touch-ups
- Skip heavy contouring since it can look flat in natural light photos
A dewy finish lasts longer than matte when kept light.
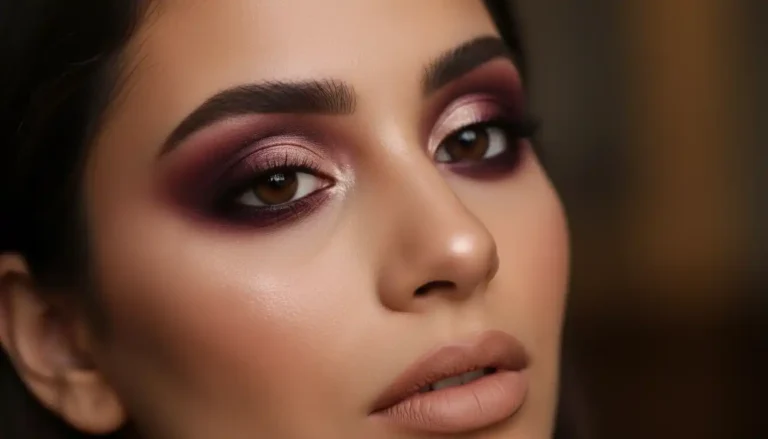
9. Simple Makeup That Holds Up at Prom

Prom lasts hours, involves dancing, and usually happens under harsh lighting. Your makeup needs to last. Start with a silicone-based primer, use a medium-coverage foundation, and set everything with a setting spray at the end.
For the eyes, a warm bronze or copper shadow looks stunning on every skin tone and photographs well under venue lighting. Add individual lash clusters at the outer corners instead of a full strip lash. They look more natural and are much easier to apply on your own.
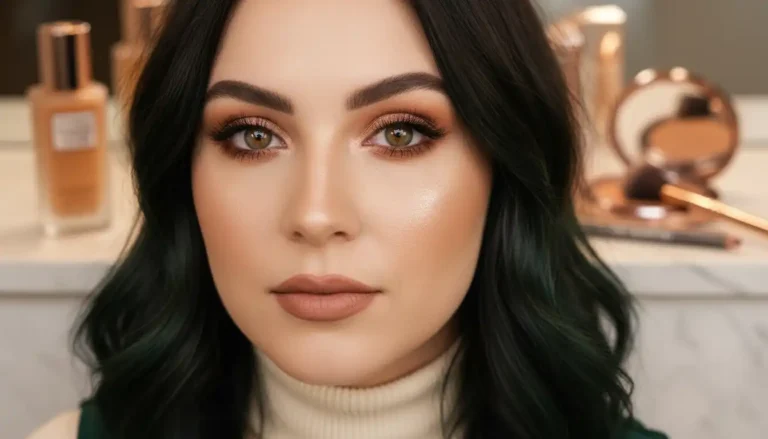
10. A Polished Look for Corporate and Office Settings

For a corporate setting, the goal is to look awake and put-together without it being the first thing anyone notices. A light coverage base, groomed brows, one coat of mascara, and a neutral lip covers everything you need.
Avoid shimmer eyeshadow or bold liner in professional environments unless it fits your industry. A matte or satin finish foundation reads more polished under office lighting than a full glow. Keep a neutral lipstick or tinted lip balm in your bag for after lunch touch-ups.
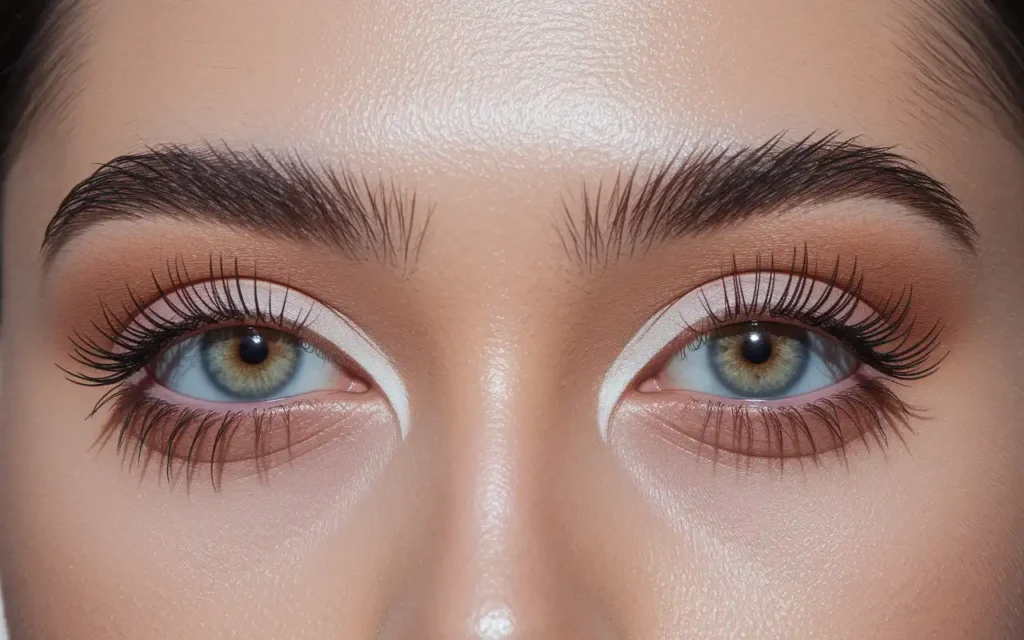
11. How to Make Your Eyes Look Bigger Without Liner
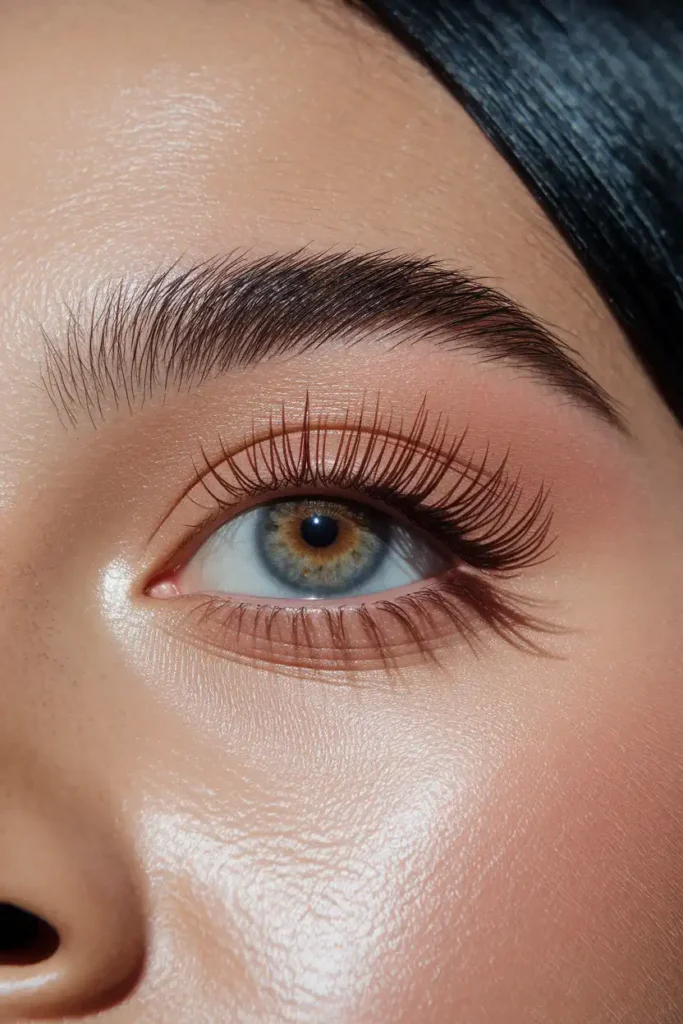
You do not need liner to make your eyes look bigger. A nude or white eyeliner pencil on your waterline opens up your eyes immediately. Pair that with curled lashes and mascara and the effect is noticeable without any precision required.
A small dot of shimmery highlight or a light eyeshadow pressed into the inner corner of each eye adds to this effect. This works especially well for hooded or monolid eye shapes. It is one of those small details that makes a big visible difference in photos and in person.
12. The Right Way to Apply Highlighter as a Beginner
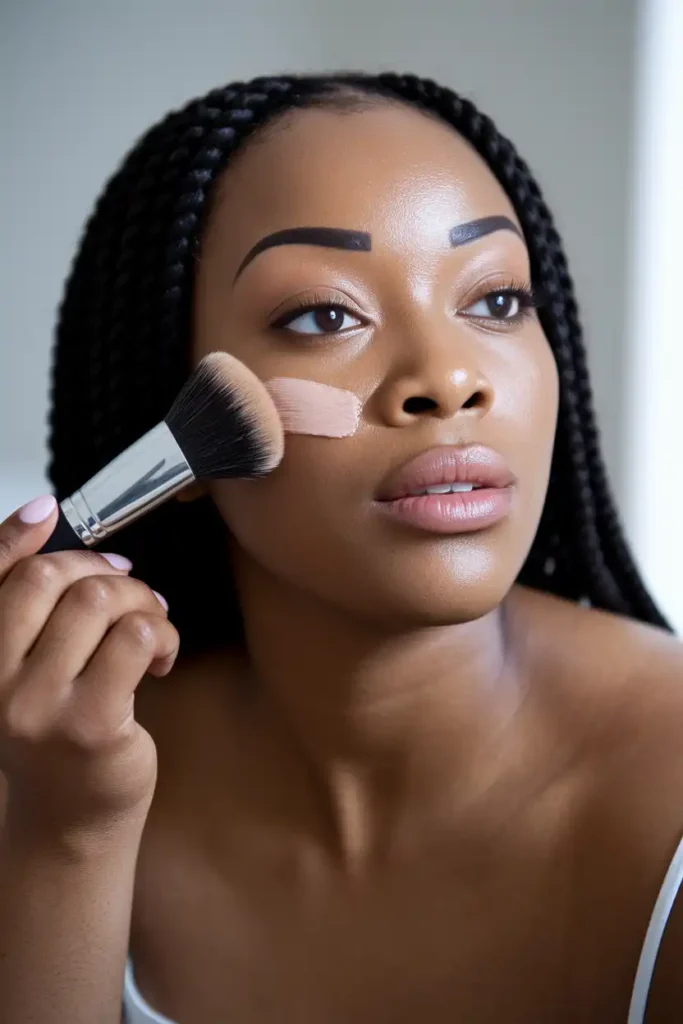
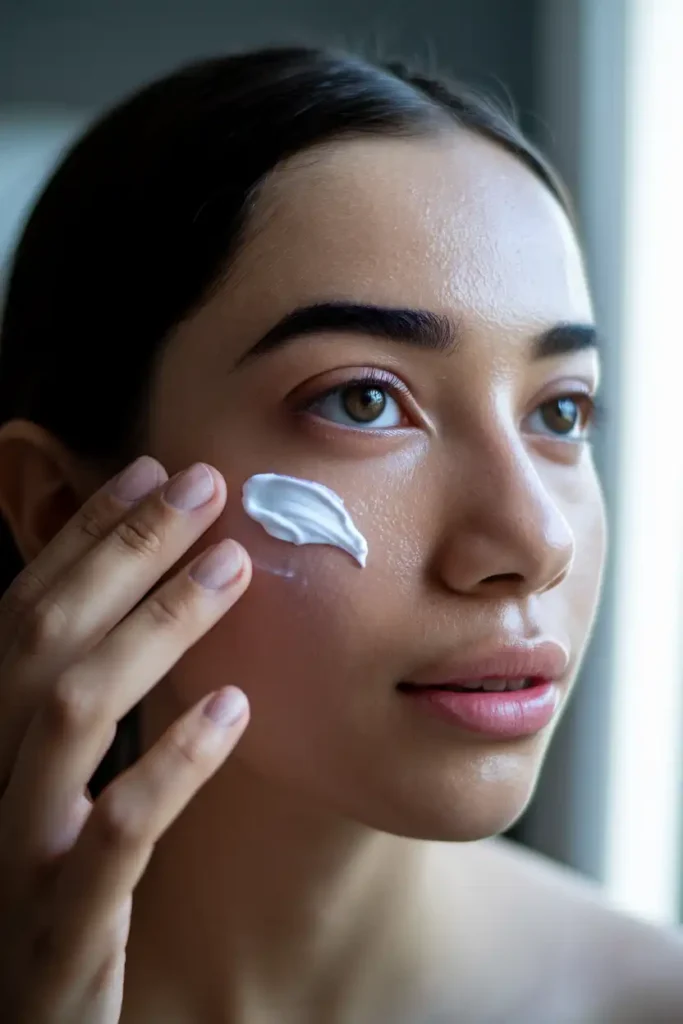
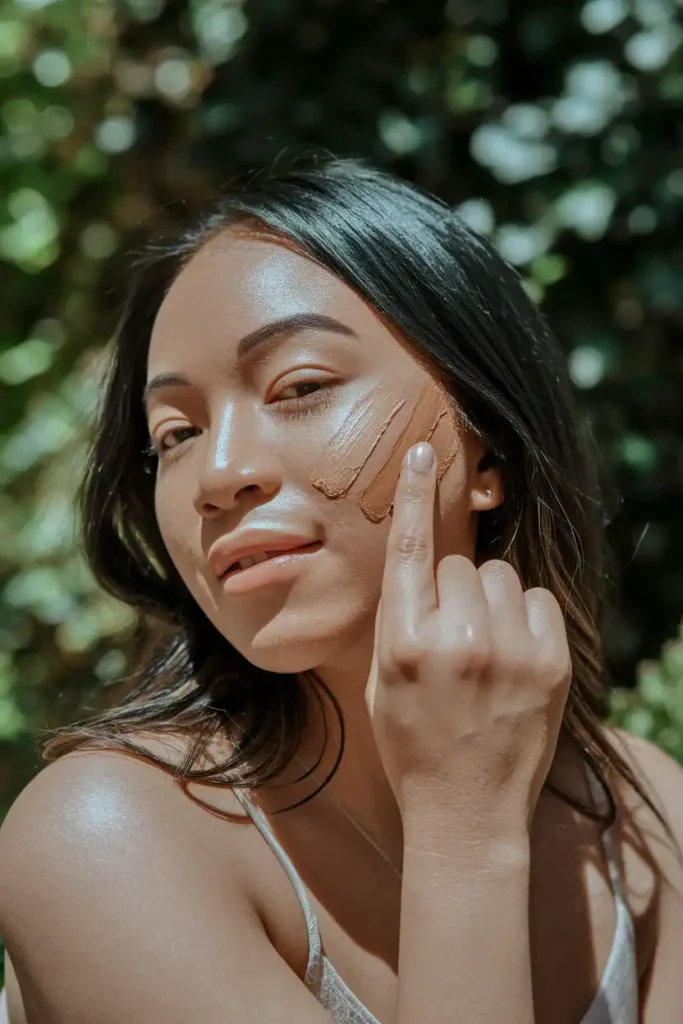
Image Description: A woman with medium-deep skin applying a liquid highlighter to her cheekbones with a fan brush. The light catches her skin and shows a natural, lit-from-within glow. No glitter is visible, just a clean radiance. The background is simple and light.
Powder highlighter is harder to control for beginners. Start with a liquid or cream formula instead. Apply a small amount to the top of your cheekbones, the bridge of your nose, and the center of your forehead, then blend it in with your fingertip.
Less is more with highlighter. If you can see it from across the room, you have applied too much. The goal is skin that looks naturally healthy, not reflective. For a prom or event look you can layer slightly more, but for daily wear, one thin application is plenty.
13. Lip Products That Work for Every Occasion
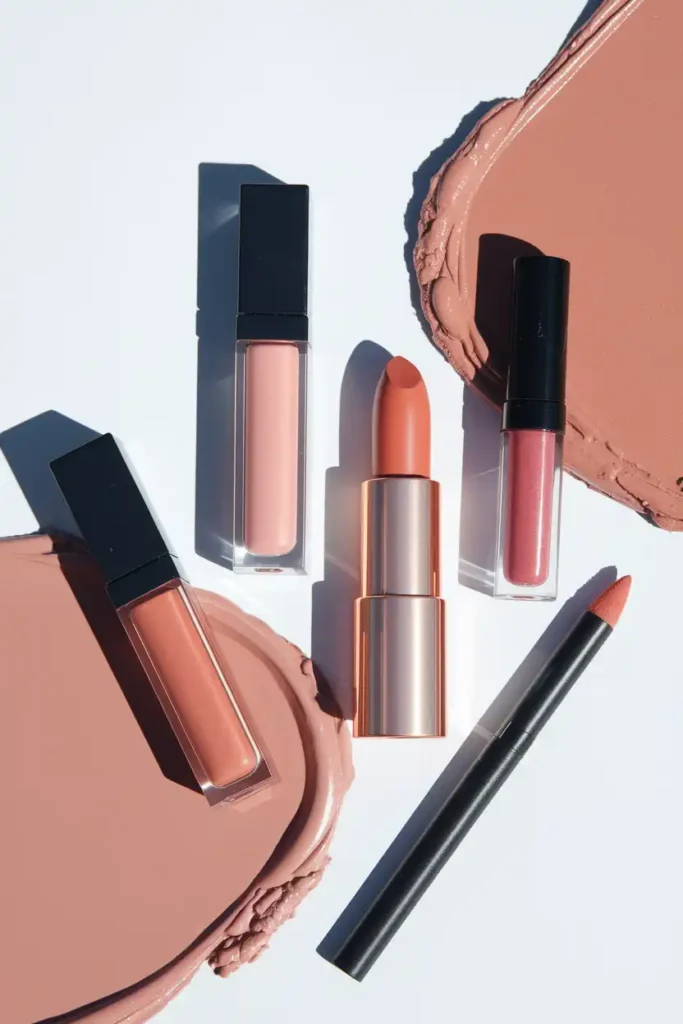
Your lip product choice changes the entire mood of a look. A tinted lip balm keeps things natural for daytime or office settings. A nude lipstick with a matching liner reads polished for weddings or events. A clear or sheer gloss works for prom or casual wear.
One tip that changes the finish of any lipstick: blot with a tissue after the first layer, then apply a second coat. It makes the color last two to three times longer without feeling heavy. Line your lips first to prevent feathering, even with a nude shade.
14. Setting Spray vs. Setting Powder: Which One You Actually Need
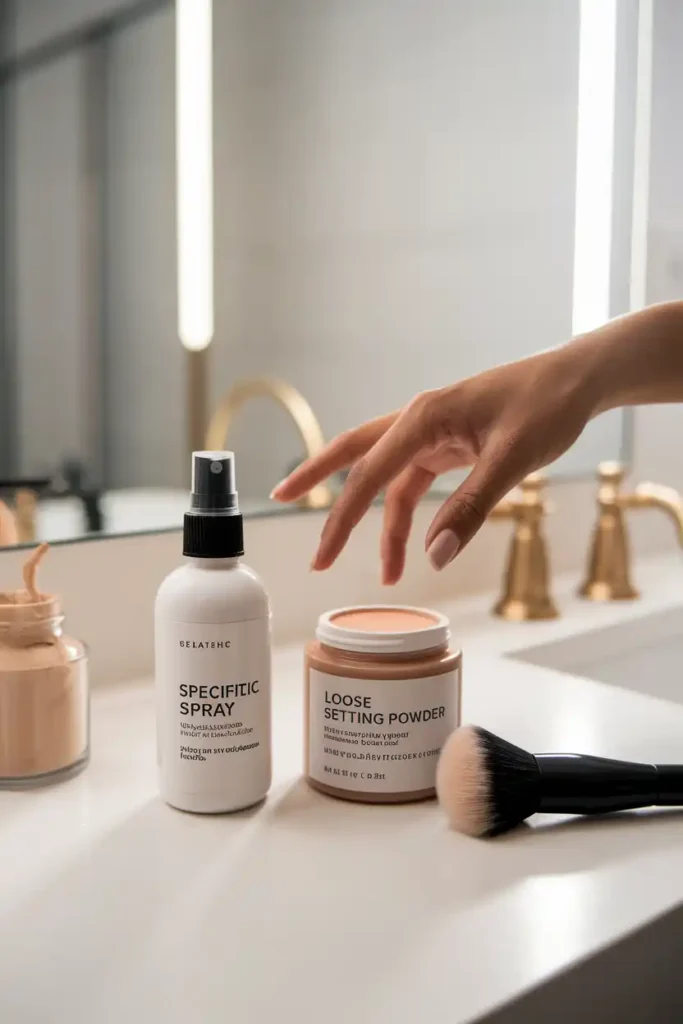
Beginners often buy both and use neither correctly. Setting powder controls shine and blurs texture. Setting spray locks everything in place and brings back any dewiness that powder removed. You do not need both every time.
If you have dry skin, skip the powder and just use a setting spray. If you have oily skin, dust a light setting powder on your T-zone, then finish with a setting spray over the top. This combination holds your makeup for up to eight hours without looking flat or cakey.
15. A No-Makeup Makeup Look for Sensitive Skin
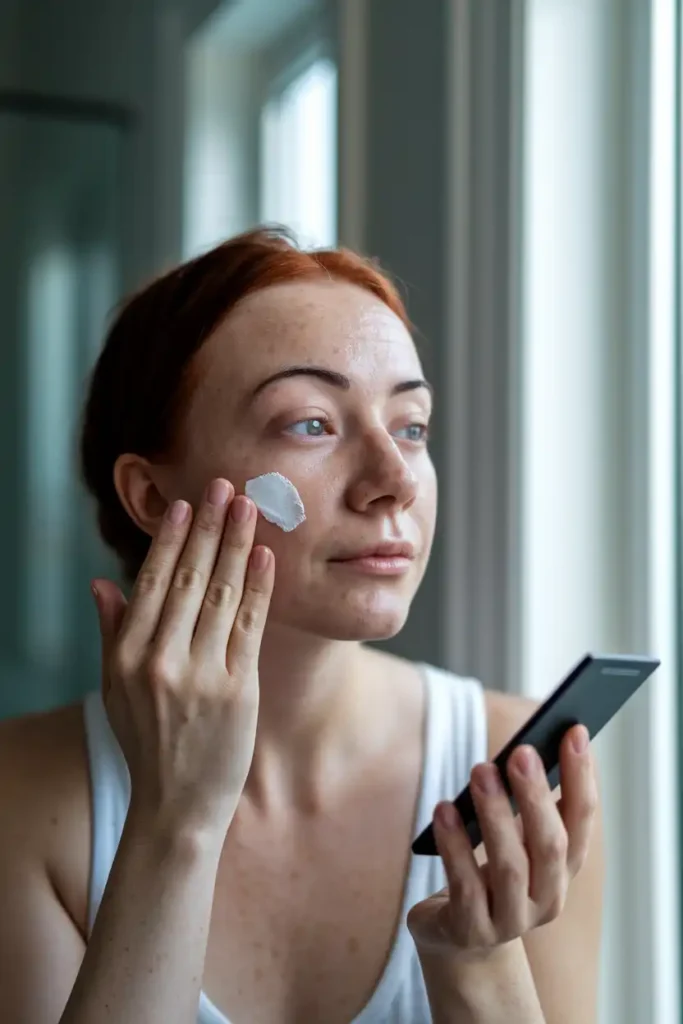
If your skin reacts to heavy products, keep your routine to three steps max. A tinted SPF, a cream blush, and a tinted lip balm is a complete look that covers imperfections without clogging pores or triggering irritation.
Look for fragrance-free, non-comedogenic labels on anything touching your skin. Brands like ILIA, Neutrogena, and Tower28 have options that work well on reactive skin. Patch test new products on your inner arm before applying to your face, especially if you have rosacea or eczema.
16. Brown Eyeliner: The Beginner’s Alternative to Black
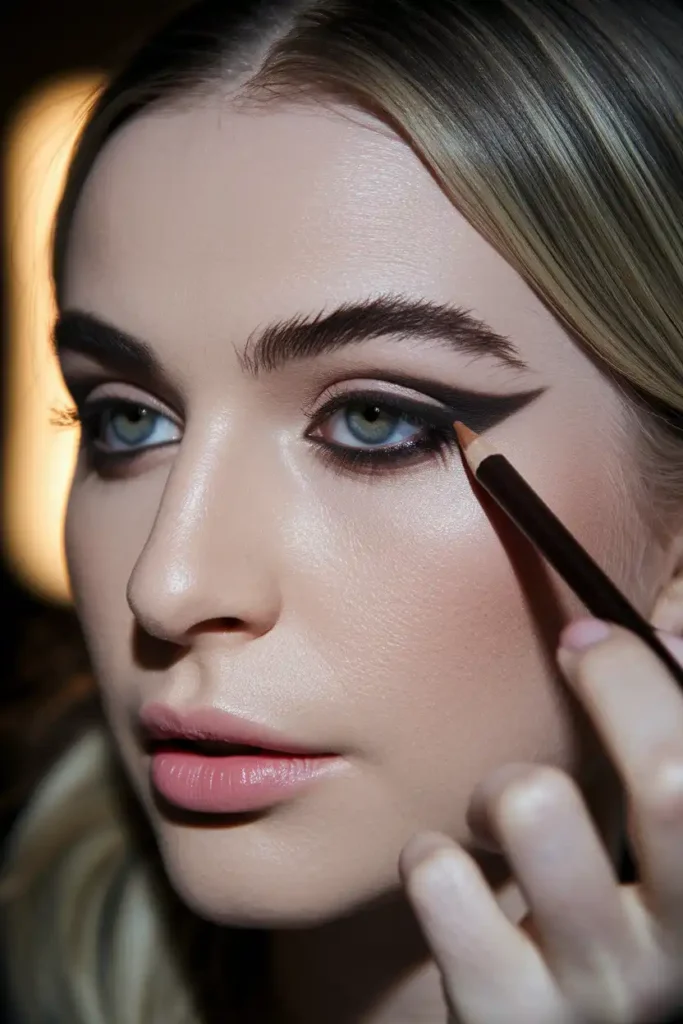
Black eyeliner is sharp and unforgiving. One shaky line looks harsh on a minimal makeup look. Brown eyeliner gives you the same definition with more room for error. If the line is not perfect, it still looks intentional.
Use a soft pencil formula rather than a liquid liner while you are learning. Apply it as close to the lash line as possible and smudge it slightly with your fingertip or a small brush. This creates a soft, defined look that works for daily wear, office settings, and casual occasions.
17. How to Choose the Right Foundation Shade at Home
Getting your foundation shade wrong is one of the most common beginner mistakes. The right shade disappears into your skin at the jawline. Test it there, not on your wrist or hand, since those areas are usually a different tone.
Check the match in natural light. Bathroom lighting and store lighting both distort color. Order two shades if you are buying online and return the one that does not work. Most brands allow this. If your skin changes seasonally, you may need a slightly different shade for summer versus winter.
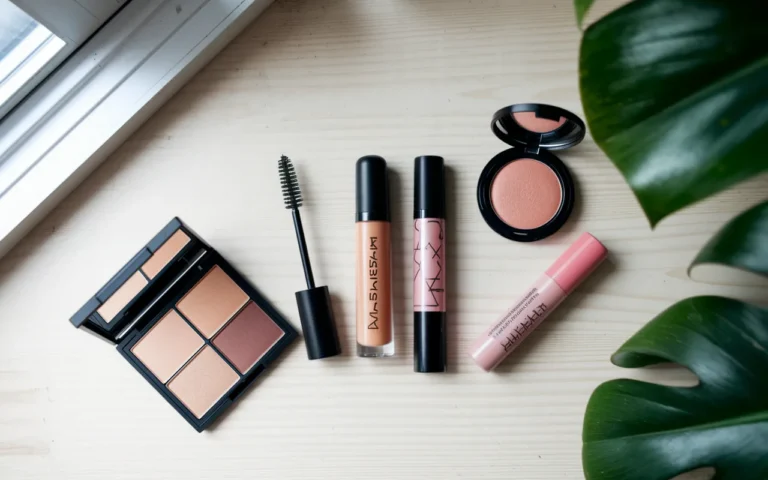
18. Building a Starter Makeup Kit on a Budget
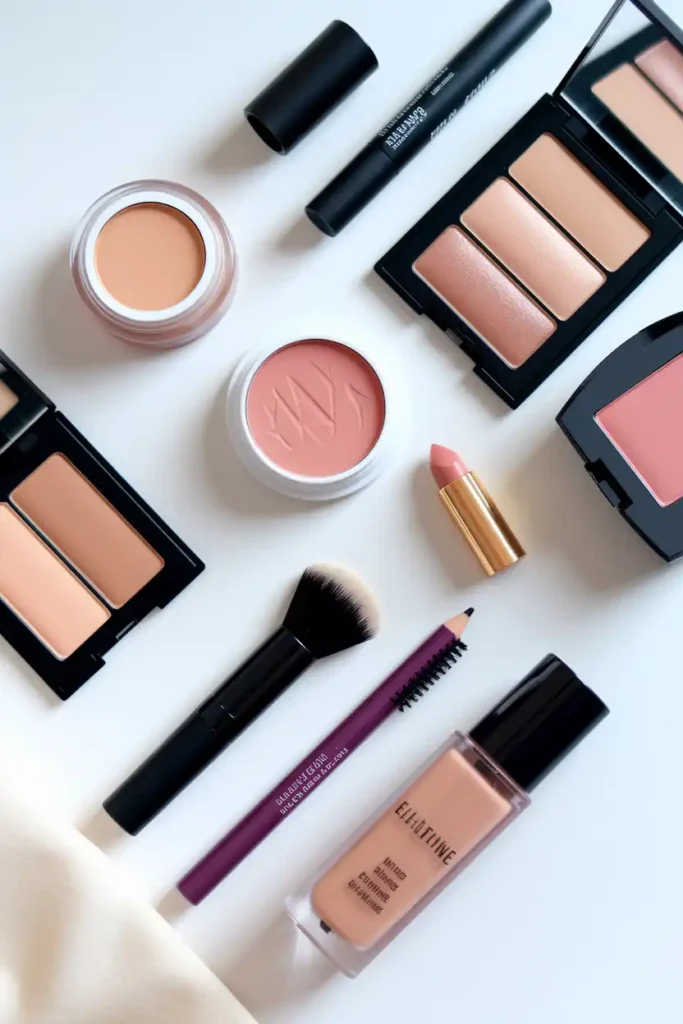
You do not need ten products to start. Six well-chosen products cover everything for a complete, wearable look:
- BB cream or tinted moisturizer with SPF (Maybelline Fit Me or L’Oreal True Match)
- Concealer one shade lighter than your skin (e.g. NYX Bare With Me)
- Cream blush in a neutral pink or peach (e.g. Milk Makeup Cooling Water Jelly Tint)
- Brow pencil matched to your hair color (e.g. e.l.f. Instant Lift Brow Pencil)
- Mascara in black or brown (e.g. Covergirl Lash Blast)
- Tinted lip balm or lip gloss (e.g. Burt’s Bees Tinted Lip Balm)
This kit runs under $50 at most drugstores and covers every look in this guide.
Conclusion:
Simple makeup looks work because they respect your skin instead of covering it. You now have 18 real starting points, each one practical and doable without professional help. Pick one look that matches where you are going this week and try it. You will get faster and more confident each time. Start with the basics, build at your own pace, and remember that the best makeup look is one you actually feel comfortable wearing.