25 Princess Wedding Dress Details That Photograph Beautifully
You spent months finding the right princess wedding dress. But here’s what most brides don’t realize until they see their photos: not every detail shows up the way you imagined. Some get lost in the fabric. Others become the shots you frame and keep forever. This guide covers 25 specific details that consistently photograph well, so you can plan your dress choice, your shot list, and your wedding day with a clearer picture of what will actually matter in the images.
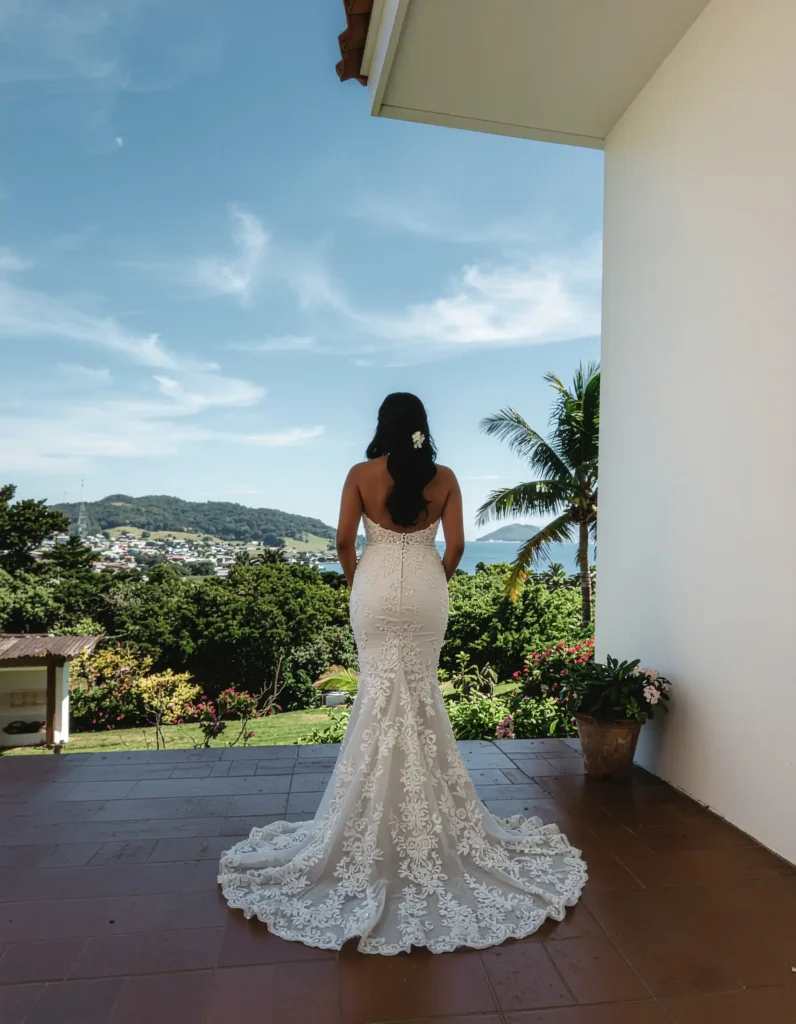
1. The Cathedral Train That Commands Attention
A cathedral train is one of the most photographed details on a wedding day, and for good reason. It creates instant visual impact in wide-angle shots, especially in large venues like churches, ballrooms, or open courtyards. The length, typically 12 feet or more, gives photographers a natural subject to work with.
If you’re considering this style, talk to your photographer before the wedding. Ask them to plan at least two dedicated train shots, one from above and one from behind at ground level. This is a detail that deserves its own moment in your gallery.
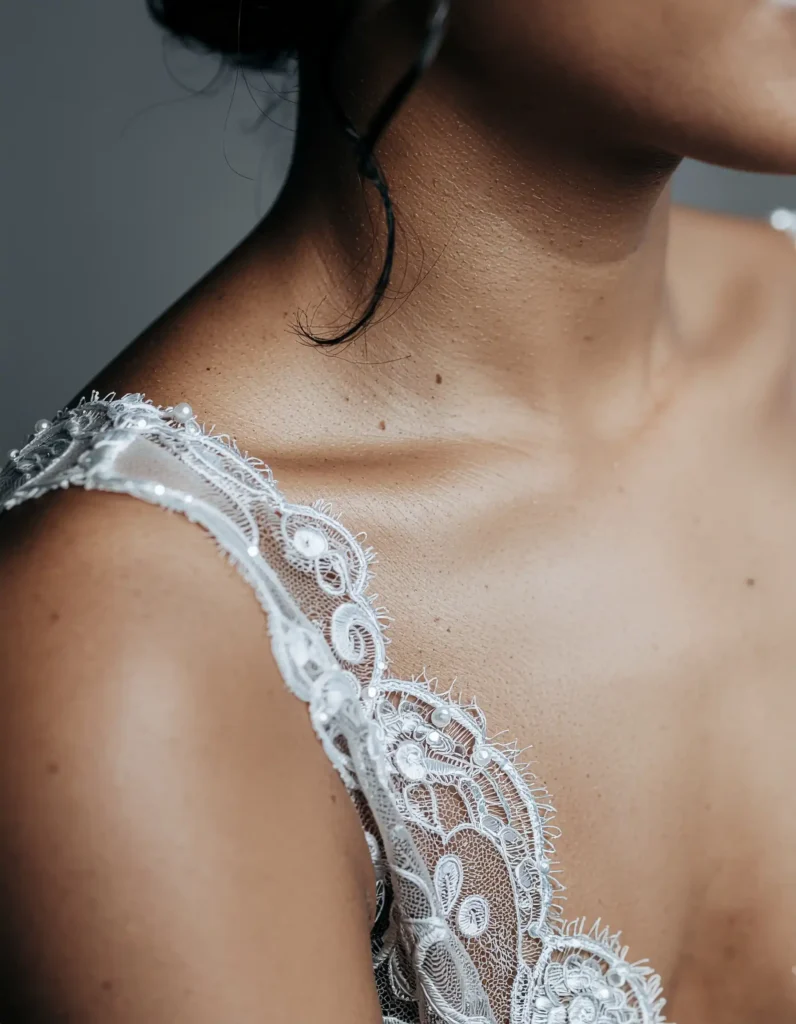
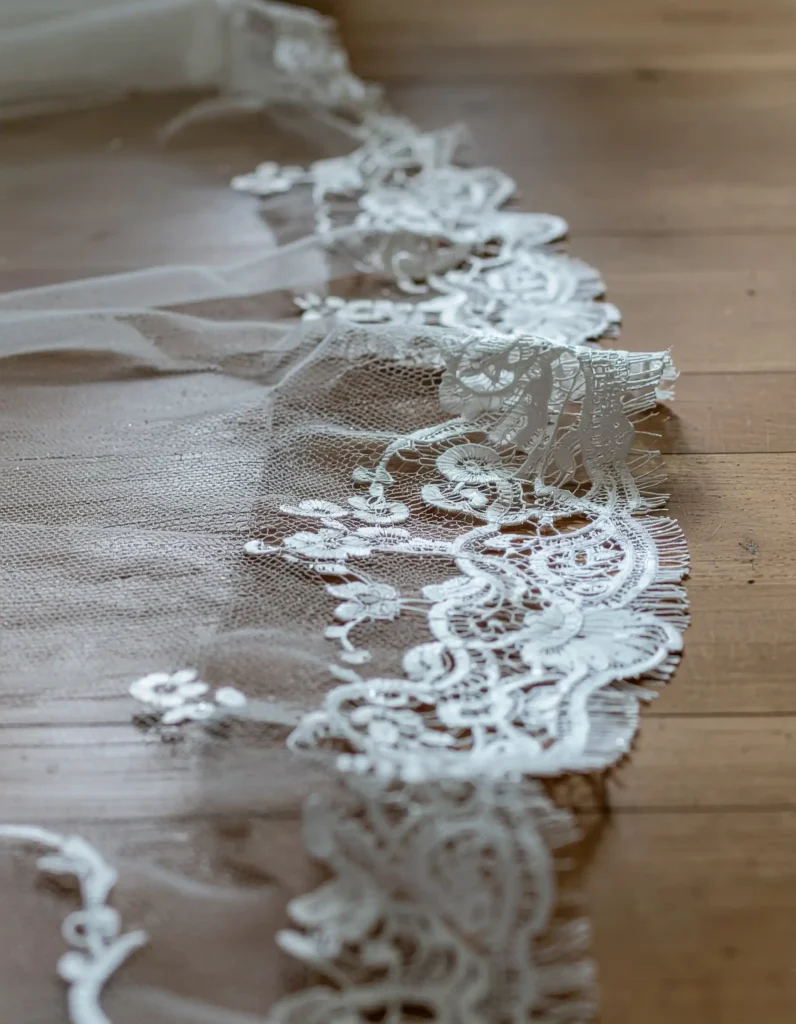
2. Lace Bodice Detailing Up Close
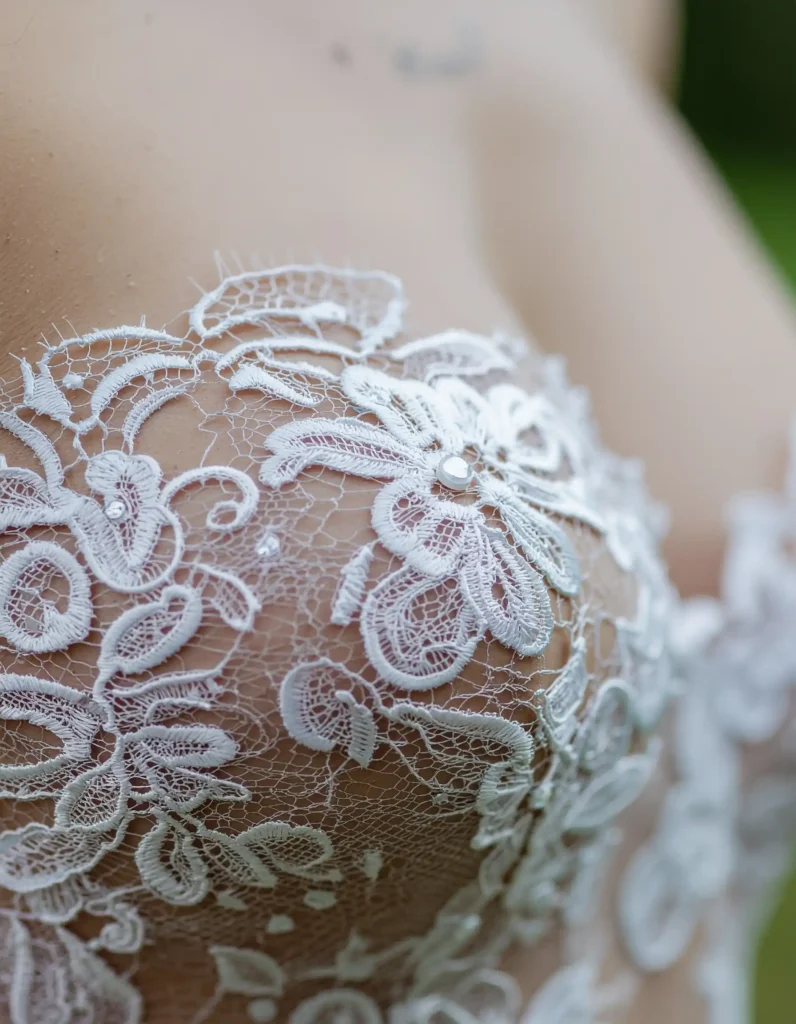
Lace bodices photograph beautifully because they create texture in images that might otherwise look flat. The intricate patterns catch light differently depending on the angle, which gives photographers more creative flexibility. Chantilly, Alençon, and guipure lace each produce a different effect in photos.
Ask your photographer for at least one dedicated close-up of the lace before the ceremony. This shot works especially well during getting-ready coverage when the dress is freshly steamed and the detail is at its cleanest. It becomes one of the most-saved images from the entire gallery.
3. Corset Back Lacing in Full Detail
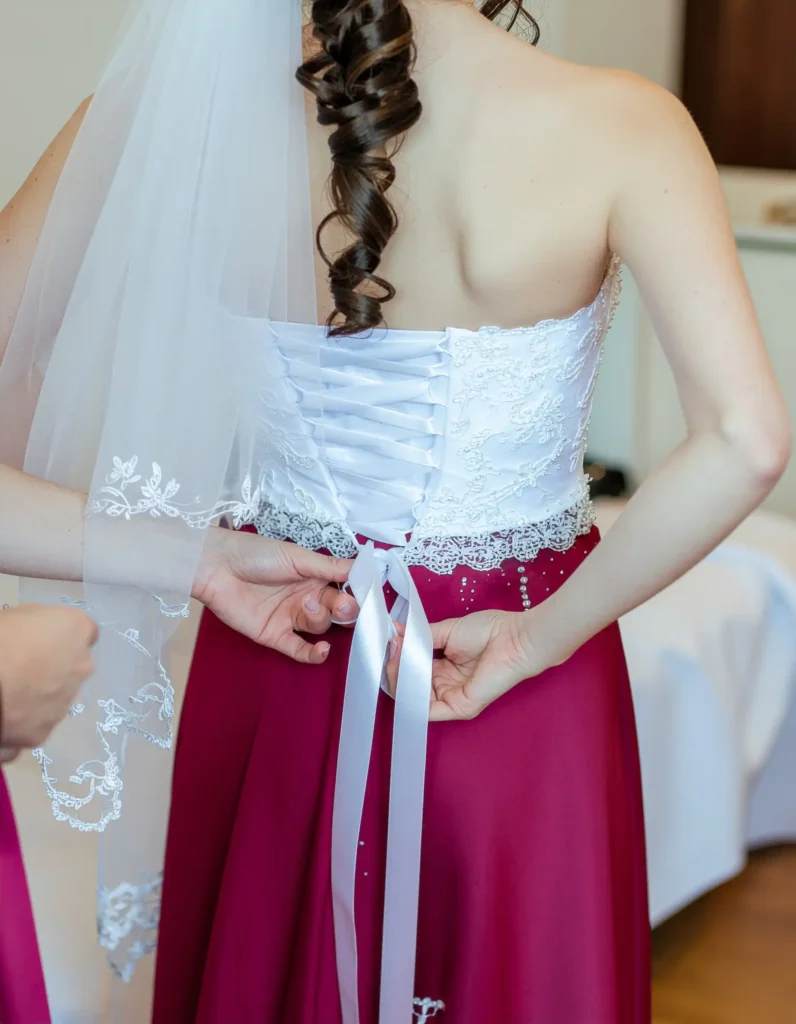
The corset back is one of those getting-ready details that makes for compelling photos. The act of lacing it up gives photographers a candid, real moment to capture, and the finished look creates a strong visual line down the entire back of the dress.
If your dress has a corset back, add it to your shot list specifically. Ask for both the process shot (mid-lace) and the finished result. The contrast between the soft fabric and the structured lacing is the kind of detail that stands out in a slideshow.
4. A Full Skirt Against an Outdoor Setting
A full, voluminous skirt creates natural movement in photos, which is something photographers actively look for. Even a slight breeze or a slow spin gives the fabric life and makes static images feel dynamic. This is why ball gown and A-line silhouettes are consistently popular in wedding photography.
During your photo session, ask your photographer if there’s time for a movement shot. Even two or three frames of you walking, turning, or letting the skirt go mid-spin can result in images that feel completely different from posed portraits.
5. Beading and Crystal Embellishments in Natural Light
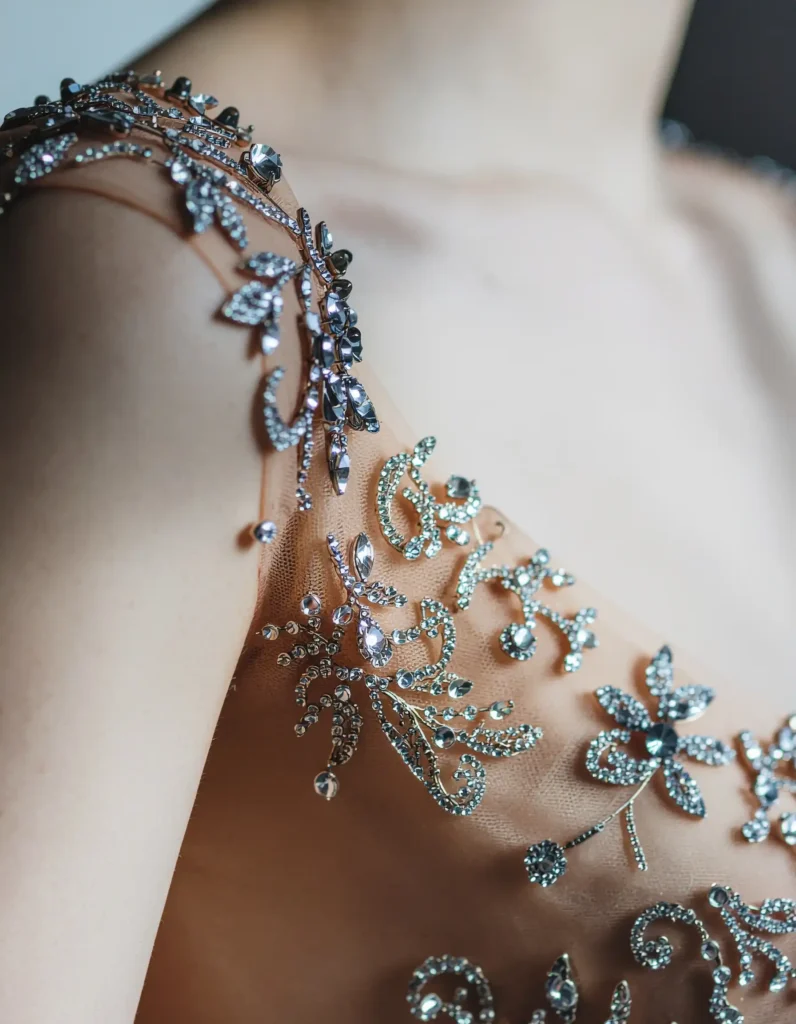
Beading and crystals respond to light in a way that most other fabrics don’t. In natural light, each bead reflects individually, creating a soft shimmer that shows up clearly in photos. Under flash or artificial light, the effect can sometimes look flat or washed out.
Work with your photographer to find the right light for this detail shot early in the day, before the venue lighting changes. If your venue is dark, ask them to use a reflector rather than a direct flash for close-up embellishment shots. The difference in the final image is significant.
6. The Moment You First Put the Dress On
This is consistently one of the most emotionally resonant photos from any wedding gallery. It’s not staged. It captures a real moment, and because of that, it reads differently than any posed shot. The dress doesn’t need to be fully on or perfectly arranged for this photo to work.
Make sure your photographer knows this is a priority. Ask them to be in the room and ready when you step into the dress, not setting up elsewhere. Candid moments like this happen once and require zero posing direction.
7. How Tulle Layers Create Depth in Photos

Tulle is one of the most photogenic fabrics in bridal fashion. Its sheer, layered structure creates natural depth and dimension in images. When light hits it from the side, each layer becomes visible, giving the skirt a three-dimensional quality that photographs well even in still shots.
If your dress has layers of tulle, talk to your photographer about side-lit shots specifically. A window or soft outdoor light source positioned to the side of the skirt will capture the layers far better than a front-facing light. This detail is easy to miss without planning.
8. Sleeve Styles That Create Strong Visual Lines
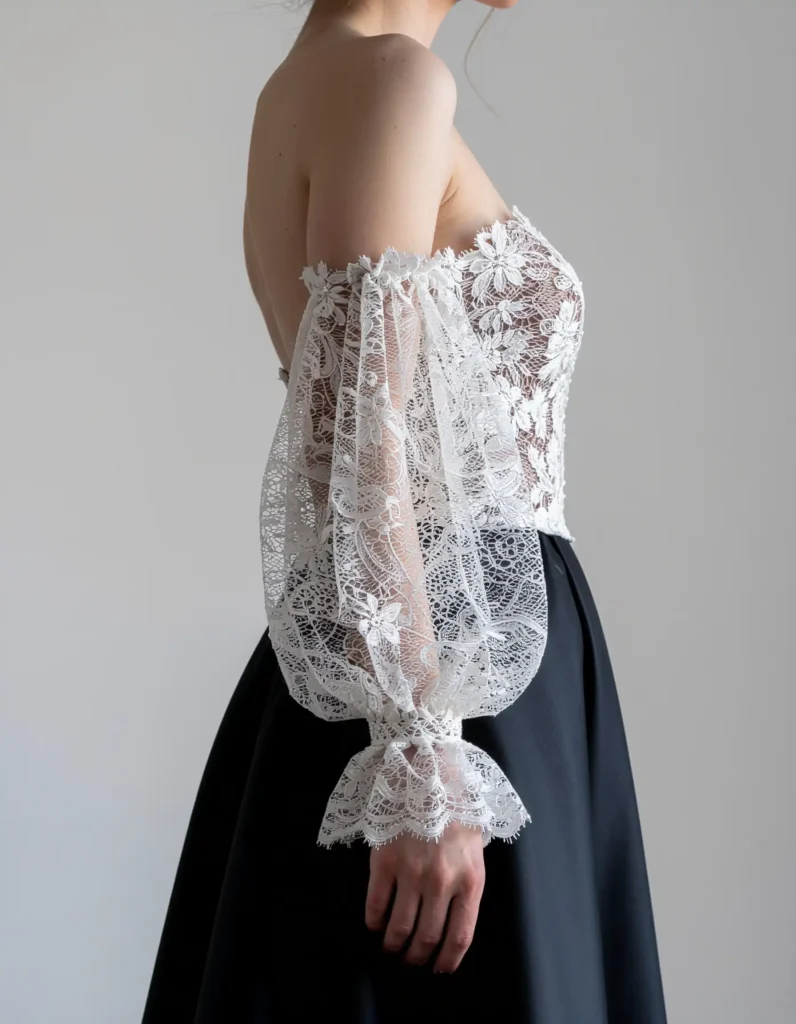
Sleeves change the entire visual profile of a wedding dress, and in photos, they create strong lines that draw the eye. Long lace sleeves add delicacy and texture. Structured or puff sleeves add volume at the shoulder that can balance a fuller skirt beautifully.
The challenge with sleeves is positioning. In photos, arms straight at the sides can hide the sleeve shape entirely. Ask your photographer to direct you to keep your arms slightly away from your body during portrait shots. Even a slight gap makes the sleeve detail visible and the silhouette cleaner.
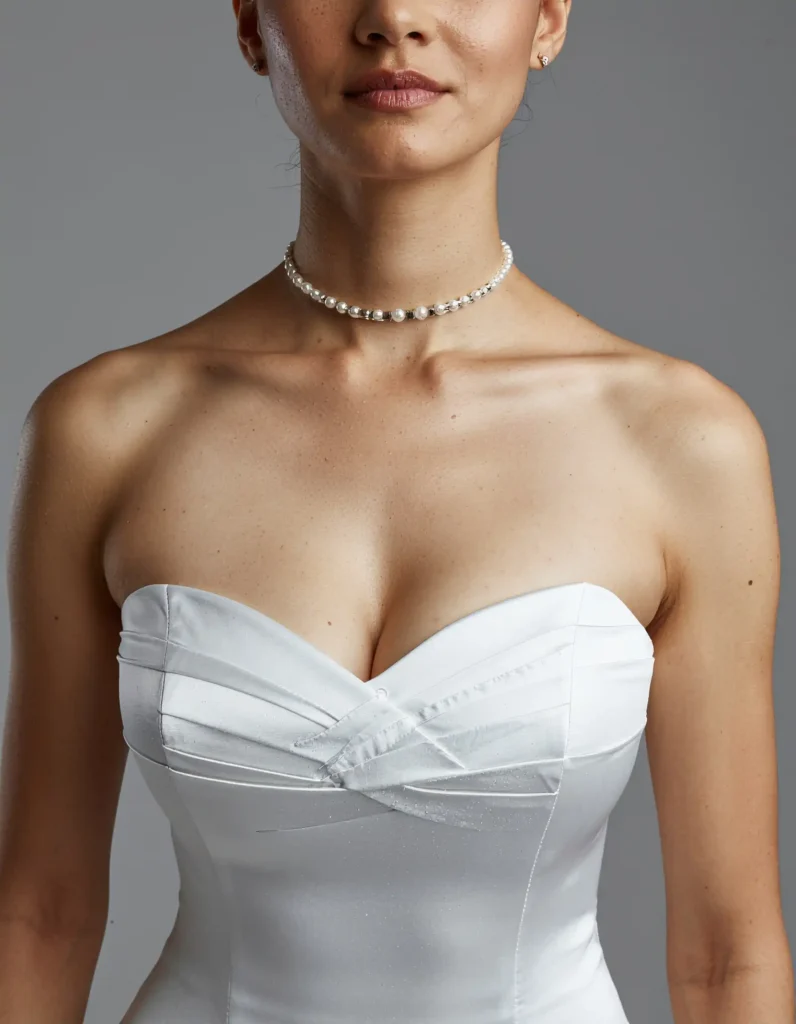
9. A Plunging Neckline and How It Photographs
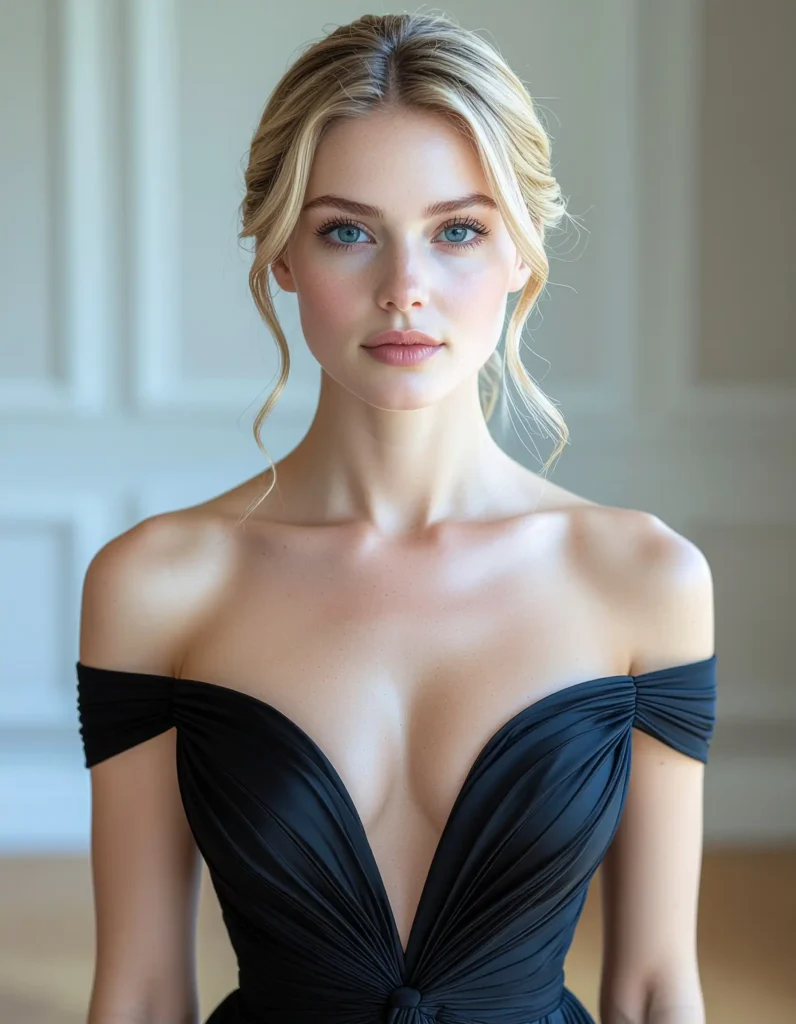
A defined neckline, whether V-neck, sweetheart, or square, gives photographers a clear focal point for upper-body portraits. It frames the face and creates a visual direction for the eye to follow. This is one detail that consistently performs well in close-up and mid-body shots.
If you have a low or plunging neckline, ask your photographer to experiment with both straight-on and slightly elevated angles. A slightly higher camera position tends to be more flattering and shows the neckline shape clearly without distortion.
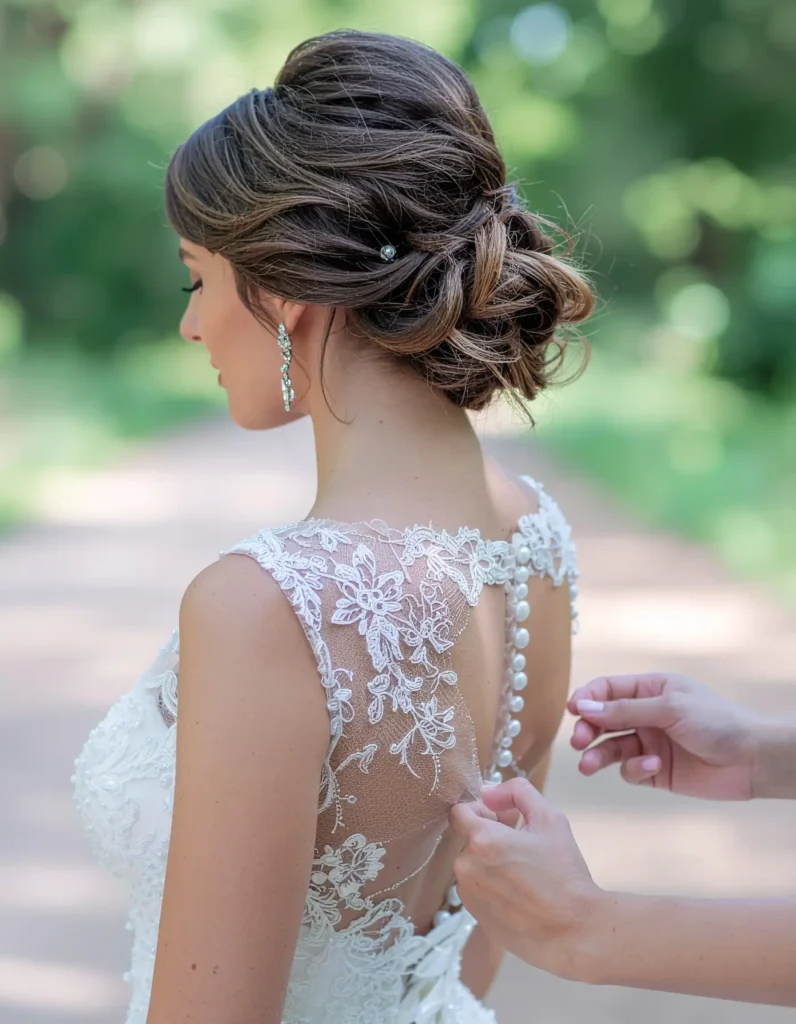
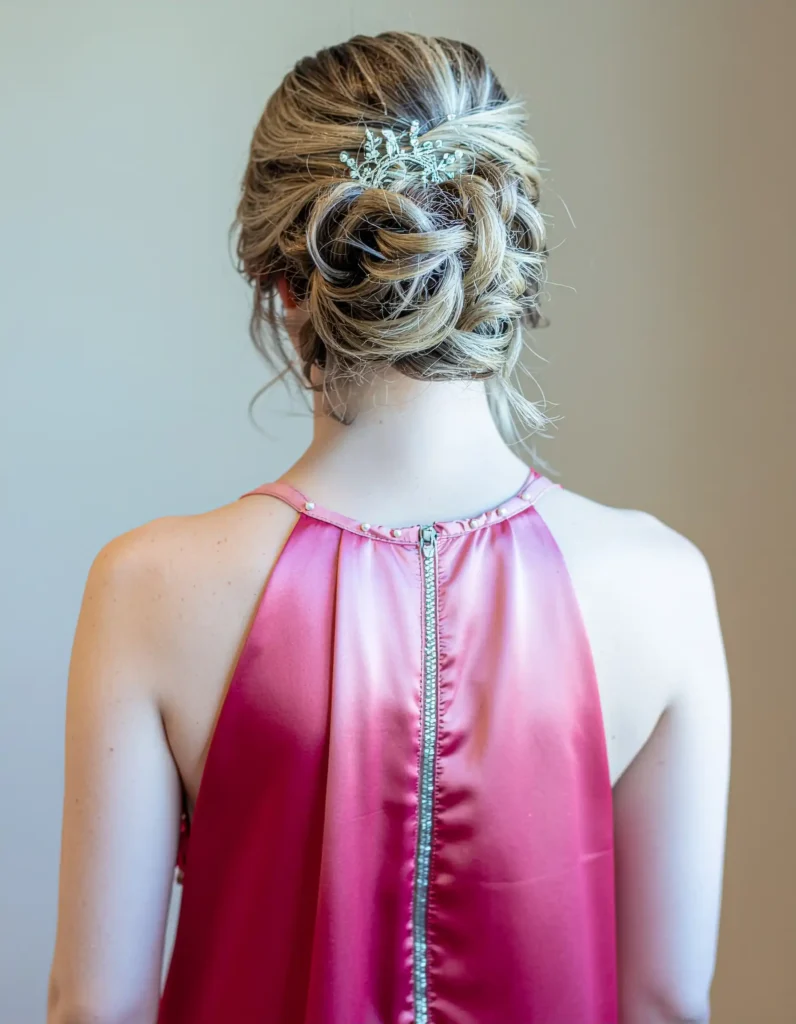
10. Buttons Running Down the Back

A row of buttons down the back of a wedding dress is one of those details that looks simple but photographs with incredible elegance. The repetition creates a clean, structured line that draws attention down the dress. Whether the buttons are fabric-covered, pearl, or silk-looped, the effect is consistently beautiful in back portraits.
Make sure this detail is on your photographer’s shot list. Ask for one full-length rear portrait specifically to capture the button run from neckline to hem. This shot works especially well when the background is minimal and the lighting is clean.
11. How a Dropped Waist Flatters in Photos
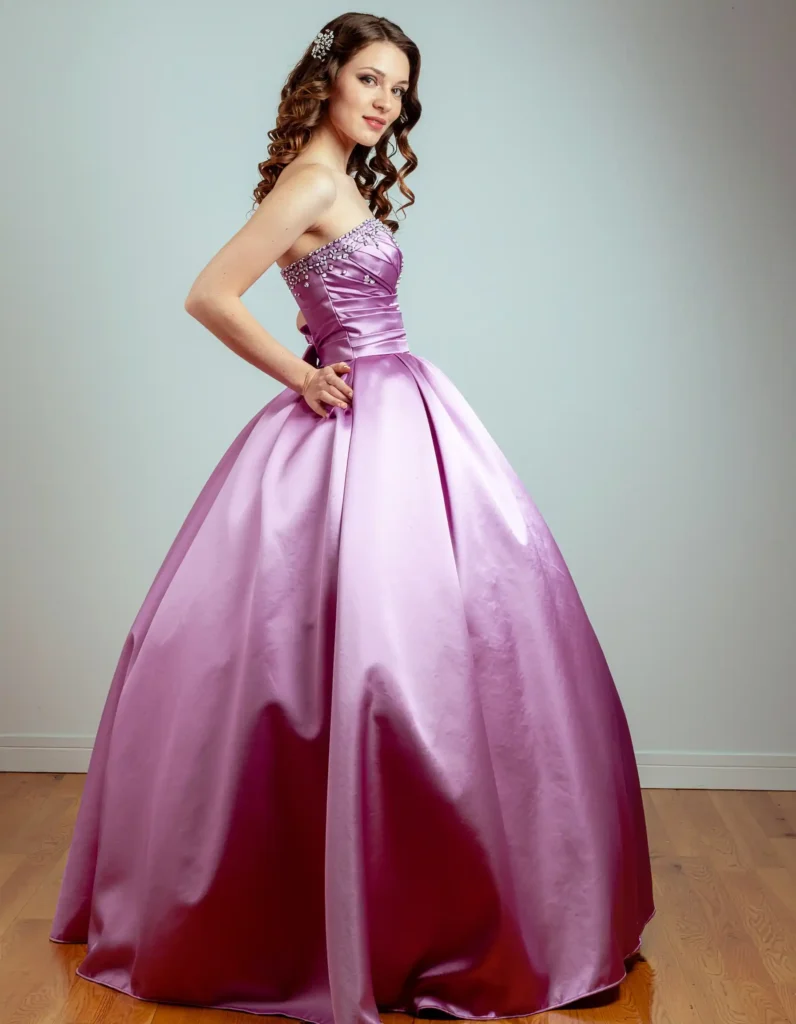
A dropped waist silhouette creates a long, uninterrupted line from the shoulder to the hip, which photographs well from most angles. The point where the bodice meets the skirt lower on the body creates a visual anchor that makes the overall silhouette look structured and intentional.
For this style to photograph at its best, avoid straight-on shots where the body faces the camera directly. A three-quarter angle shows the drop and the skirt volume simultaneously. Ask your photographer to use this angle for most full-length portraits and you’ll immediately see the difference.
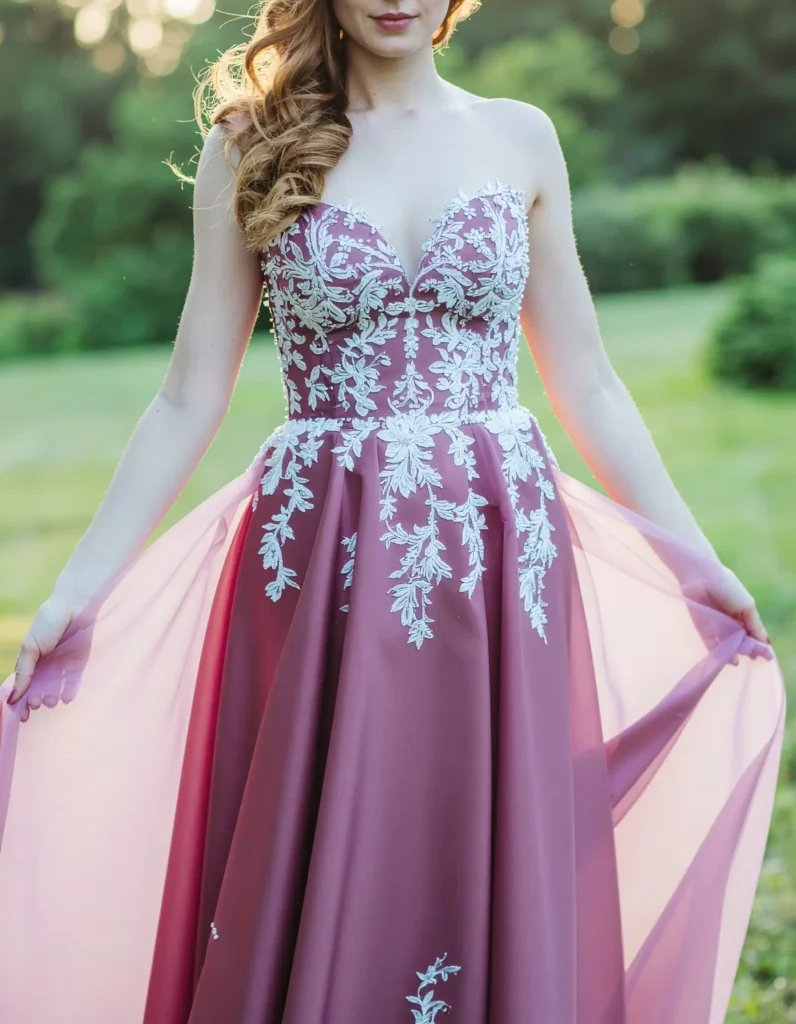
12. Floral Appliqués and Where They Fall on the Dress
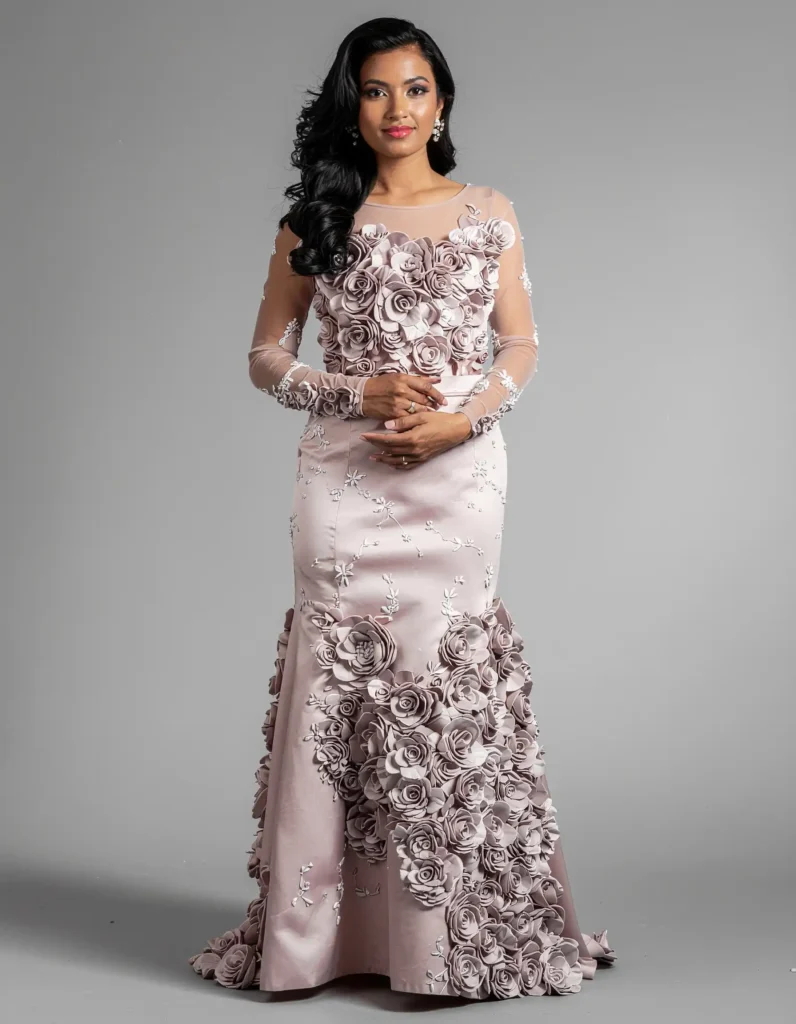
Three-dimensional floral appliqués create natural shadows and texture in photos, which makes them one of the most visually interesting details to capture. Unlike flat embroidery, 3D flowers catch light on one side and create soft shadows on the other, giving the fabric a sculptural quality.
Placement matters for photography. Appliqués along the waist or at the hem tend to read well in full-length portraits. Bodice appliqués photograph best in close-up or mid-body shots. Share the layout of your dress with your photographer so they can plan shots that capture each placement intentionally.
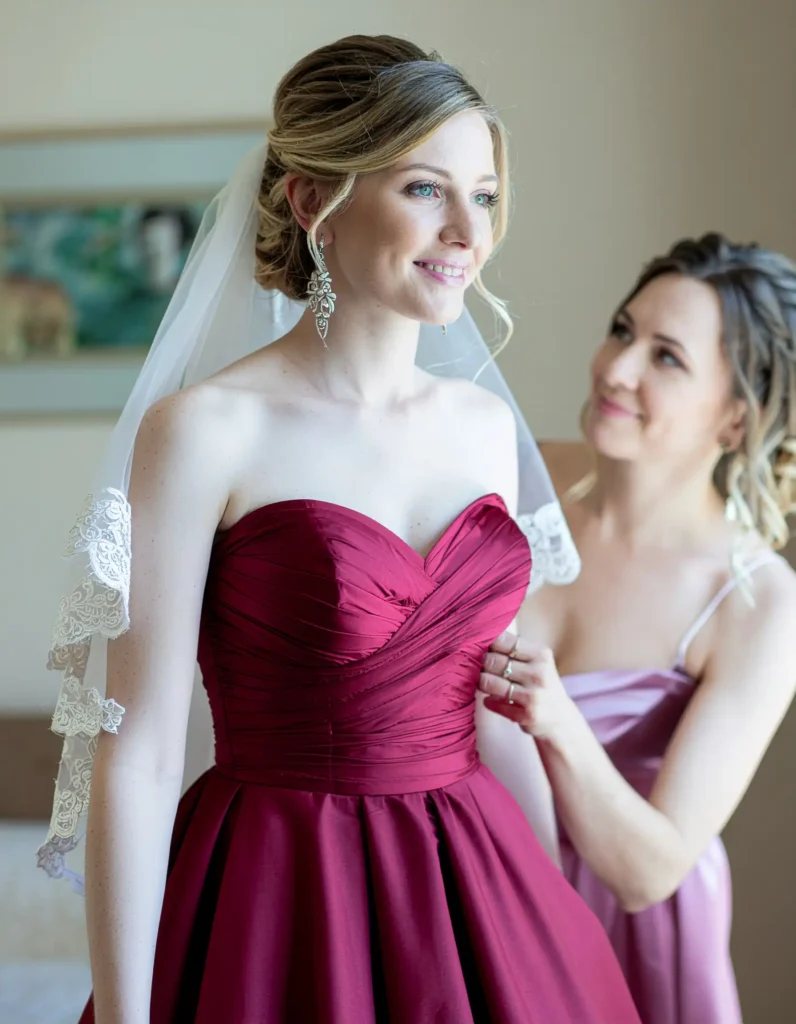
13. The Veil Overlay and What It Does to Photos
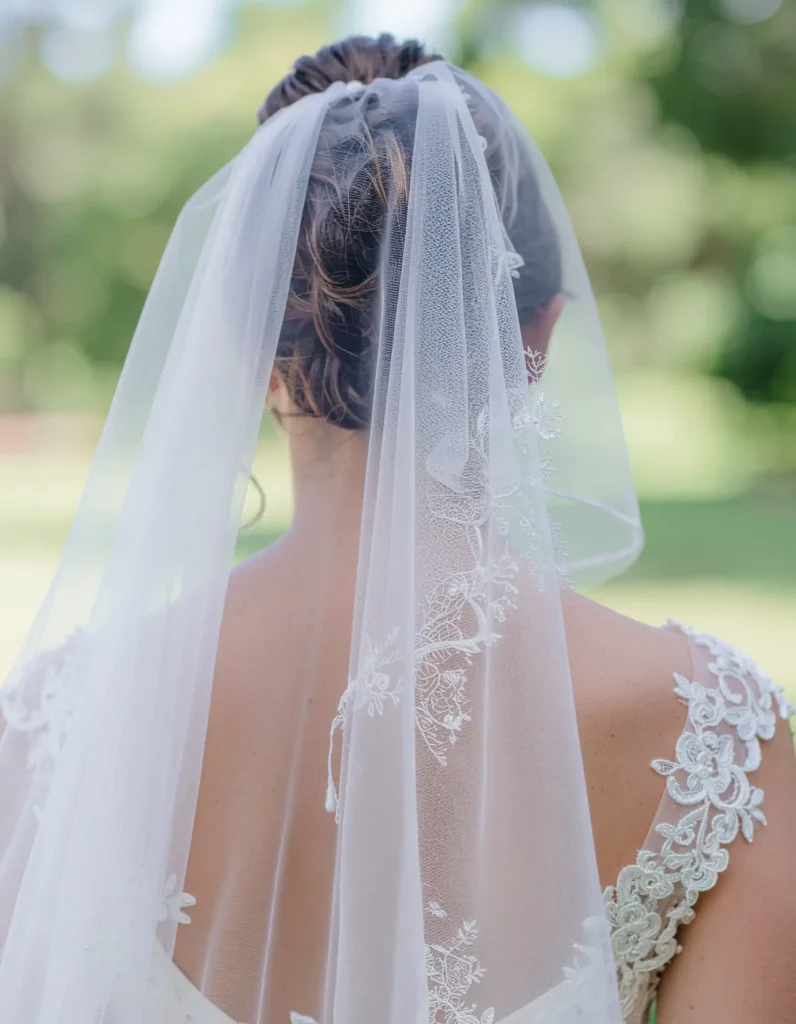
A veil changes the photography experience entirely. It adds movement, layers, and a soft quality to images that a dress alone cannot replicate. Even a simple single-layer veil dramatically transforms full-length portraits, particularly from behind.
If you’re debating whether to wear a veil for any part of the day, consider at least keeping it on for the portrait session. Many brides remove it early for comfort, but those veil-in-the-wind or backlit veil shots are often the standout images from the gallery. Keep it on for at least 20 to 30 minutes of outdoor portraits.
14. A Structured Bodice That Holds Its Shape
A well-constructed bodice does a lot of work in photos that goes unnoticed until you compare it to images where the fit was off. Boning and internal structure keep the fabric smooth and prevent bunching or gaping, which shows up clearly in high-resolution photos.
Before the wedding, do a sitting and movement test with your dress on. Bend forward, sit down, and raise your arms. If the bodice gaps or pulls at any point, that’s a fitting issue worth addressing with your seamstress before the wedding day. Photos taken after minor alterations look noticeably different from ones where the fit isn’t quite right.
15. How Ivory vs. White Reads on Camera
White and ivory photograph very differently, and the difference becomes more obvious in edited photos. Pure white can blow out in bright sunlight, losing detail in the fabric. Ivory holds texture better in outdoor daylight and often looks warmer and more dimensional in print.
When you’re choosing between white and ivory, ask your bridal consultant if you can step outside the boutique for a moment in each option. Seeing how the color reads in natural light before you commit gives you a much more accurate preview than what you see under boutique lighting.
16. Pockets in a Wedding Gown: A Practical Detail That Photographs Well
Pockets are one of those details brides mention repeatedly when they have them. In photos, hands-in-pockets creates a relaxed, unposed look that feels natural and current. It avoids the stiff, arms-at-sides posture that makes people look uncomfortable in portraits.
If your dress doesn’t have pockets, ask your seamstress whether hidden seam pockets can be added during alterations. Most A-line and ball gown silhouettes can accommodate them without affecting the outer shape of the skirt. It’s a small addition that changes the entire energy of your portraits.
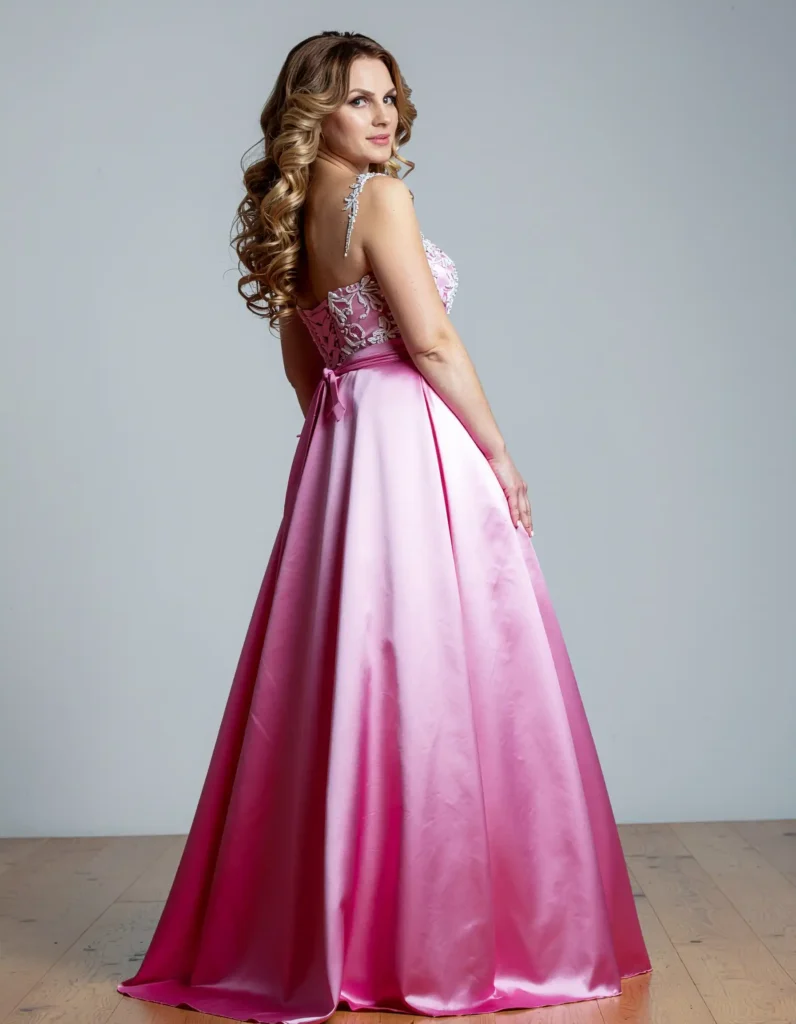
17. How Color Accents in Bridal Gowns Show Up in Photos
Subtle color details, a champagne lining visible through sheer fabric, a blush sash, pale blue embroidery, read very differently in photos than they do in person. Some colors photograph more vividly than expected. Others almost disappear under certain lighting.
If your dress has a color detail you love, ask your photographer what lighting setup will capture it most accurately. In some cases, a specific time of day or light source will preserve the color better. This is a quick conversation that can make a real difference in how the final images reflect what you actually wore.
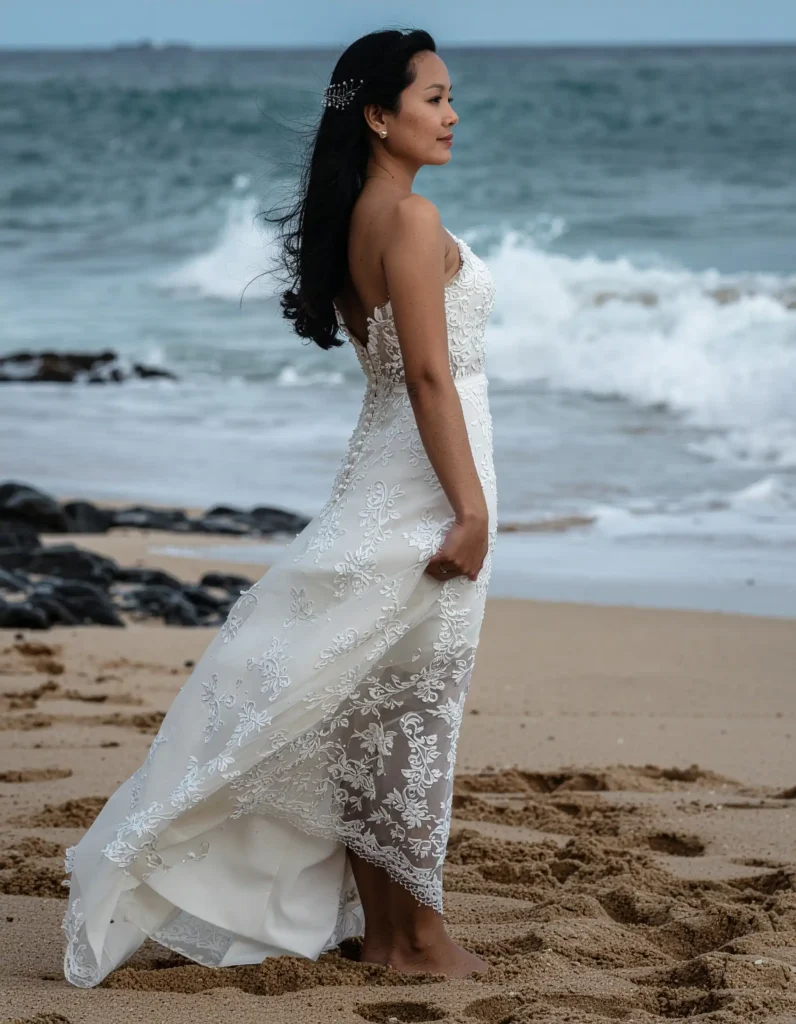
18. The Back of the Dress: Often the Most Photographed Angle
In wedding photography, the back of the dress often gets more screen time than the front. The ceremony walk, the altar, the exit, the first look, all of these moments show the back of the dress. Yet many brides focus almost entirely on how the front looks during shopping.
When you try on dresses, ask someone to photograph the back with your phone and zoom in. Look at the back neckline, the closure, the train length, and any back detail like beading, keyhole cutouts, or bow placement. These details will be in the background of many important photos.
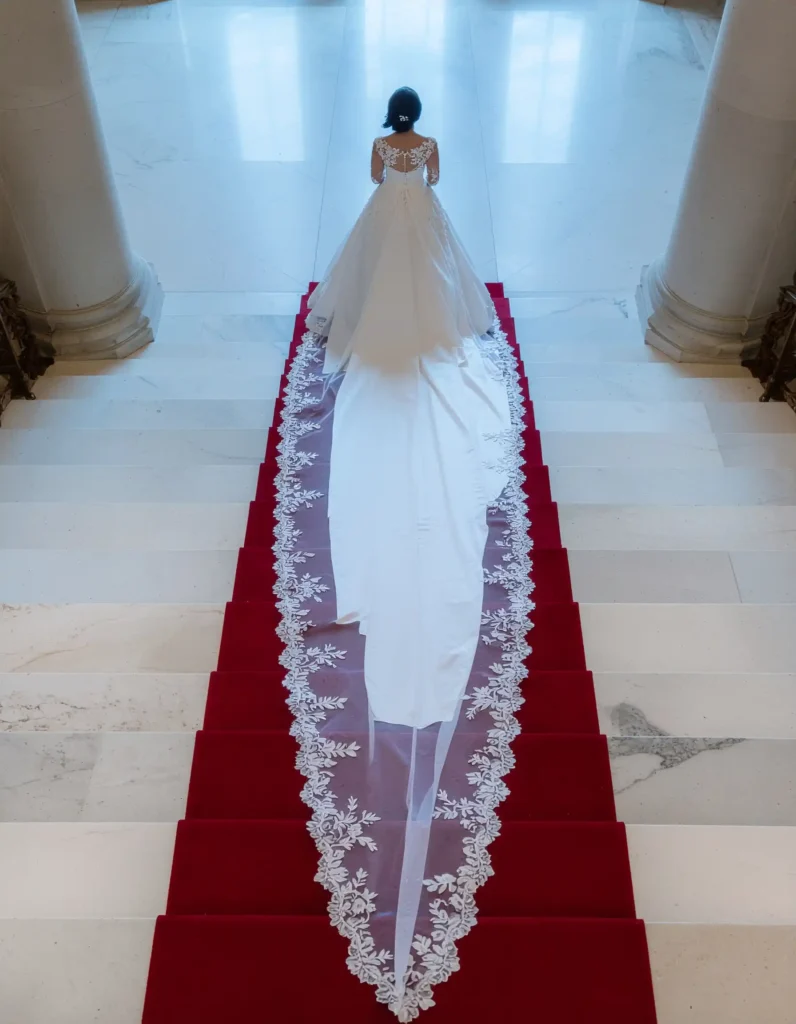
19. A Long Train on Marble or Hardwood Floors
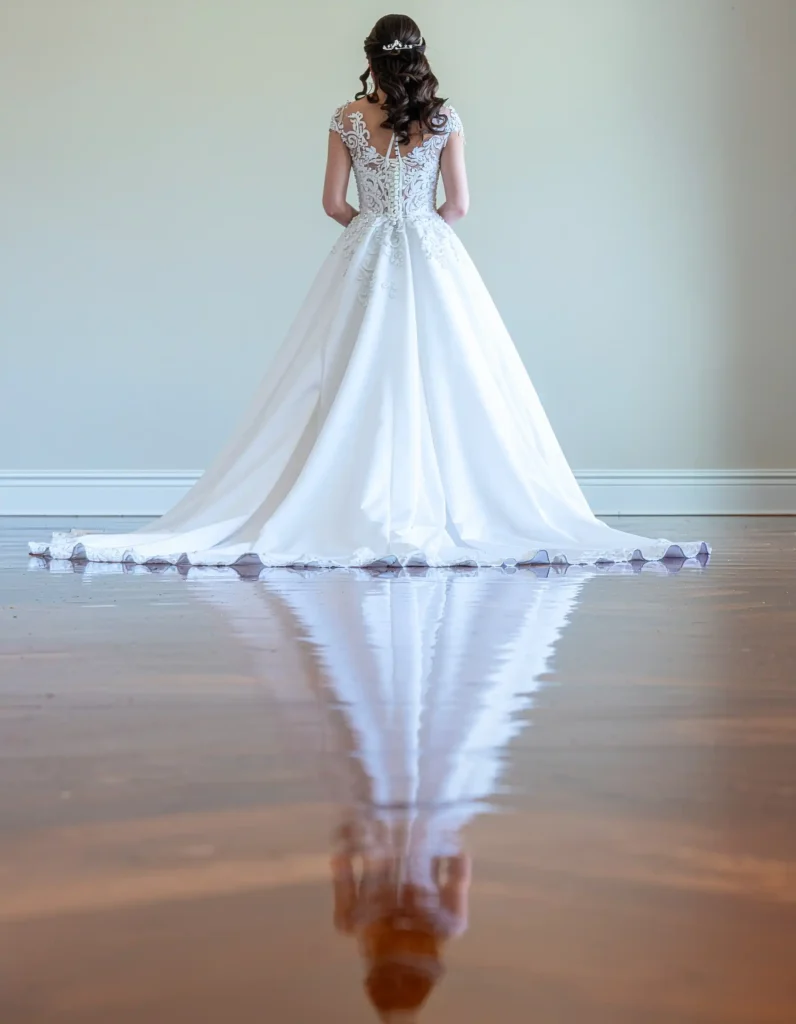
Reflective floors are one of the best natural backdrops for a long train. The slight reflection doubles the visual impact of the fabric and gives the photo a sense of grandeur without any additional styling. Marble floors in particular create a clean contrast against white or ivory fabric.
If your venue has marble or polished hardwood floors, ask your photographer to plan a train shot in that space specifically. The ideal shot is usually taken from directly behind the bride at a moderate distance, showing the full train length against the floor. It requires no props or styling, just the dress and the floor.
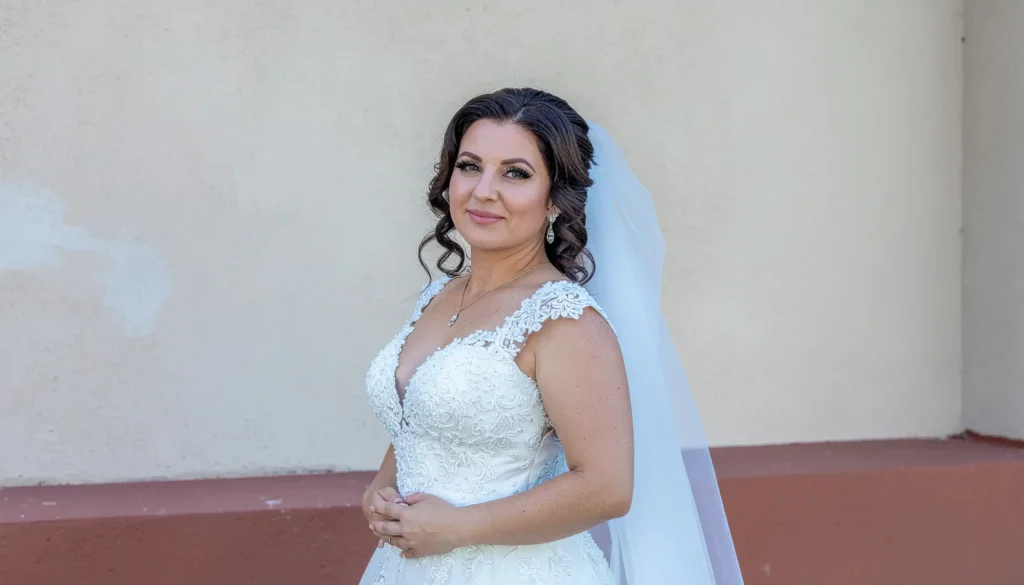
20. Sleeveless Gowns and the Importance of Bare Shoulder Shots
Sleeveless gowns photograph beautifully when the shoulder and neckline area is captured well. The clean line between fabric and skin creates a simple but striking image. The key is posture. Rounded or dropped shoulders change this line and can make the dress look ill-fitting even when it isn’t.
Ask your photographer to give you a posture cue during portrait sessions. A simple “shoulders back and down” reminder before each shot keeps the neckline and shoulder line looking intentional. Small posture adjustments result in noticeably stronger images.
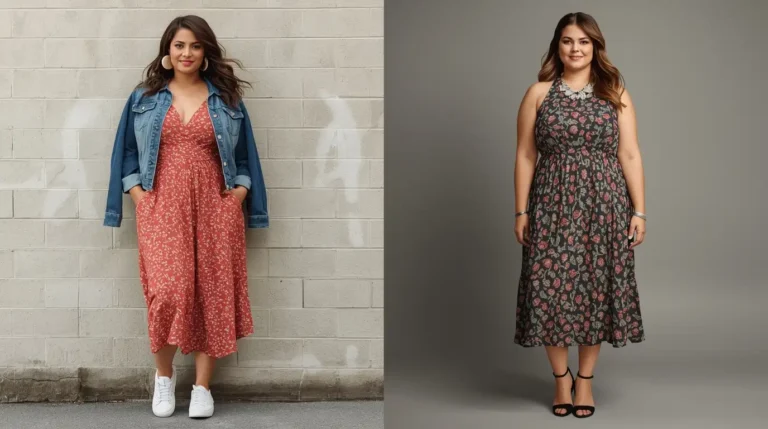
21. A Princess Wedding Dress on a Curvy Bride
Ball gown and A-line silhouettes work well for a range of body types because the skirt creates volume below the waist, which balances the upper body and creates an hourglass shape in photos. The full skirt also gives photographers strong visual shape to work with regardless of the angle.
The key to making this silhouette work in photos is skirt positioning. Make sure the underskirts and petticoats are properly arranged and fluffed before each shot. A deflated or misshapen skirt changes the entire silhouette. Ask your maid of honor to check and adjust the skirt between portrait locations.
22. How a Belt or Sash Defines the Waist in Photos
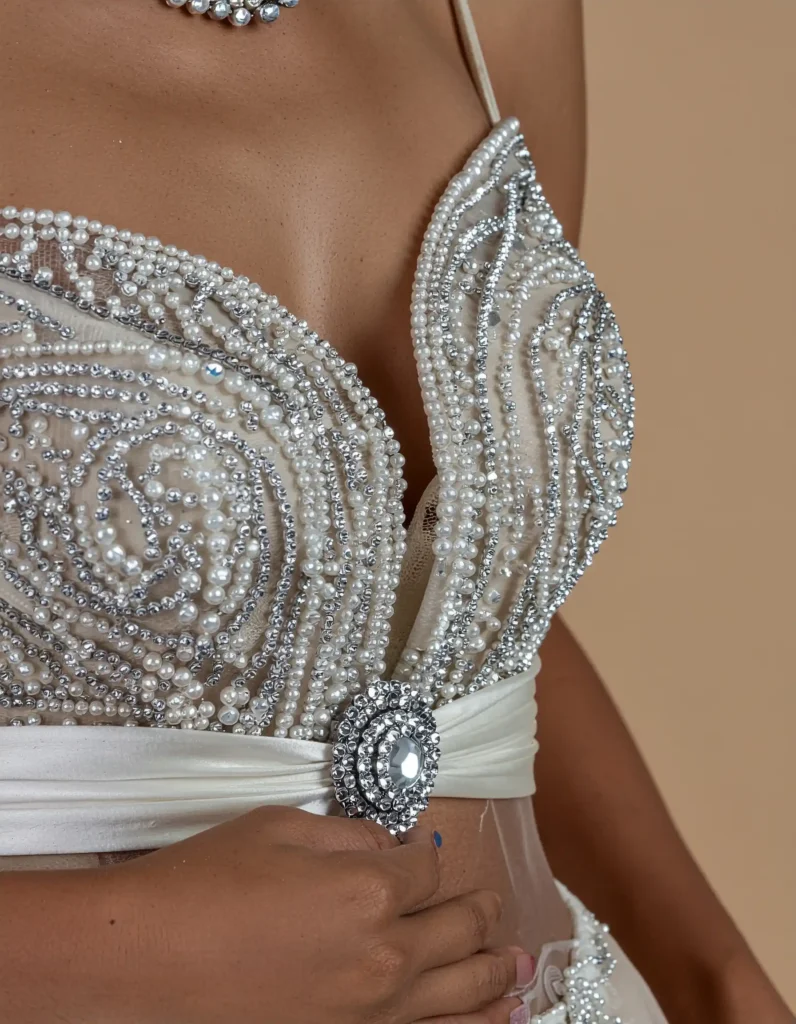
A belt or sash adds a defined focal point at the waist, which gives photos a clear visual anchor. Without one, full-length portraits of ball gowns can sometimes look like an undifferentiated mass of fabric from a distance. A waist detail breaks the vertical line and adds structure.
If your dress doesn’t come with a sash but has a waistband or seam, ask your bridal retailer about detachable sash options. Many bridal boutiques carry them separately. Even a simple satin ribbon tied in a clean knot at the back can create the same visual effect in photos at a fraction of the cost.
23. Outdoor Light and What It Does to White Fabric
White fabric is extremely sensitive to light. In direct midday sun, it overexposes quickly and loses all texture. In golden hour light, it takes on warmth and depth. The fabric looks sculpted rather than flat, and the overall image has a quality that’s difficult to replicate at other times of day.
When you plan your portrait schedule with your photographer, ask specifically when golden hour falls on your wedding date. If possible, block 20 minutes during that window for outdoor portraits. Even in winter months when golden hour is earlier, those images consistently look different from the rest of the gallery.
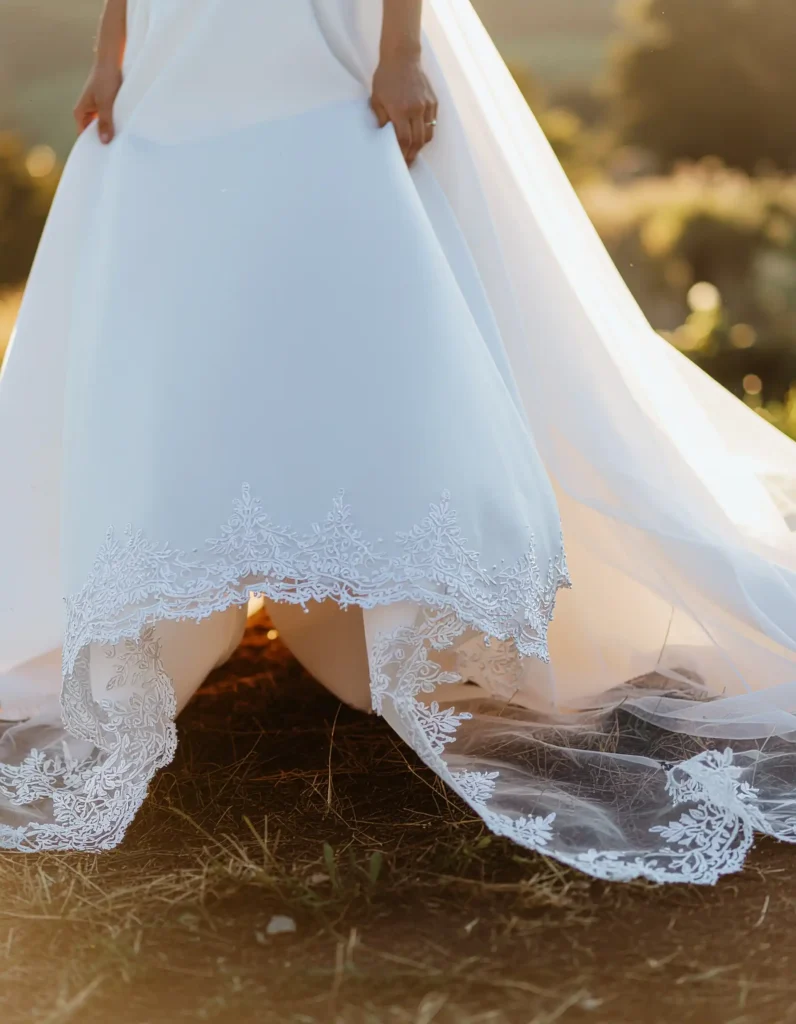
24. The Detail Shot of a Princess Wedding Dress Hemline
Hemline shots are easy to forget but consistently striking in a finished gallery. The ground-level perspective gives the dress a sense of scale, and any lace trim, beading, or scalloped edge along the hem becomes a clear focal point. It’s also one of the few angles that shows the shoes in context.
Ask your photographer to include at least one hemline shot during the detail or portrait session. If your shoes are meaningful, coordinate this shot so both the hem detail and the shoes are visible in the same frame. This is a straightforward addition to any shot list.
25. When the Dress Moves: Walking, Dancing, and Turning Shots
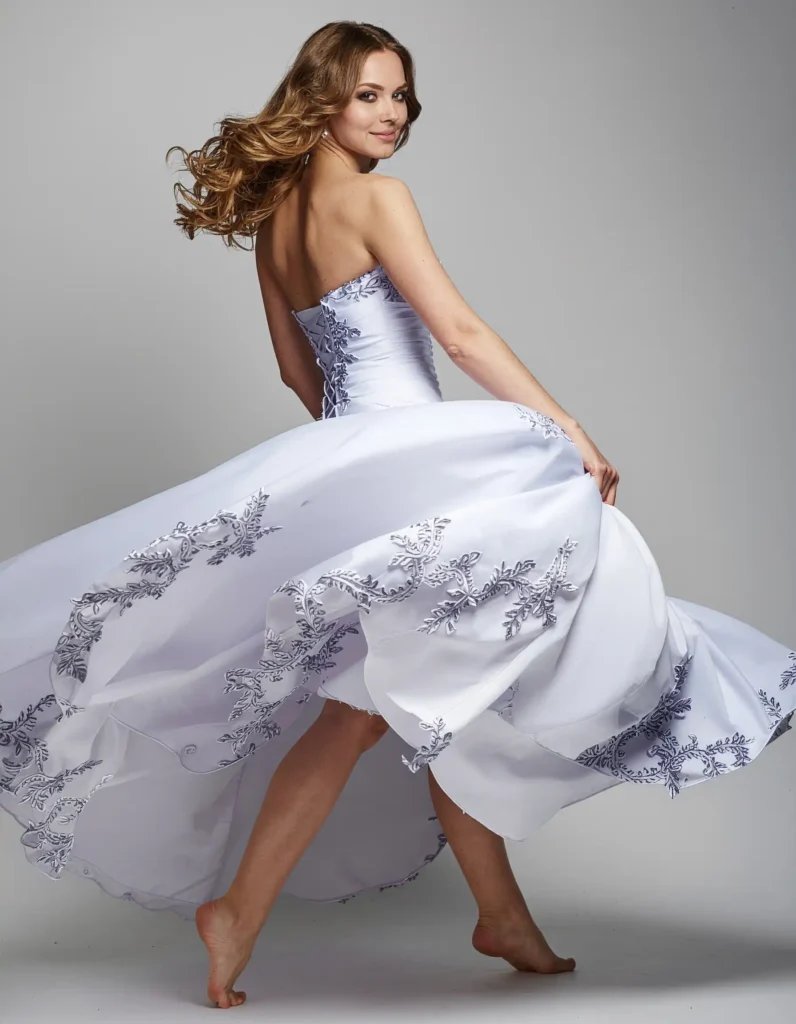
Movement shots capture what still portraits can’t. When a dress is in motion, the fabric behaves differently, tulle lifts, trains sweep, skirts fan out, and these moments reveal construction details and fabric quality that standing portraits never show. They also tend to be some of the most joyful images in a wedding gallery.
Ask your photographer to dedicate five minutes specifically to movement shots. Walk toward the camera, away from it, do a slow spin. Let them shoot in burst mode to catch the best frame. These are quick to take and consistently become the images brides print and frame.
Conclusion:
Your princess wedding dress will be in hundreds of photos. The details you choose now determine which ones you’ll still love ten years from now. Review your shot list with your photographer before the wedding day. Point out the details that matter most to you. A five-minute conversation before the wedding can mean the difference between photos you revisit and ones you skip past.