20 Braided Ponytail Fixes for Fine, Thin, or Short Hair
You have fine, thin, or short hair and every braided ponytail tutorial seems made for someone else. The styles look full and effortless on screen, then completely flat and frustrating on your actual hair. That gap between what you see and what you get is exactly what this guide closes. These 20 fixes are built specifically for your hair type, covering everything from product choices to sectioning tricks that add real volume. No filler. Just honest, practical styling advice you can use today.
1. Why Fine Hair Always Falls Flat in Styles
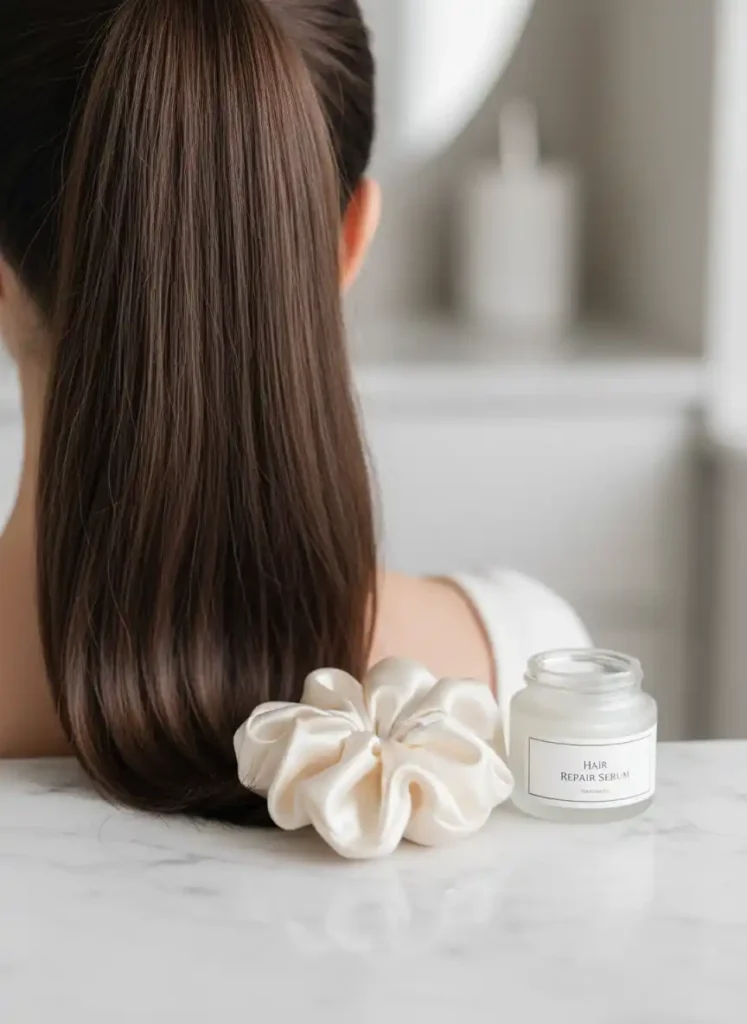
If your hair falls flat the second you pull it back, you are not doing anything wrong. Fine hair lacks the natural grip and bulk that thicker hair has, which makes structured styles harder to hold without the right prep work.
Before you even reach for an elastic, spray a volumizing mousse onto your roots and rough-dry with your fingers. This gives your hair texture it does not naturally have. A small amount of dry shampoo at the base of your ponytail adds friction, which means your style actually stays put instead of sliding down by noon.
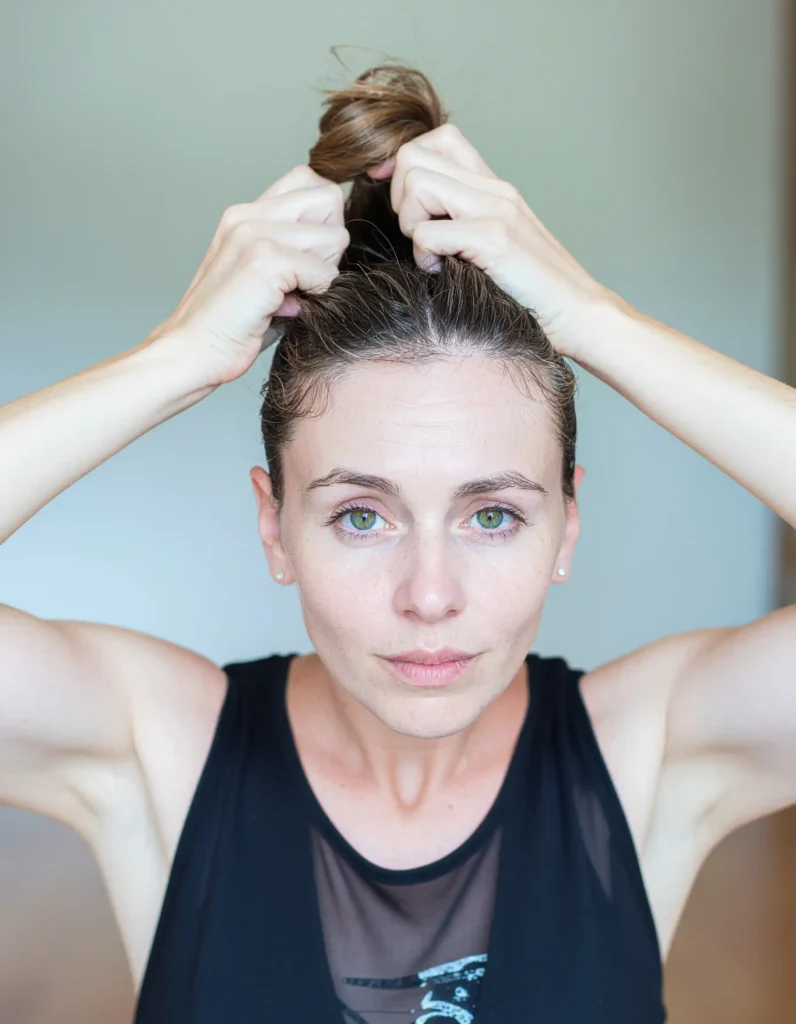
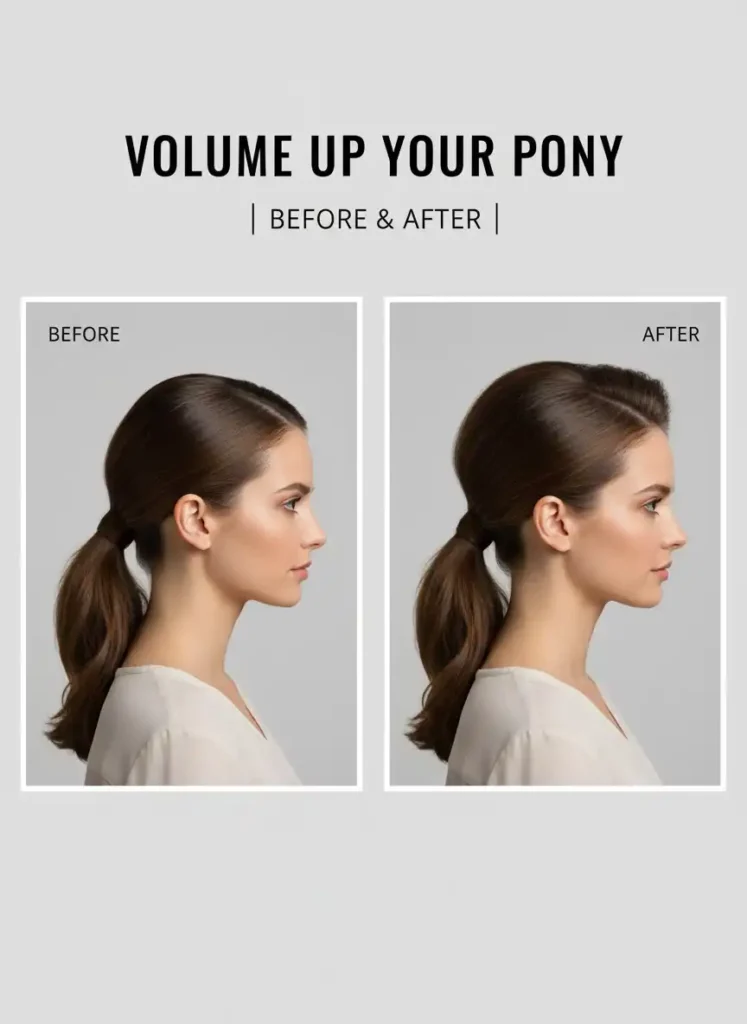
2. The Sectioning Trick That Makes Thin Hair Look Fuller
Most people pull all their hair into one ponytail and wonder why it looks sparse. If you split your hair into two horizontal sections first, the lower layer adds hidden volume that actually shows from the outside.
Clip the top section up and create a small, low ponytail with the bottom layer first. Then bring the top section over it and secure both together with a second elastic. This double-layer method adds the illusion of thickness without adding a single extension. It takes about two extra minutes and the difference is noticeable.
3. How to Add Grip Without Weighing Your Hair Down
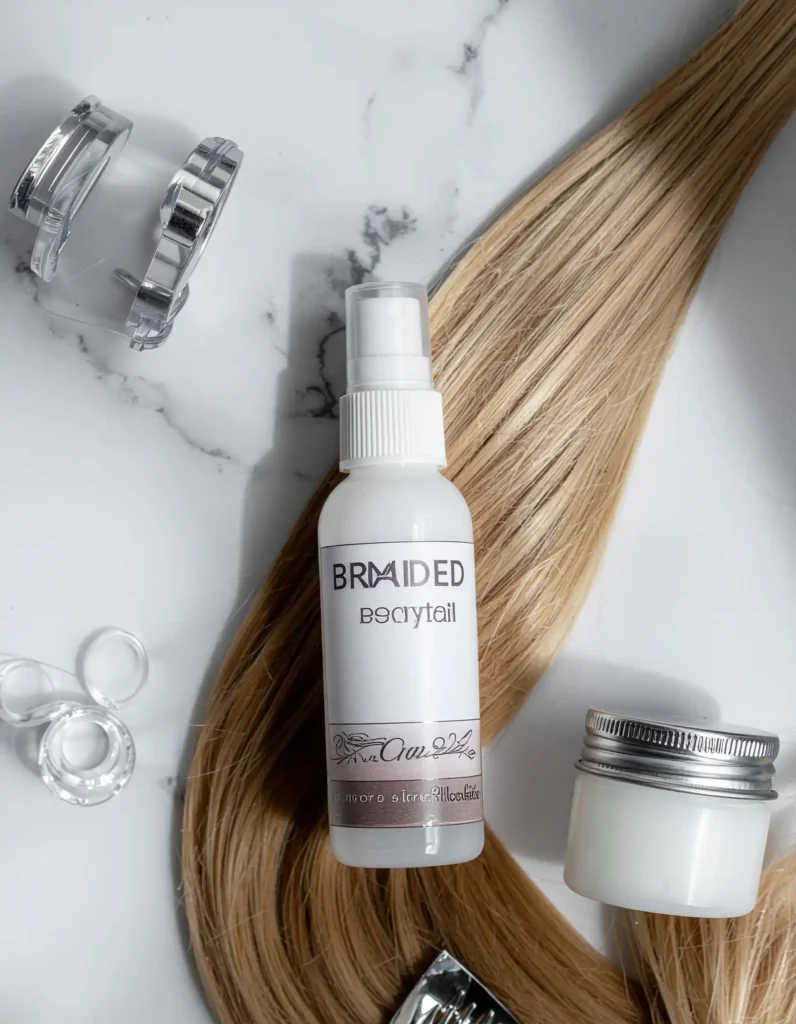
Heavy creams and oils are the reason your braided ponytail slides out before you even leave the house. Fine hair gets weighed down fast, so the products you choose matter more than the technique itself.
Stick to lightweight texturizing sprays or a tiny amount of wax-based paste worked through just the mid-lengths and ends. Avoid applying anything directly to your roots if volume is the goal. A quick pass with a fine-tooth comb after product application ensures even distribution so no section looks greasy or clumped. Less product almost always works better for fine hair.
4. Short Hair Is Not a Barrier to a Good Ponytail
If your hair barely reaches your shoulders, a full braided ponytail can feel out of reach. But short hair actually has more styling options than most people think, as long as you work with what you have.
A sleek low ponytail with a single thin braid wrapped around the elastic looks clean and put-together even on shorter lengths. Use bobby pins to secure any pieces that are too short to reach the base. Face-framing strands pulled out slightly in the front soften the look and draw attention away from the length. Short does not mean limited.
5. Fixing the Flat Crown Problem Once and For All
A flat crown is one of the most common complaints from anyone with fine or thin hair. When you pull your hair back, the top layer gets pressed down and the whole style ends up looking flat rather than polished.
Backcomb the crown section very gently before you pull your hair back. You only need to tease two or three inches at the root, not the entire section. Use a fine-tooth comb or a soft paddle brush to smooth the surface layer over the teased section, so the volume is hidden underneath. Finish with a light-hold hairspray to lock the shape in place without stiffening your hair.
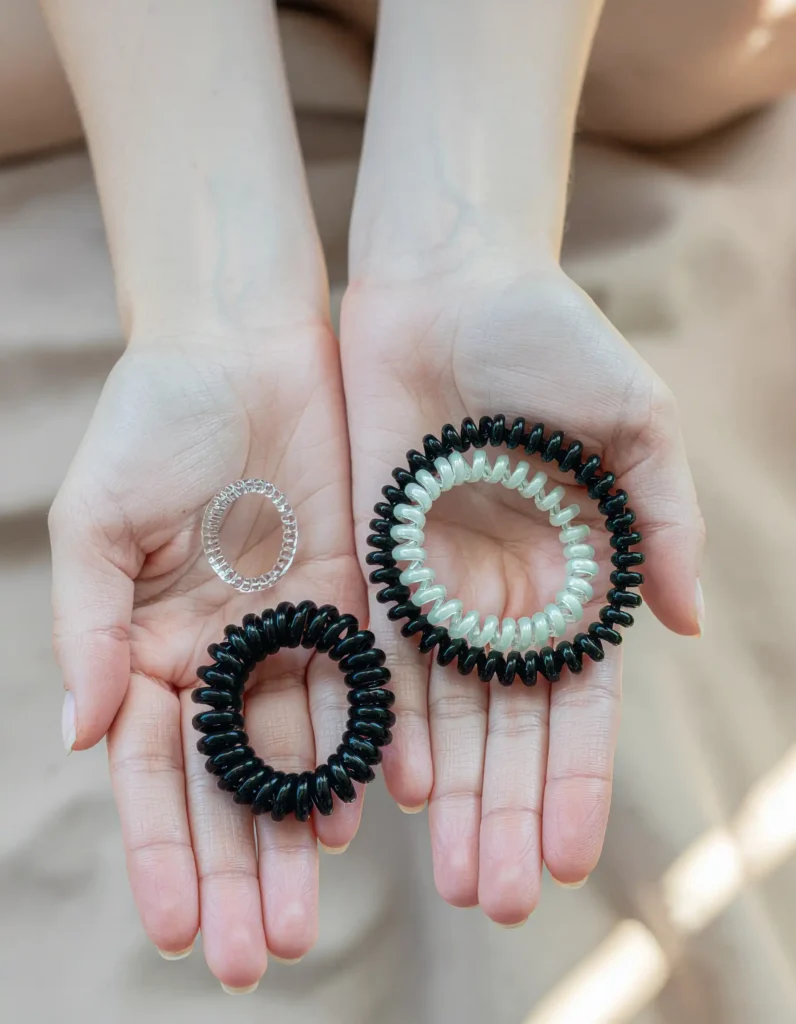
6. Choosing the Right Elastic for a Secure Hold
Not all hair ties are equal, and the wrong one can cause breakage or let your style unravel within an hour. For fine or thin hair specifically, the type of elastic you use affects both the hold and the health of your strands over time.
Spiral hair coils create less tension on fragile hair while still holding the style securely. Clear elastics work well for braided styles because they blend in seamlessly near the braid. Avoid thick fabric bands with metal clasps since they snag fine hair easily. Switching your elastic type is one of the smallest changes you can make that produces one of the most noticeable results.
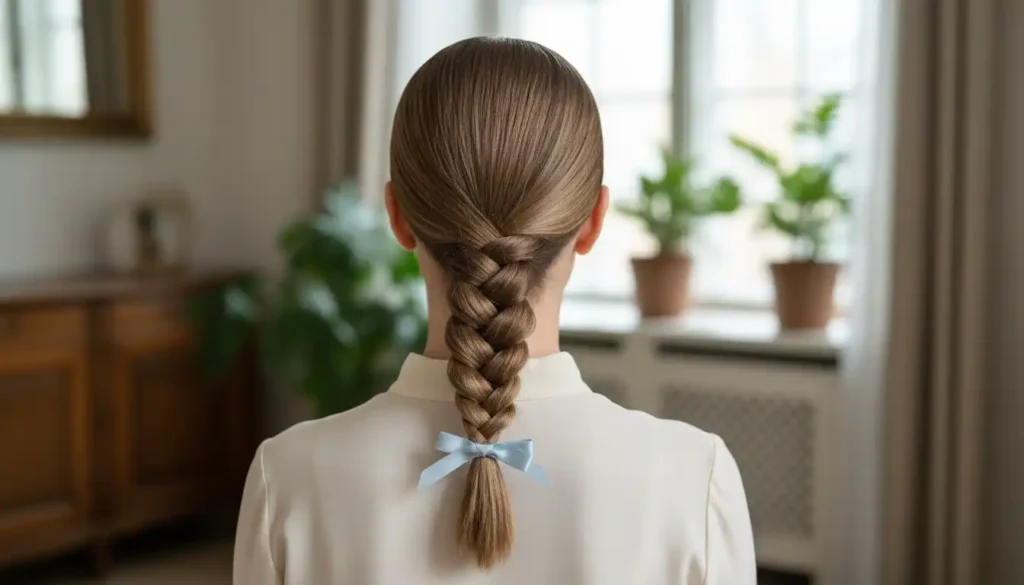
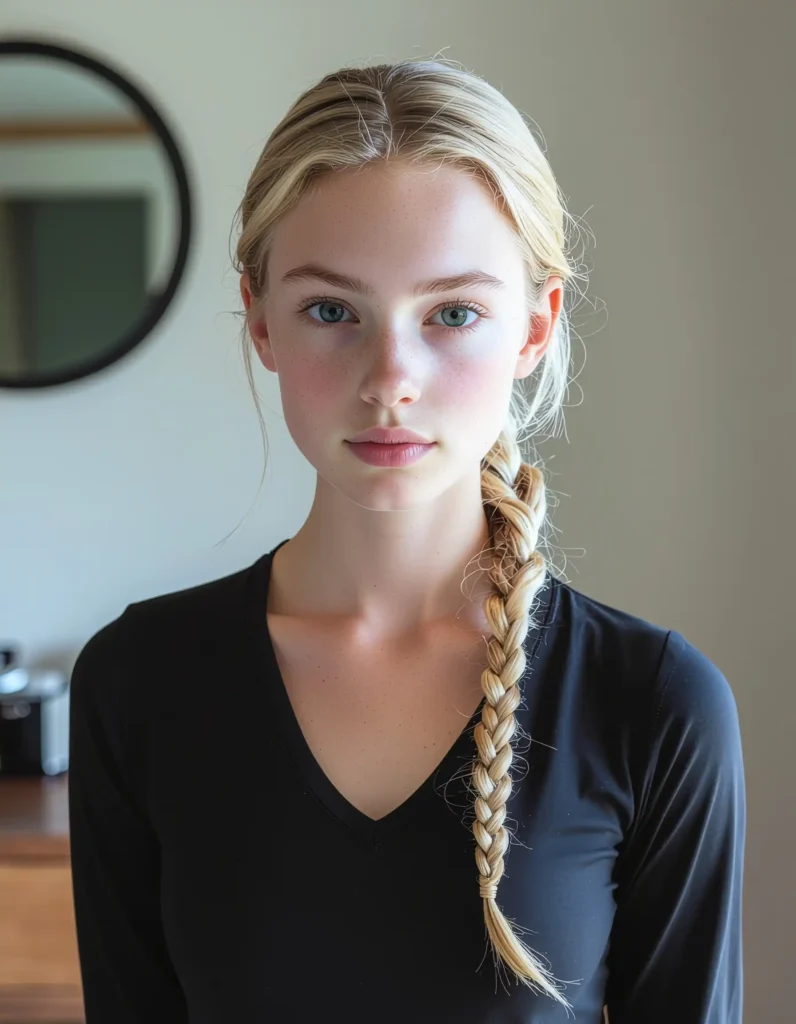
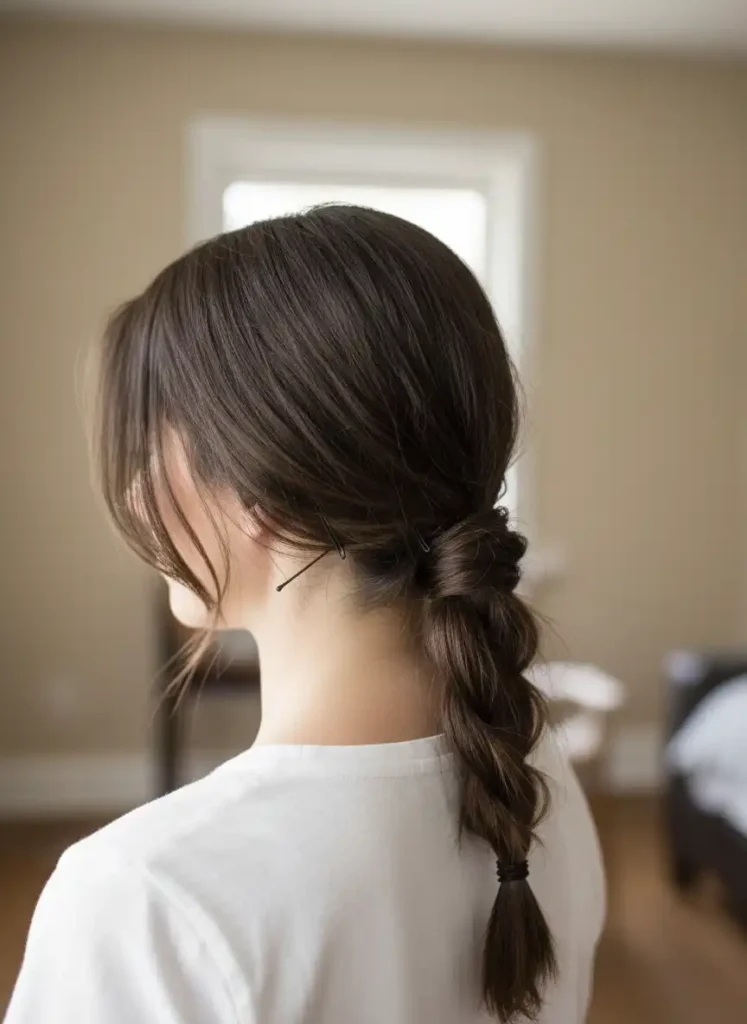
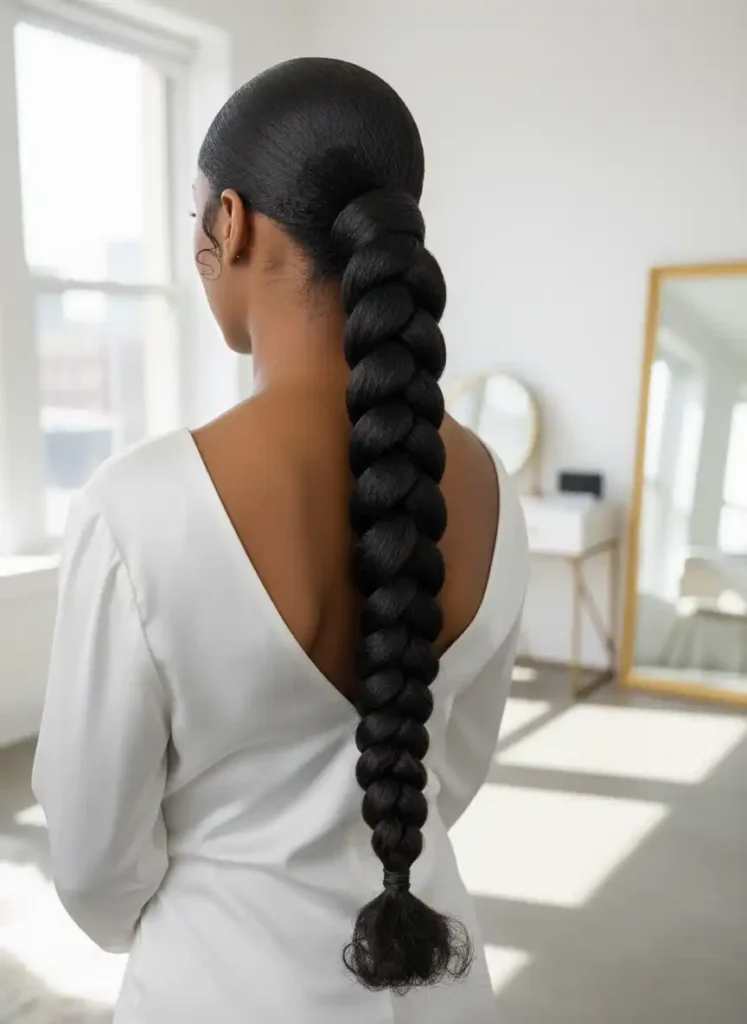
7. The One-Braid Method for Thin Ponytails
If your ponytail looks too thin to braid, a single three-strand braid is actually your best option. It works with whatever volume you have rather than against it, and it looks intentional instead of sparse.
After securing your ponytail, divide it into three equal sections. Braid all the way to the ends and secure with a small clear elastic. Then gently tug at the sides of each braid section to widen it slightly, which gives the braid a fuller appearance without adding any product or padding. This technique, often called pancaking, is the easiest way to fake thickness on a braided style.
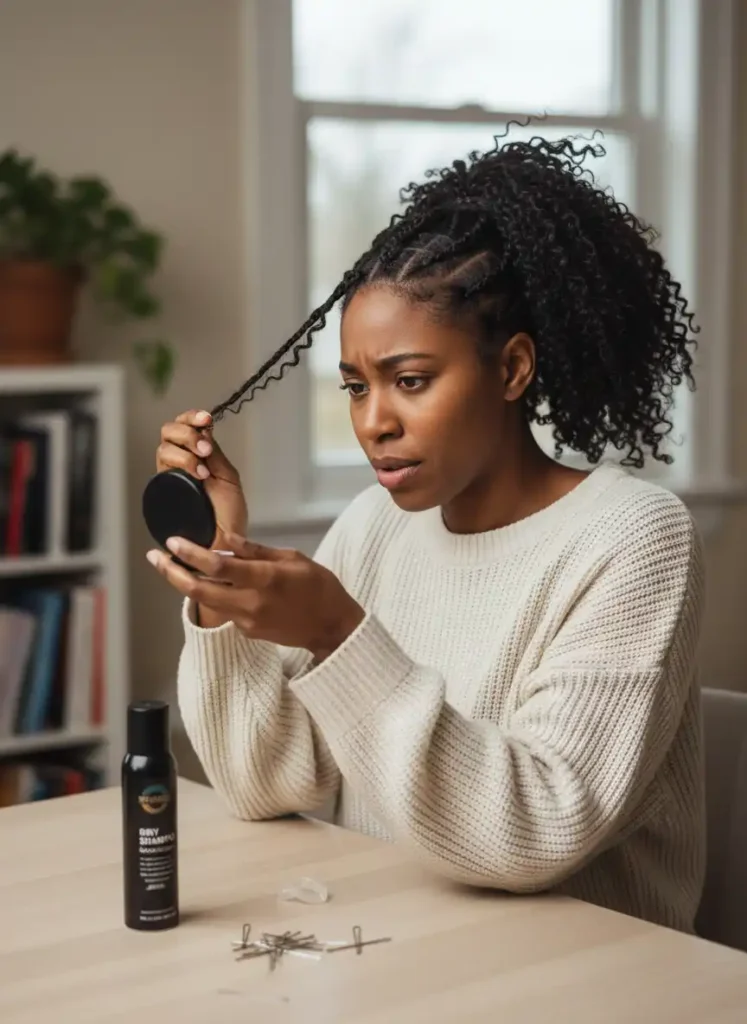
8. How to Make a Braided Ponytail Stay in Fine Hair All Day
Fine hair tends to lose hold faster than thicker hair types, which means most styles start falling apart by midday. The fix is less about skill and more about how you prepare your hair before styling.
Start with second-day hair or add dry shampoo to freshly washed hair before you begin. Clean hair is slippery and gives your braids nothing to grip onto. If you must style on wash day, apply a light hold mousse and let it dry before braiding. Mid-styling, add a small spritz of flexible hairspray at the nape section before you secure your elastic. Finishing with another light mist after braiding gives your style the staying power it needs.
9. Using a Hair Donut to Build Instant Volume
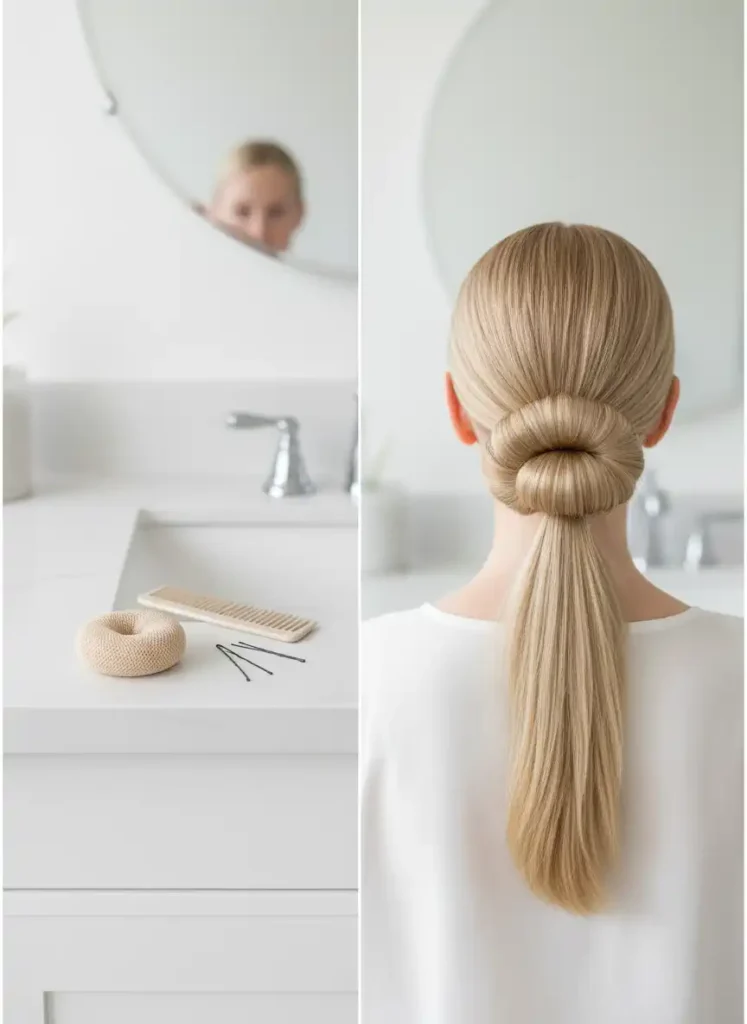
A hair donut is not just for buns. It can give a thin ponytail the structure and shape it is missing, especially at the base where fine hair tends to look limp.
Place the donut at your ponytail base before you braid, or use it to wrap a small section of hair around the elastic to make the base look thicker. Some people thread the ponytail through the donut and fan the hair around it for a fuller silhouette. Either way, it adds shape with zero heat or chemical involvement. This is one of the most underused tools for fine hair styling and it is worth keeping in your everyday kit.
10. When Your Layers Are Too Short to Reach the Elastic
Layers are great for adding movement, but they become a real problem when you try to pull everything back and half your hair is too short to reach. Loose pieces frame the style in the wrong way when you actually wanted everything contained.
Bobby pins are the solution here, but placement matters. Pin shorter layers at the nape by sliding the pin along the scalp horizontally, so it lies flat and stays hidden. For face-framing layers that are too short to pin back, let them stay out and style them intentionally with a small amount of curl-enhancing cream. Owning the loose pieces rather than fighting them makes the whole style look deliberate.
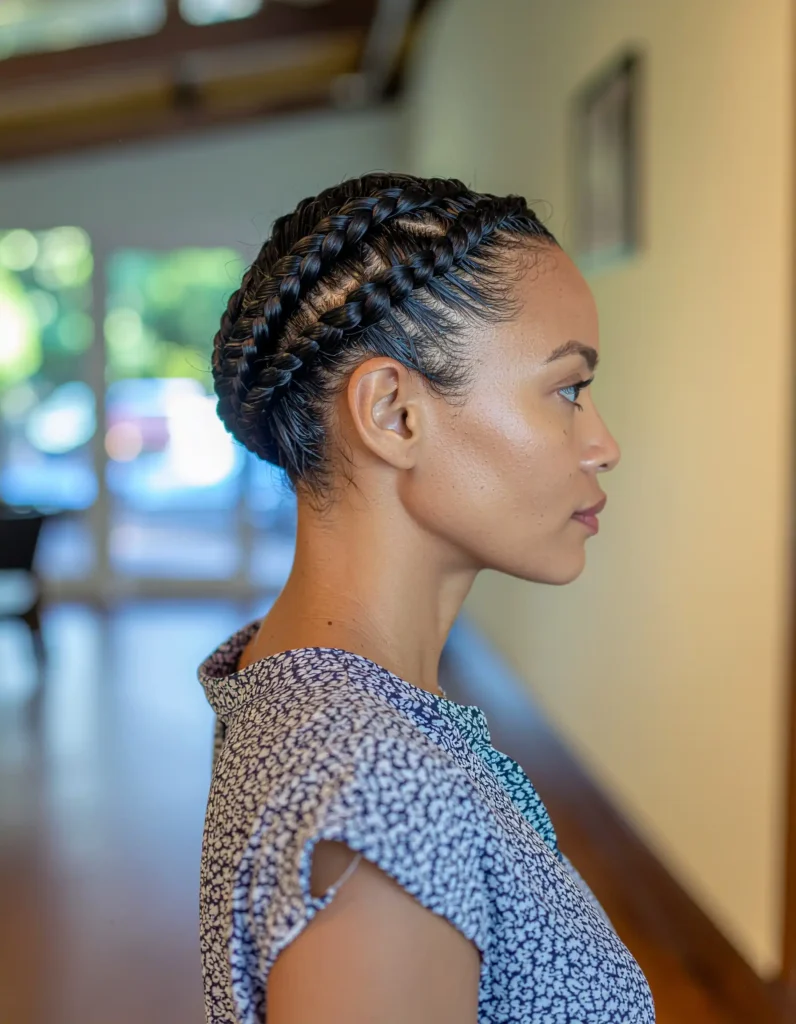
11. Braiding Techniques That Work Best on Short Lengths
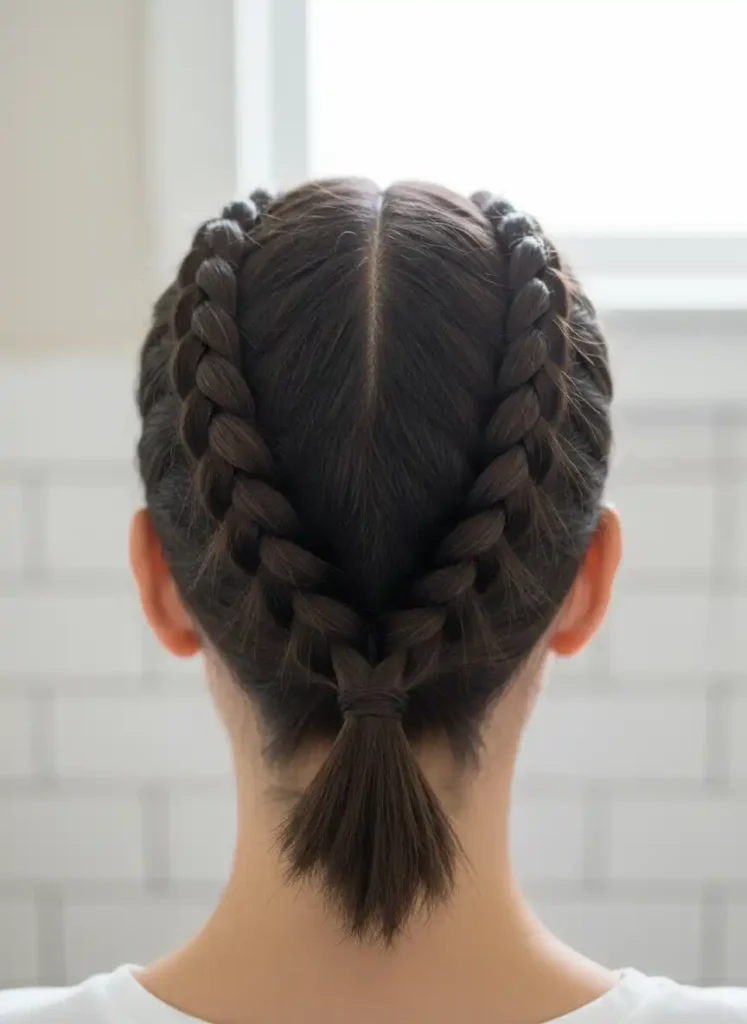
Short hair responds better to certain braid styles than others. A full-length braid is not always realistic, but styles that incorporate braiding into the structure itself work well on shorter lengths.
Two small Dutch braids pulled back into a mini ponytail at the nape is a practical and strong option. The braid starts at the hairline and feeds more hair in as it travels back, so even short layers get incorporated into the structure. This style also adds a lot of visual texture, which actually makes thin hair look more full. It takes practice the first couple of times but becomes much faster once your hands get familiar with the motion.
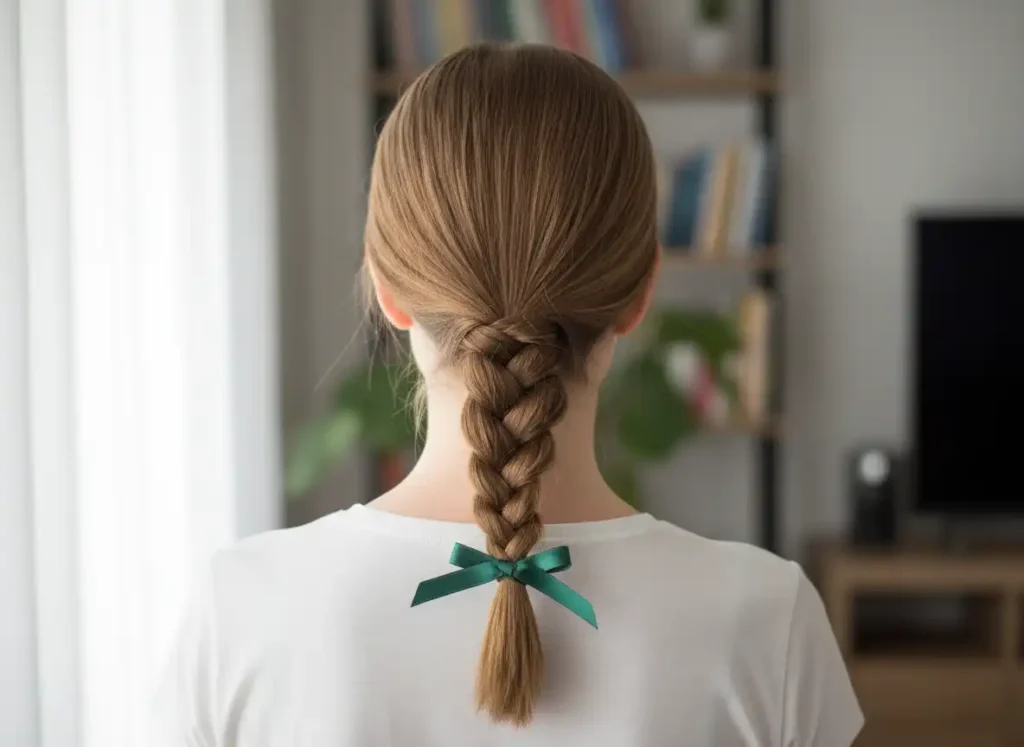
12. How Accessories Can Do the Heavy Lifting for You
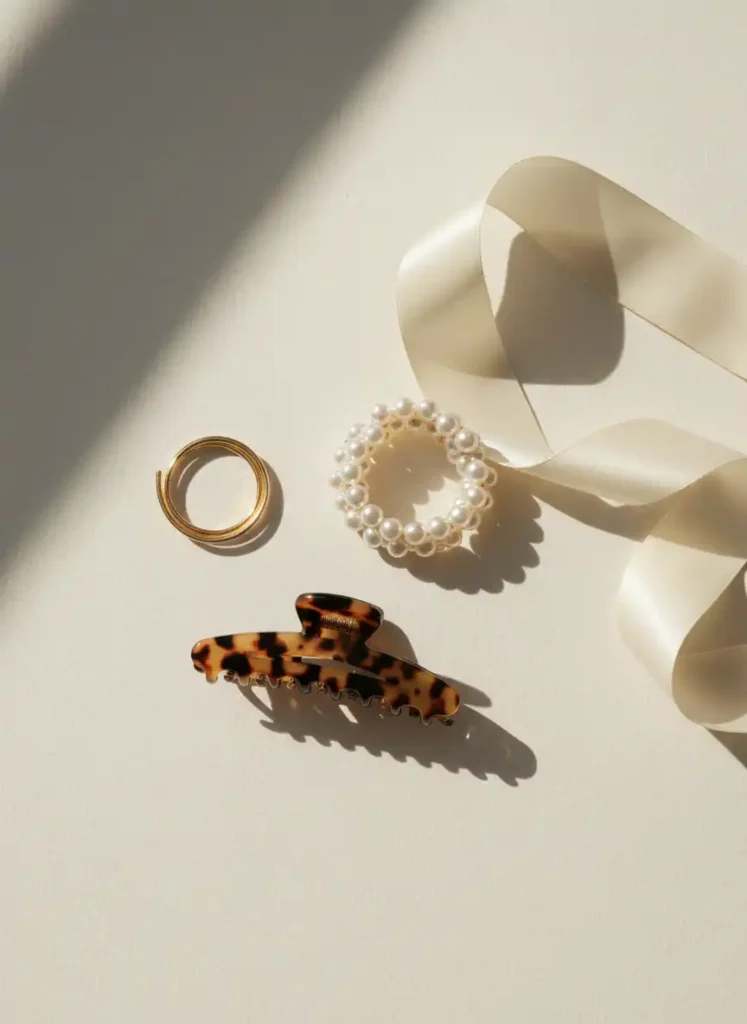
When your hair is fine or short, accessories are not just decorative. They are actually doing functional work by adding visual weight and detail that the hair itself cannot always provide.
A thin satin ribbon tied around the base of your ponytail draws attention to the style rather than the thinness of the hair. Braid rings threaded onto individual sections add interest and break up the visual line of a slim braid. Hair cuffs near the ends finish the style in a way that looks intentional. Accessories are the fastest way to make a simple braided style look styled rather than just pulled back.
13. Fixing a Lumpy or Uneven Braid on Slippery Hair
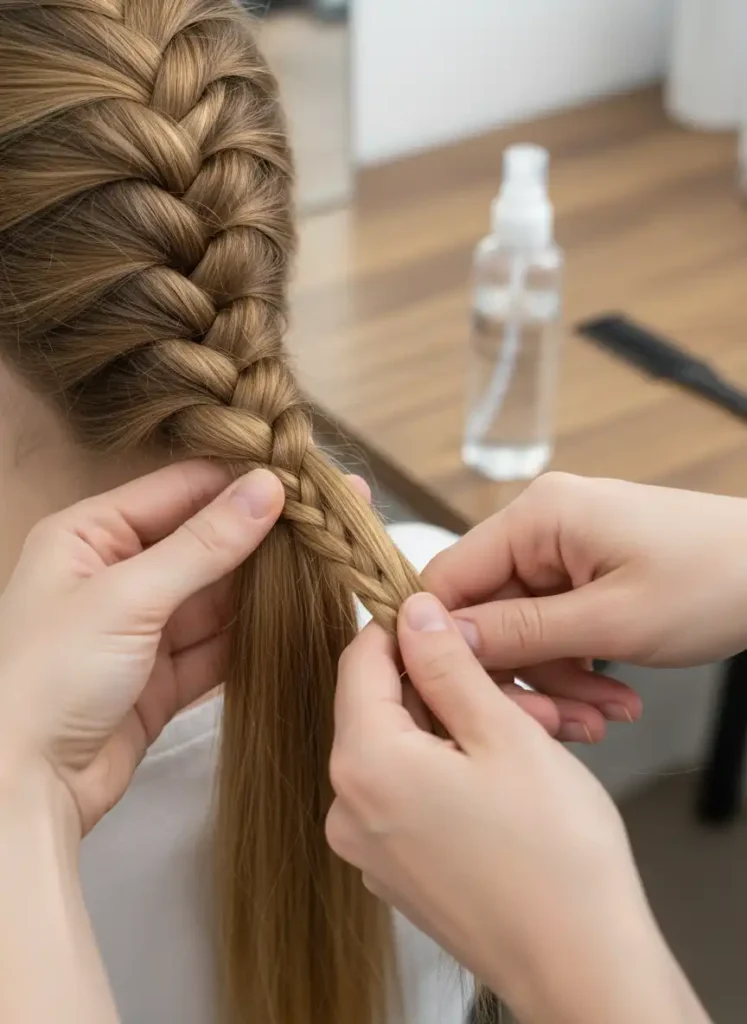
Slippery fine hair shifts during braiding, which causes uneven tension and sections that do not line up cleanly. The braid ends up looking lumpy or lopsided, which is discouraging when you spent time on it.
A small spritz of water or a light texturizing spray on each section before you cross it controls the movement of the hair and gives you more time to position it correctly. Work in smaller sections than you think you need to. Smaller sections create more contact points, which means the braid holds its shape better as it dries. Slow down at the beginning of the braid where tension is most important and the rest will follow much more easily.
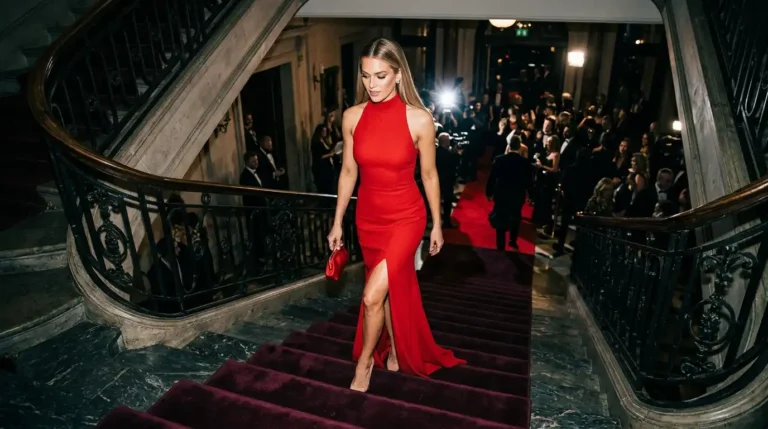
14. Making a Low Style Work for Formal Occasions
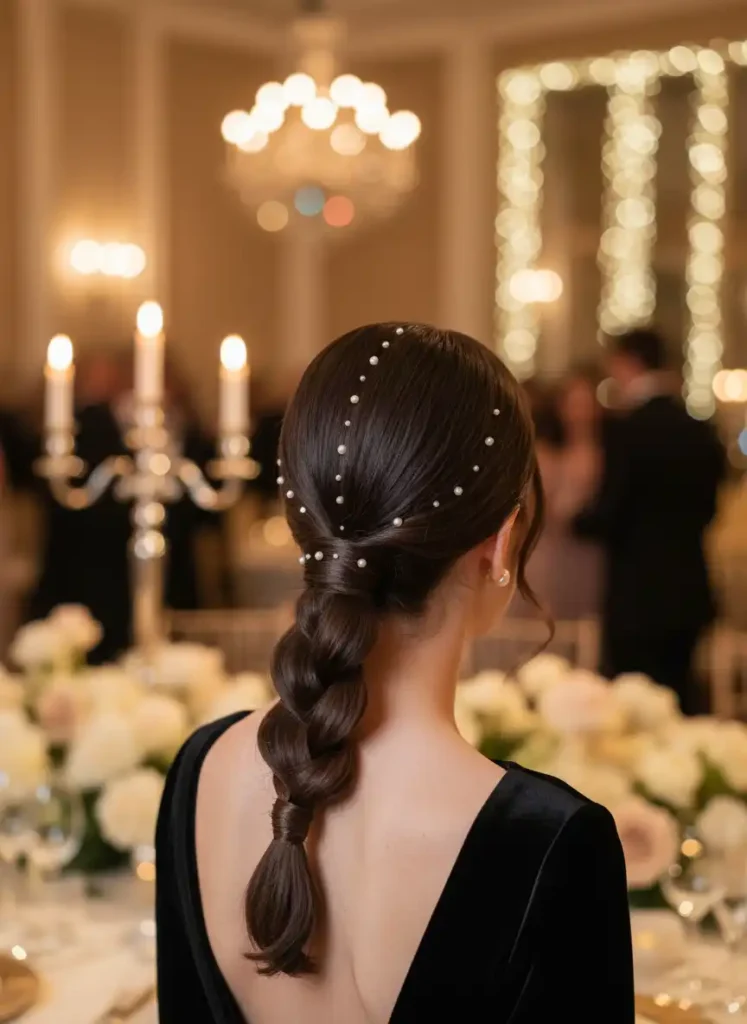
Fine hair does not limit your options for formal events. A low braided style with the right accessories reads as elegant without requiring thick or long hair to pull it off.
Start by pulling your hair into a smooth low ponytail at the nape. Braid the length and secure it. Then press a few small pearl or crystal bobby pins along the parting at the crown to add detail that elevates the simplicity of the style. Pulling two thin face-framing pieces from the front and leaving them loose softens the overall look. This approach takes the style from practical to occasion-ready without much extra effort.
15. The Role of Heat Prep in Making Braids Last Longer

Adding a small wave or bend to your hair before braiding is a practical trick most people overlook. Slightly textured hair grips itself better during braiding and holds the finished style longer than completely straight hair.
Use a small-barrel curling wand to add loose waves through your ponytail before you braid it. Always apply a heat protectant spray first, especially on fine hair which is more vulnerable to heat damage. Once the waves cool completely, run your fingers through them to soften and then begin braiding. The added texture gives the braid body and makes it look fuller once you pancake the sections out gently.
16. Avoiding Breakage When You Braid Fine Hair Regularly
Braiding fine hair often, especially with tight elastics, causes breakage over time. The damage usually starts at the nape and hairline, where the hair is already thinner and more fragile.
Rotate where you place your ponytail so you are not creating tension at the same point every day. Use silk or satin scrunchies instead of rubber-based elastics for everyday styles. A small amount of lightweight argan oil on your ends before braiding reduces friction between strands during the braiding process. If you notice more shedding than usual, take a week off from tight styles and use a nourishing leave-in conditioner on damp hair before air drying.
17. Quick Fixes When Your Style Starts Falling Apart
Your braided style does not have to come completely undone just because a few sections have loosened. A two-minute fix is usually enough to get you through the rest of the day without starting over.
Keep a small kit with you that includes a clear elastic, a few bobby pins, and a travel dry shampoo. If the base is loose, wrap a new elastic just below the old one for added security. Pin any escaped sections flat against the back of the head rather than trying to re-braid them. A quick shot of dry shampoo at the root refreshes any limpness. You do not need to redo the whole style to make it look neat again.
18. Building Confidence With Styles That Suit Your Length
Working with short, fine hair means accepting that not every style will look the way it does on longer or thicker hair, and that is completely fine. The styles that actually work for your length will look far better than forcing ones that do not.
A micro ponytail at the nape with one thin braid running through it is a clean, modern look that works on hair that barely passes the chin. Two small side braids pinned back instead of pulled fully into a ponytail give the same effect with more security. The goal is finding two or three styles that work consistently for you so styling becomes fast and stress-free rather than a daily experiment.
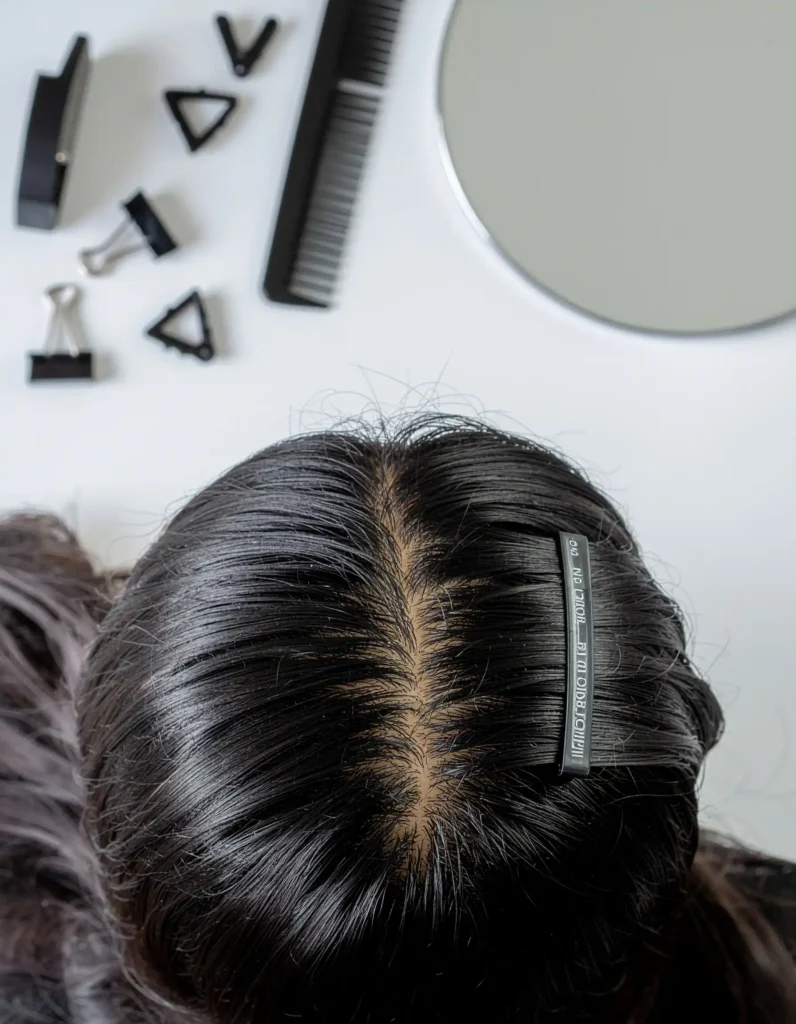
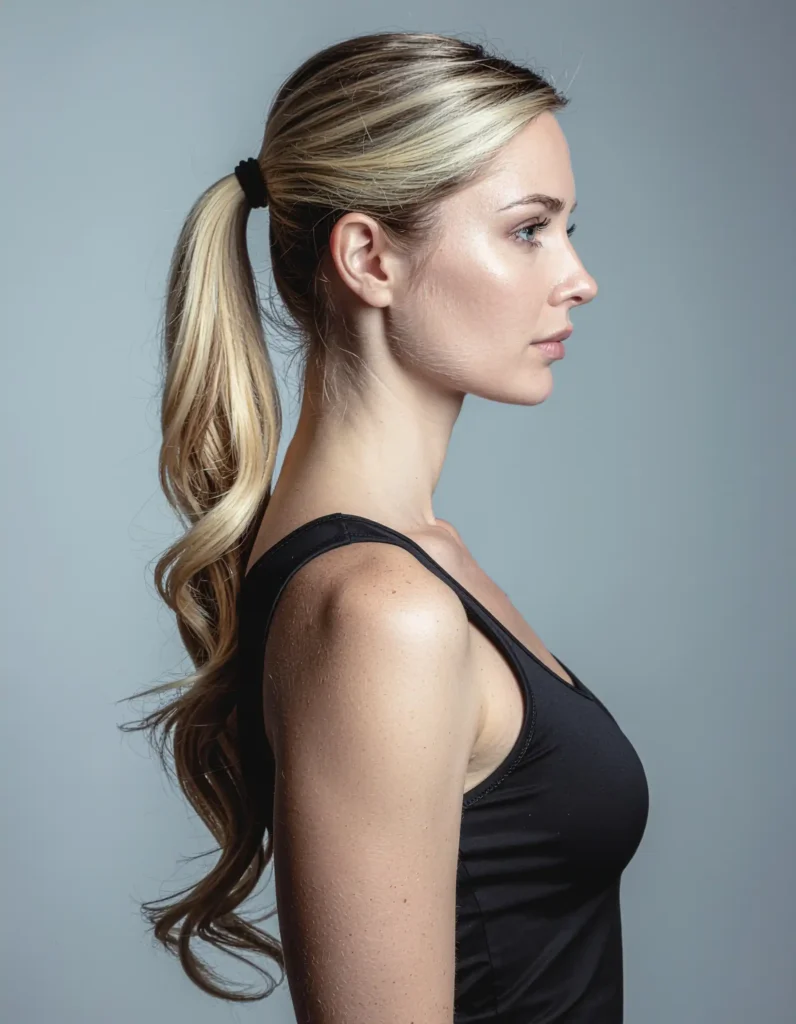
19. Why the Right Part Changes Everything

Your part placement has a bigger impact on the final look of your style than most people expect. A center part on fine hair creates a flat, even split that shows the scalp more and reduces visible volume significantly.
A deep side part adds instant lift at the crown by breaking the symmetry and pushing volume to one side. This creates the illusion of more hair at the top of your head without any product or tools beyond a comb. When you pull the style back into a ponytail from a side part, the top section sits higher and looks fuller. Experiment with moving your part further to the side than feels comfortable and you will likely see an immediate difference.
20. How to Finish a Braided Ponytail So It Looks Intentional
The difference between a style that looks done and one that looks like you just pulled your hair back comes down to the finishing details. Fine hair especially benefits from a clean finish because there is less volume to hide small imperfections.
Wrap a thin section of hair around the elastic at the base before securing it with a bobby pin underneath. This single step makes the whole style look more polished. Smooth any flyaways along the top section with a soft bristle brush and a light mist of flexible hold spray. If your ends look scraggly, twist them slightly before securing the final elastic. These small finishes take under a minute and make the style look like you spent twice as long on it.
Conclusion:
Fine, thin, or short hair does not have to hold you back from wearing a braided ponytail you actually feel good in. The fixes in this guide work because they are built around your hair type, not against it. Start with one or two changes, see what works for your texture, and build from there. Small adjustments add up faster than you expect. Your hair has more potential than you think.