21 Wedding Guest Hairstyles That Work Without a Stylist

Booking a stylist for a wedding you’re attending, not hosting, feels like a lot. It costs anywhere from $75 to $200 for a blowout or updo, and coordinating timing around a ceremony is its own headache. The good news is that most of the hairstyles you see at weddings are far more achievable at home than they look.
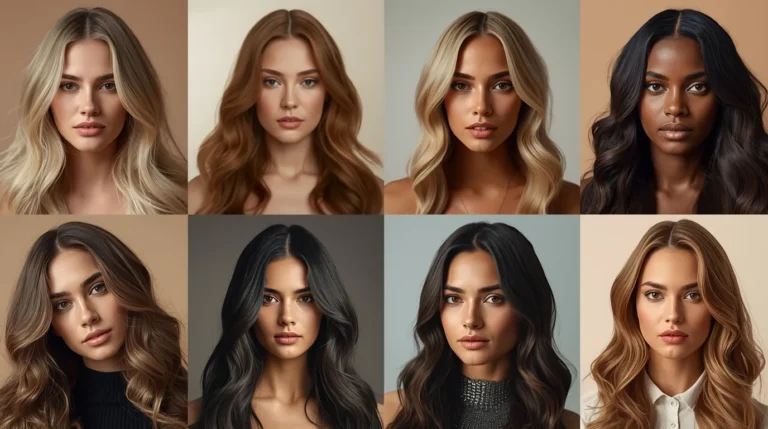
This list covers 21 real options, organized by hair type, length, and effort level. None of them require professional training. Some take under ten minutes. Others take closer to thirty, but they hold all day and photograph well, which is the actual goal when you’re attending someone else’s wedding.
1. Low Twisted Chignon

The low twisted chignon is one of those styles that looks curated without being overdone. You gather your hair at the nape, divide it into two sections, twist each section over itself, then wrap them together and pin. That is genuinely it. The trick is not pinning too tightly. Loose, slightly imprecise pins give the style its texture and keep it from looking flat.
It works across hair lengths from chin-length bobs to mid-back hair, and it photographs beautifully from every angle. If your dress has an open back or interesting neckline, this style is an active choice rather than a default one, because it shows off what you are wearing rather than competing with it.
2. Soft Half-Up Knot
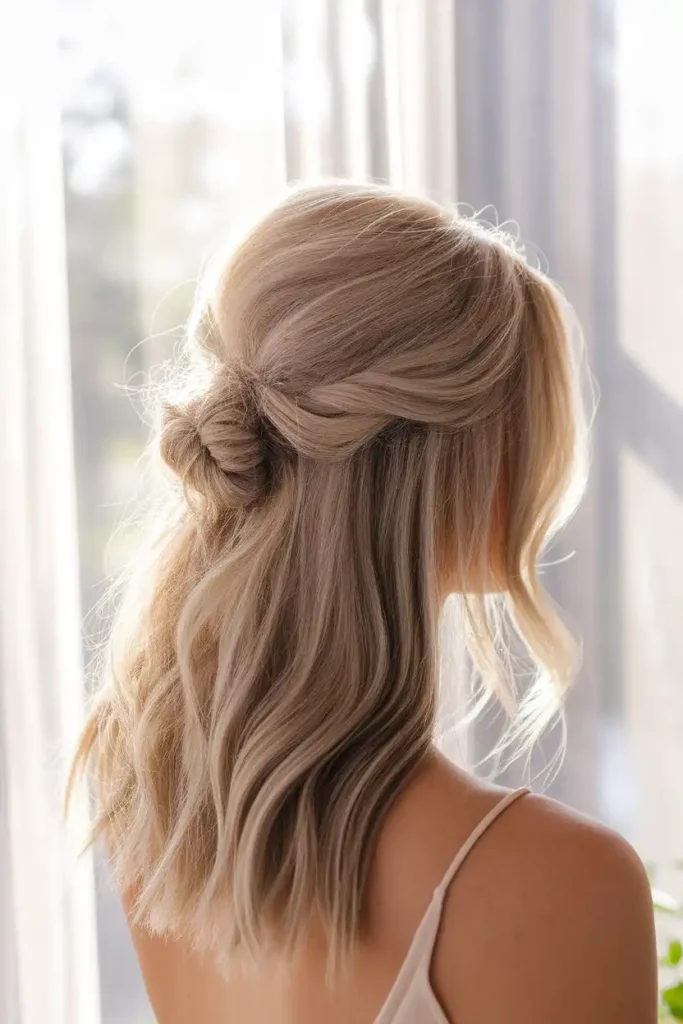
The half-up knot works because it splits the difference between doing nothing and doing a full updo. You take the top half of your hair, twist it into a loose knot at the crown or slightly behind it, and secure with two or three bobby pins. Pull it apart very slightly to loosen the knot and add volume. Done.
This style looks great on wavy, straight, and lightly textured hair. It also buys you some flexibility if your hair falls flat by the evening. You can pull more sections up as the day goes on, which means the style adapts with you rather than just surviving.
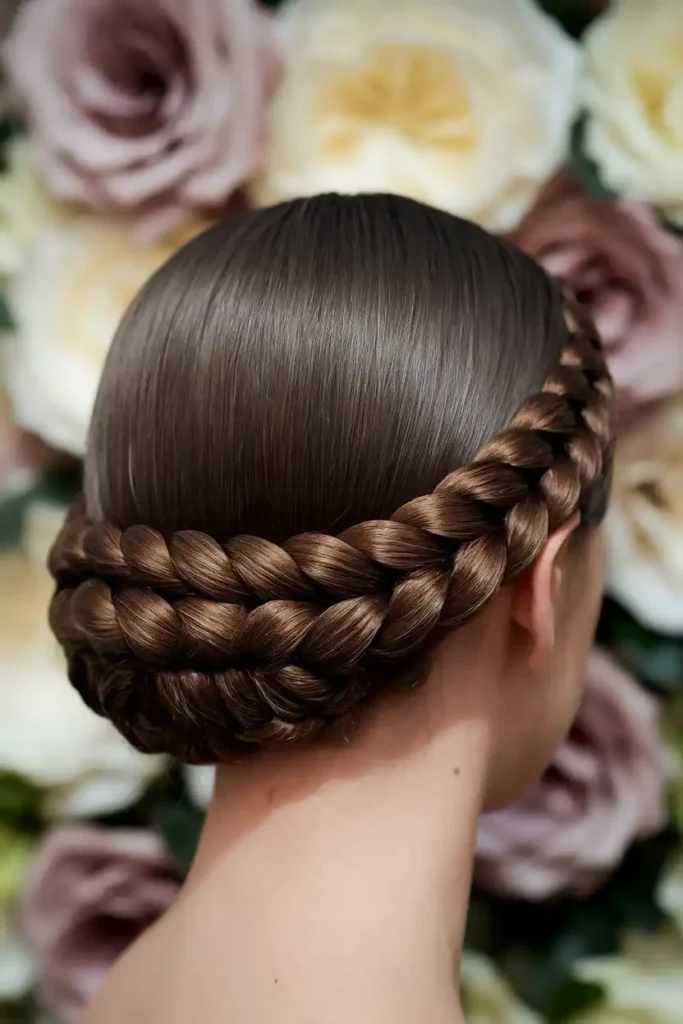
3. Braided Crown
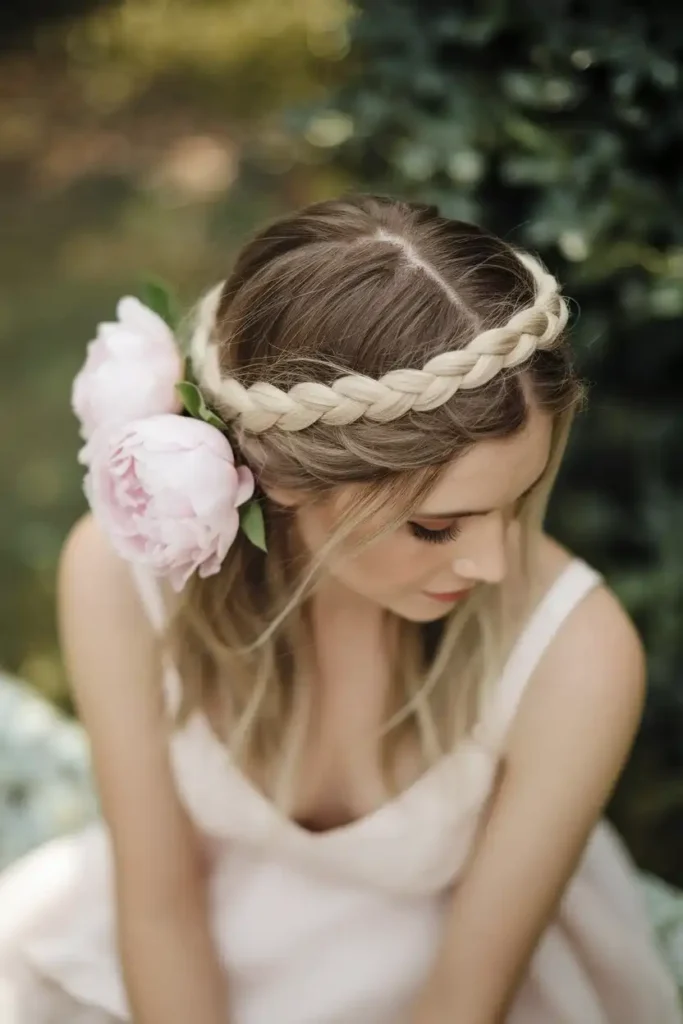
The braided crown sounds complicated, but if you can do a standard three-strand braid, you can do this. Start with two braids, one on each side, then wrap them across the top of your head and pin the ends under the opposite braid. Add a few pins along the hairline to secure. The style holds better than most people expect, especially with a little dry shampoo or texturizing spray added before you start.
Fresh or faux flowers tucked into the braid make this work for outdoor weddings with a garden or wildflower aesthetic. Skip the florals for a more formal ceremony and the result looks structured and intentional. It keeps hair completely off your face in heat, which is a practical reason it shows up at outdoor summer weddings constantly.
4. Classic Sleek Low Ponytail
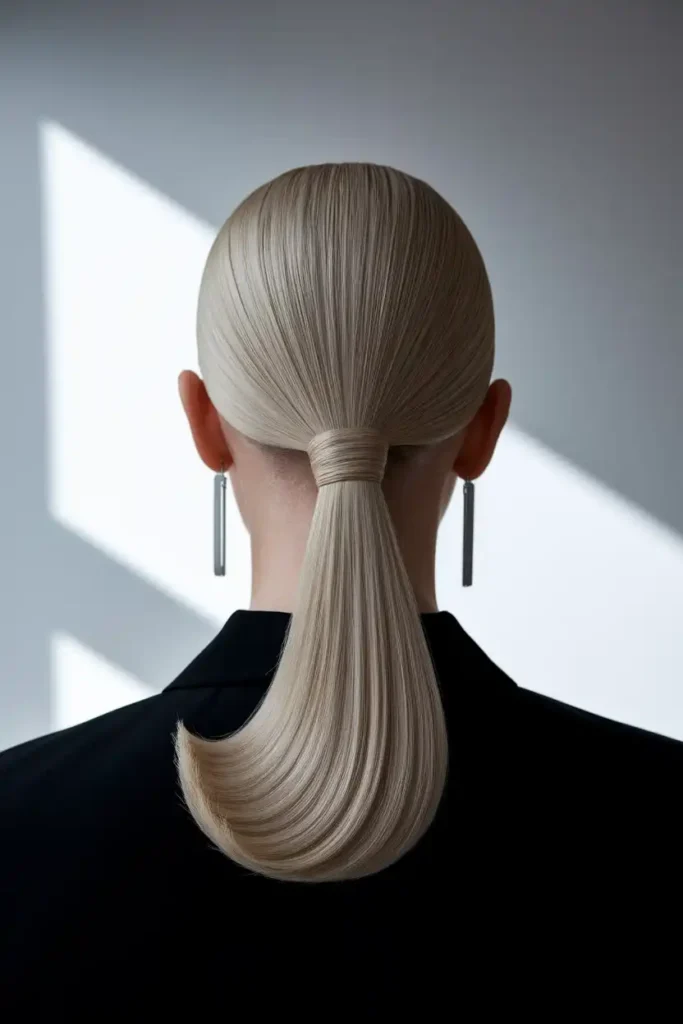
A sleek low ponytail is the most underrated style on this list. Done with care, it reads formal. The key is surface smoothness. Apply a small amount of hair gel or edge control to the top layer before brushing everything back. Secure with an elastic, wrap a strand of hair over it, and pin that strand underneath. Use a fine-tooth comb to smooth any bumps.
Long drop earrings are the natural companion here because the style bares your neck and ears entirely. The look works particularly well for cocktail attire and black-tie-optional dress codes. It holds through dancing, outdoor heat, and a full dinner, because a ponytail with product in it has nowhere to go.
5. Voluminous Blowout
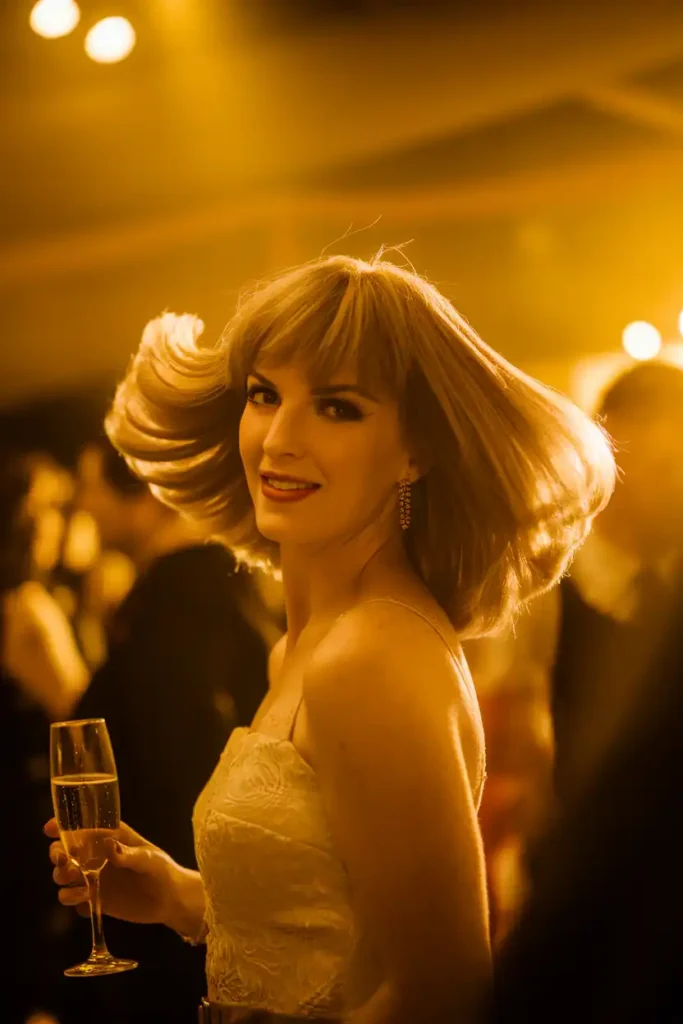
A proper blowout at home takes about 20 minutes if you work in sections. Divide your hair into four or five horizontal layers, working from the bottom up. Use a round brush and a blow dryer on medium heat, rolling each section under or away from your face depending on the direction you want. Finish with a cool shot of air to set the curl and add shine.
The voluminous blowout is a strong choice if you are wearing a wedding guest outfit that already has a lot going on, because the hair stays out of the way stylistically while still looking polished. It also transitions from ceremony to reception without any adjustments, which is useful when you are navigating a full day of events with no opportunity to touch up.
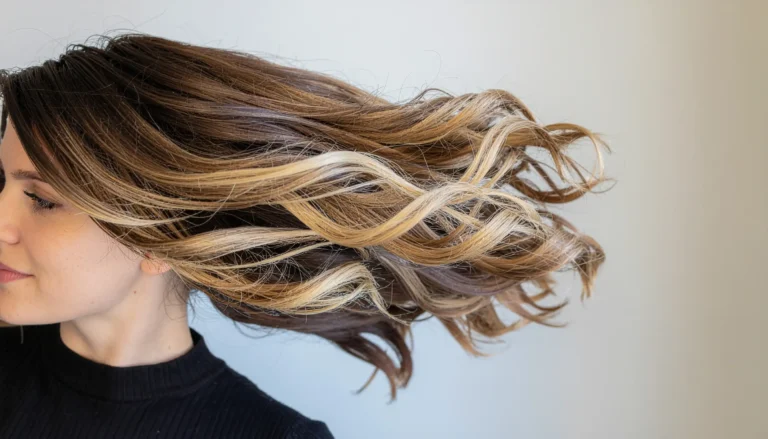
6. Romantic Loose Waves
Loose waves are achievable with a 1.5-inch curling iron or wand. Wrap sections of hair away from your face, hold for eight to ten seconds, and release without touching the curl while it cools. After all sections are done, run your fingers through gently to break the waves apart. Finish with a light-hold hairspray rather than a stiff one, because you want movement, not a helmet.
The secret most people miss is alternating the direction of your curls. Some sections wrap forward, some wrap back. This prevents the hair from fusing into one large curl and creates that natural-looking variation. Waves like this work across most hair types and lengths and they last through a four-hour reception without much maintenance.
7. French Twist
The French twist is older than most hairstyle trends and has stayed relevant precisely because it works. Gather your hair at the nape, twist it upward toward the crown while rolling it inward, and pin along the fold. The foundation is a vertical line of bobby pins that you then tuck the roll over. It takes a couple of attempts to feel confident, but once you get the muscle memory, it takes under ten minutes.
Hair grips better when it is not freshly washed. Day-old or second-day hair, with a little dry shampoo if needed, gives you more friction to work with and a more textured, secure result. The French twist is especially good for fine hair because the roll itself creates the appearance of volume and density.
8. Bubble Ponytail

The bubble ponytail crossed from editorial to real-life wearable territory in the last few years and it has stayed there. Pull your hair into a high ponytail, then add elastics down the length every three or four inches. After each elastic is placed, gently pull the hair between the sections outward to create the rounded, bubble shape. That is the entire technique.
It works on any length from a short ponytail that creates two or three bubbles to longer hair that can hold five or six. The style is higher-energy than a sleek low ponytail, so it fits better with a cocktail dress at a more fashion-conscious wedding than it does at a formal black-tie event. A few face-framing pieces pulled out near the temples soften it considerably.
9. Knotted Headband Style
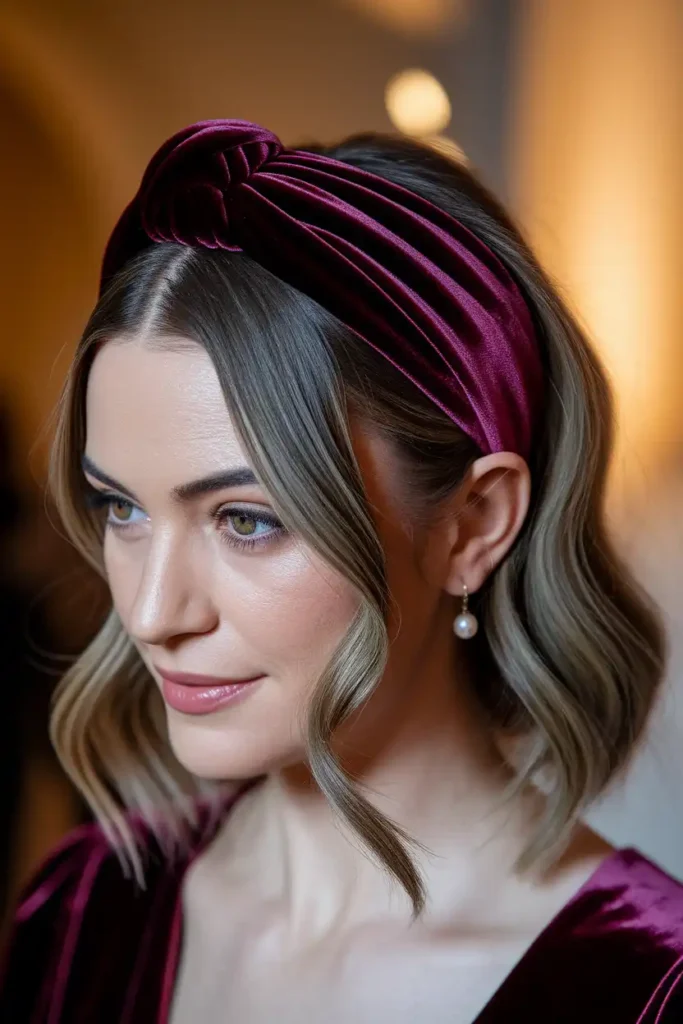
A fabric or velvet headband does enormous lifting if your hair is doing less. This style is less about technique and more about selection. Wide knotted headbands in satin, velvet, or grosgrain read as intentional accessories rather than practical fixes. Pair them with hair left down in waves, a half-up style, or even a low bun for a layered look.
The headband works particularly well for guests with shorter hair or those who are not confident with complex styling. It frames the face and adds visual interest without requiring any skill to apply. Match the headband color to a detail in your outfit rather than your hair color, and the result looks considered and cohesive rather than thrown together.
10. Side-Swept Braid
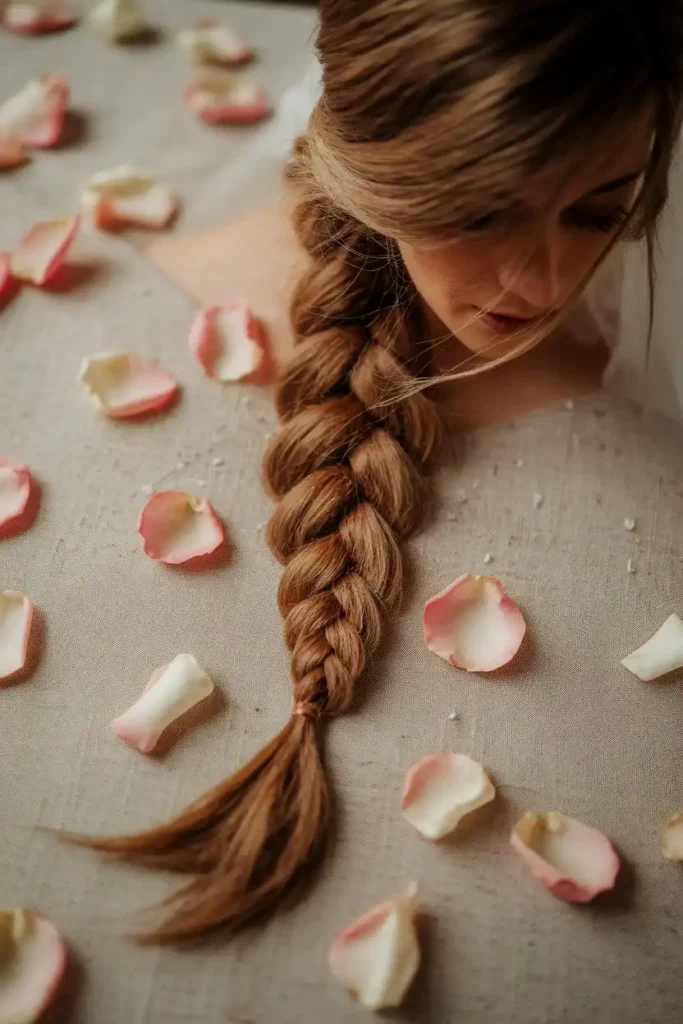
The side-swept braid is a reliable choice for outdoor and garden weddings. A regular three-strand braid brought over one shoulder already looks intentional, but you can elevate it by pulling gently on the outer edges of each section after braiding to loosen the whole thing. The wider and messier the braid, the more editorial it reads. The tighter and neater, the more classic.
It keeps all of your hair contained and away from your face, which matters when you are outdoors in any kind of breeze or heat. A few braids are also strong enough to keep curled sections in place if you start with waves before braiding, which gives you a hybrid texture result once the braid is released later in the evening.
11. Messy Bun with Tendrils
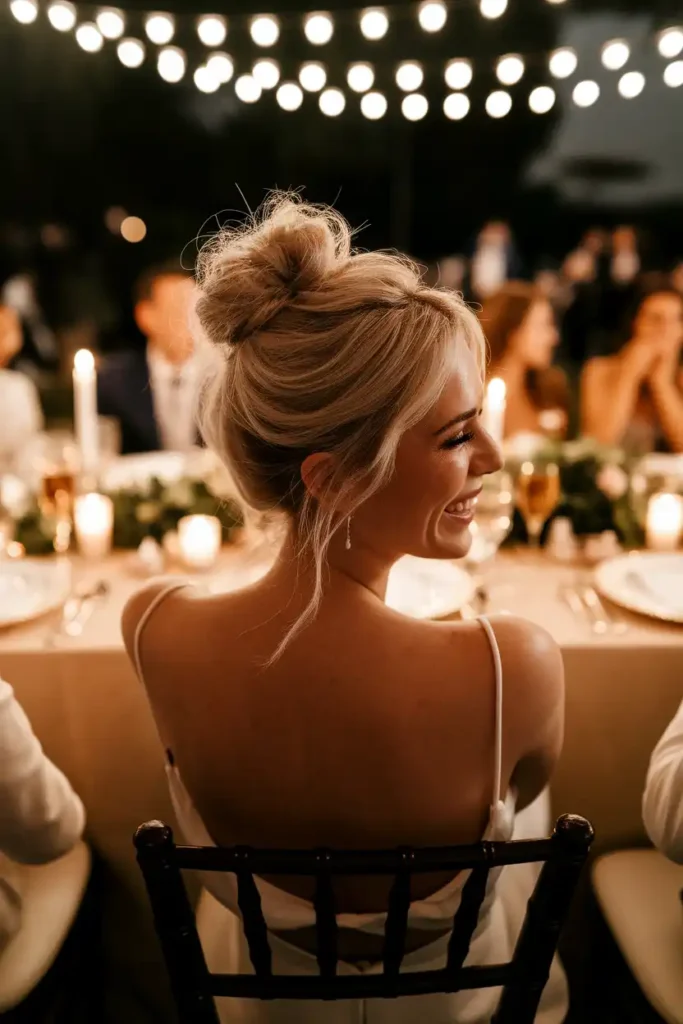
The messy bun is the most customizable style on this list because imperfection is the point. Pull your hair into a ponytail at the crown, then twist and loop it into a bun without pulling the ends all the way through. Pin whatever is falling, pull a couple of sections loose near the face, and leave them. Hairspray the tendrils lightly so they stay put without stiffening.
Height and placement make a big difference to how formal this reads. A bun at the very top of the head with tendrils looks playful and casual, ideal for garden parties and daytime ceremonies. The same technique applied lower, at the occipital bone, reads significantly more formal. Rhinestone or pearl pins tucked into the bun dress it up without changing the structure.
12. Rope Braid Updo
A rope braid uses two sections instead of three. You twist each section in the same direction, then wrap them around each other in the opposite direction. The opposing tension is what creates the twisted, rope-like structure. Once braided, you can coil it at the nape and pin it into a compact updo or leave it as a braid over one shoulder.
The rope braid updo looks more complex than it is, which is exactly the point. The texture created by the twisting adds visual detail that a standard braid or low bun does not have. If you are using it as an updo, start with dry or day-old hair for maximum grip, and do not worry about it being too perfect. Slight imperfections read as texture.
13. High Gloss Ponytail
The high gloss ponytail is a power move. It takes the smoothest version of a sleek low ponytail and moves the whole thing to the crown of your head. The challenge is eliminating every bump from the base of the neck to the elastic. Use a boar bristle brush or paddle brush, apply a gel or pomade to the outer layer before brushing, and use one hand to hold the hair while the other smooths.
This style works particularly well with off-the-shoulder necklines, column dresses, or any outfit where a completely clean, unobstructed silhouette matters. It is a modern interpretation of a classic style and it photographs sharply, which is an advantage when wedding photography tends toward candid and documentary rather than posed.
14. Braided Half-Up with Floral Accent
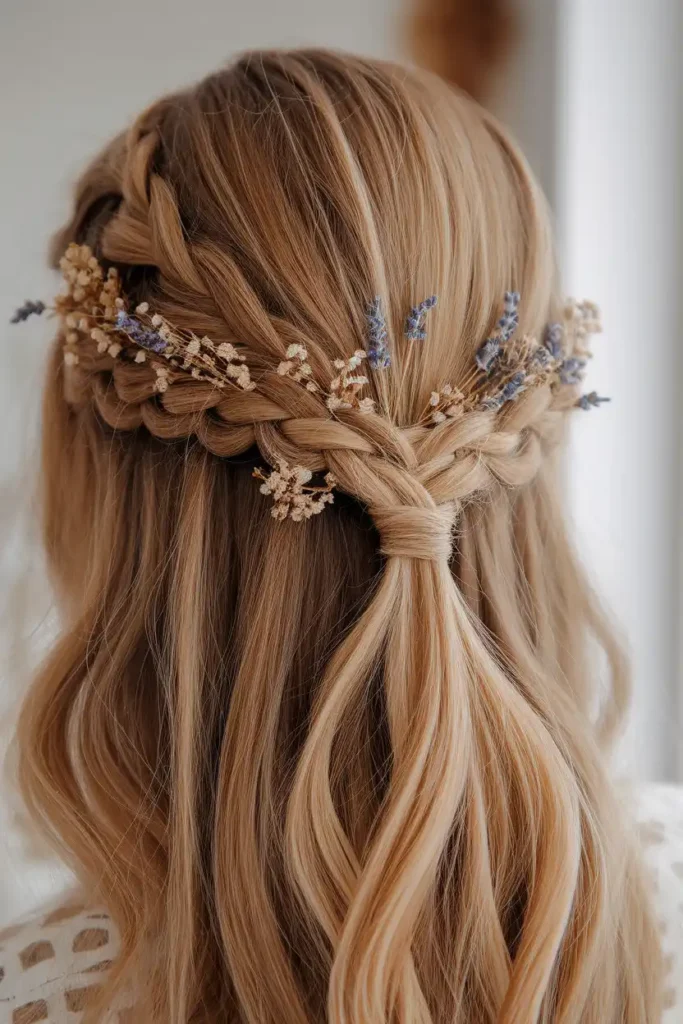
This style combines two elements that individually require minimal effort. Start with a braid running along the top section of your hair, French-braid style or a simple three-strand, depending on your skill level. Pin it at the back. Then tuck small dried or faux florals into the braid at intervals. Fresh flowers work too, but dried ones last longer through a warm day without wilting.
The floral accent is the part that does the most visual work and requires the least technical skill. You are essentially decorating a braid, which you can make as simple or complex as you like. This style works best at outdoor, garden, or bohemian-style weddings where the whimsy feels in context rather than out of place.
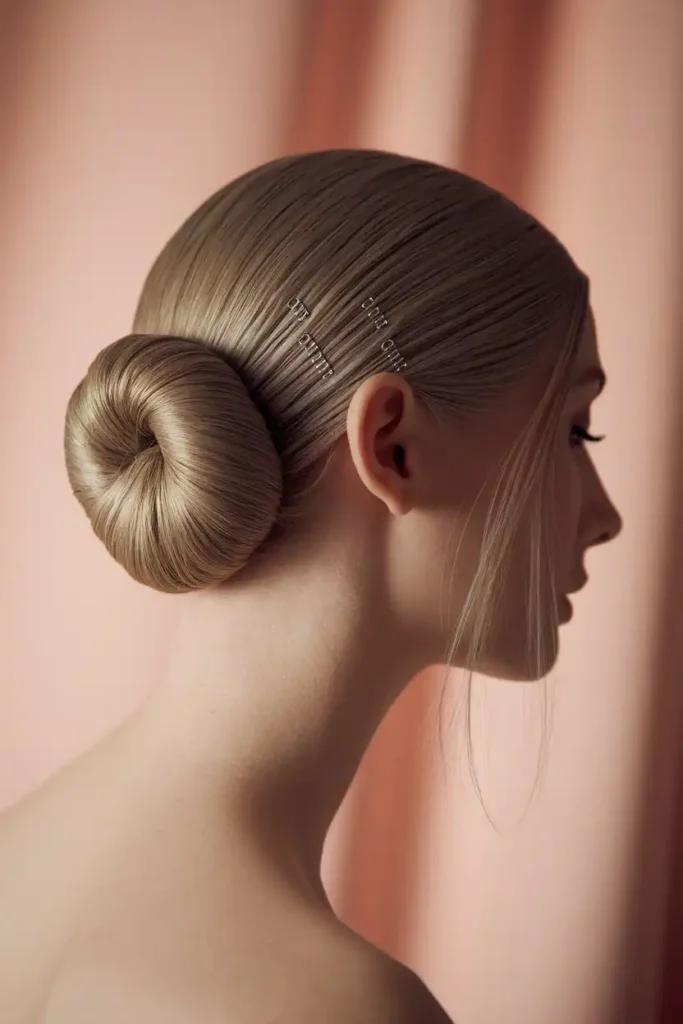
15. Textured Low Bun
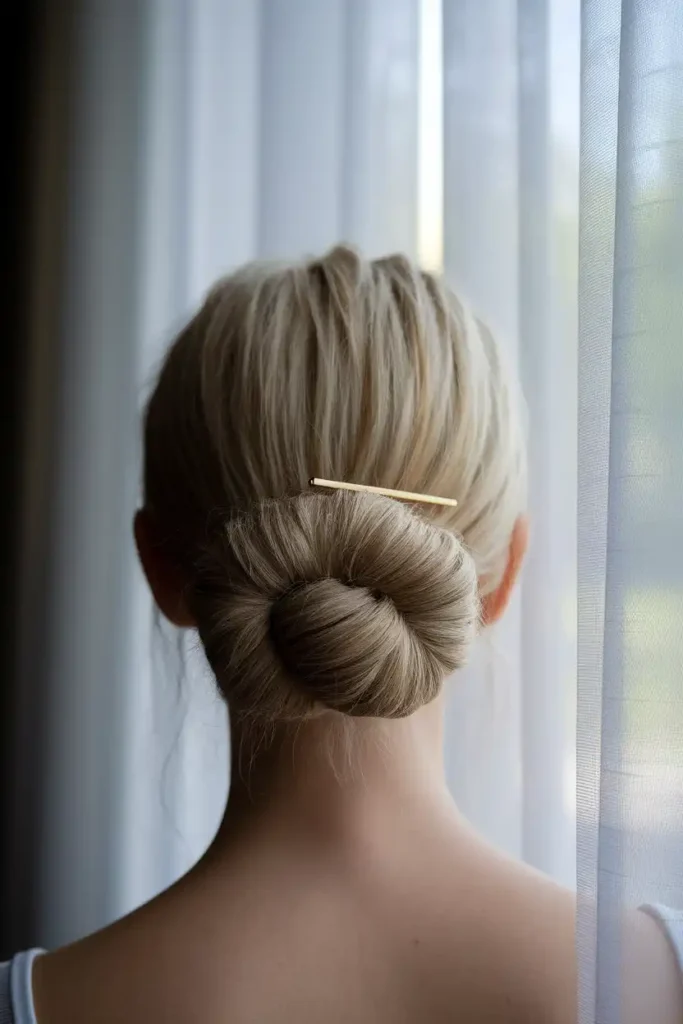
A textured low bun differs from a messy bun primarily in placement and intention. This one sits at the nape and is deliberately styled to look like it has architectural texture. Start by scrunching texturizing spray through dry hair to build some grip. Gather, twist, and pin into a low bun, then use your fingernails to lightly separate pieces across the surface.
The goal is visible texture rather than smoothness, which paradoxically requires less product and less effort than a sleek style. A gold or tortoiseshell barrette clipped across one side of the bun adds a jewelry-like detail without requiring any additional technique. This works particularly well for guests with thick or coarse hair because the texture becomes an asset rather than something to fight against.
16. Pinned-Back Curtain Bangs
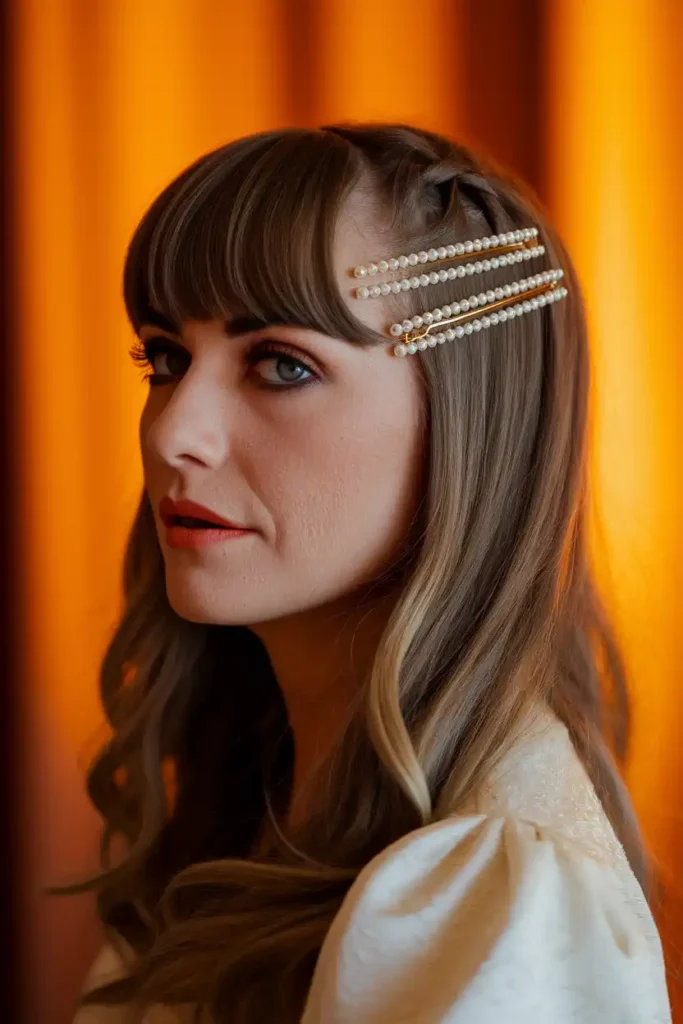
Curtain bangs pinned back with pearl or crystal pins is a style that works for people who are growing out their bangs or who want to keep hair away from their face while maintaining movement and softness. The pins themselves become jewelry. Two matching pins on each side of a center part, sliding the bangs back toward the temples, is the whole look.
The visual effect is polished and feminine without requiring any additional styling beyond pinning. If your hair is wavy, the waves handle the rest. If it is straight, the pinned-back bangs create enough visual structure that straight hair reads as a deliberate choice. Pearl pins are easily available at drugstores and cost about $5, which makes this one of the most affordable and accessible options on this list.
17. Coiled Updo for Natural Hair
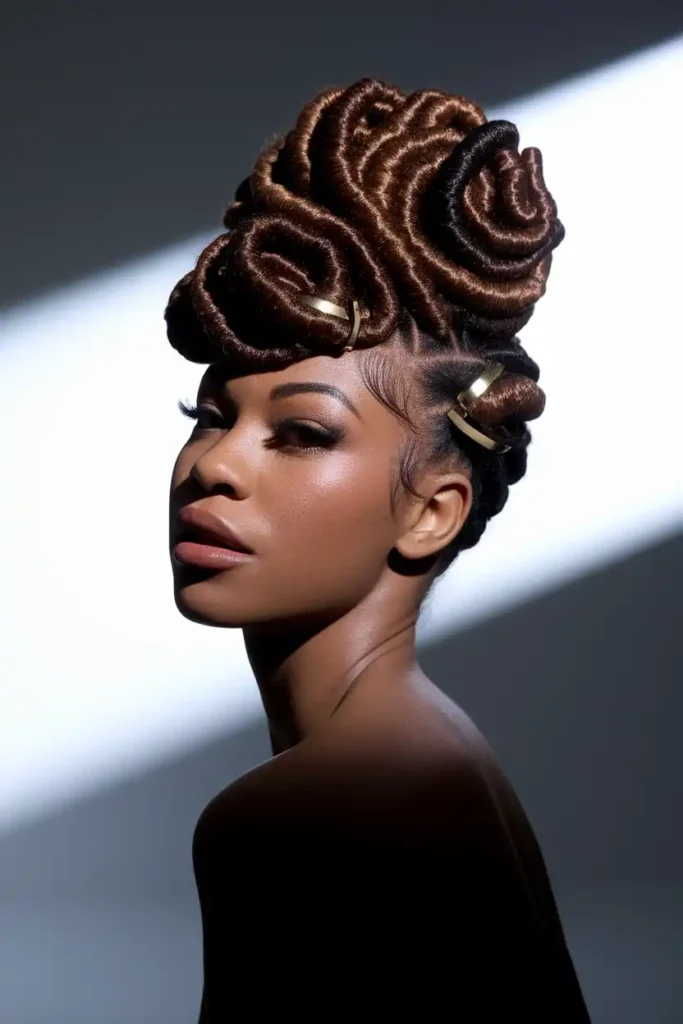
Natural hair in a coiled updo is one of the most visually striking styles you can arrive at a wedding wearing. The key is working with your hair’s natural shrinkage and texture rather than trying to minimize either. Define your coils with a curl custard or gel while damp, let them dry completely, then gather sections and pin them upward at varying heights to create dimension.
Gold accessories integrated into the coils, cuffs, decorative pins, or small florals, add detail without disrupting the structure. The style holds well with the right products and works across many natural hair textures. If your hair is longer, you have more material to work with for height and volume. If it is shorter, tighter coils can create a visually full, crown-like effect on their own.
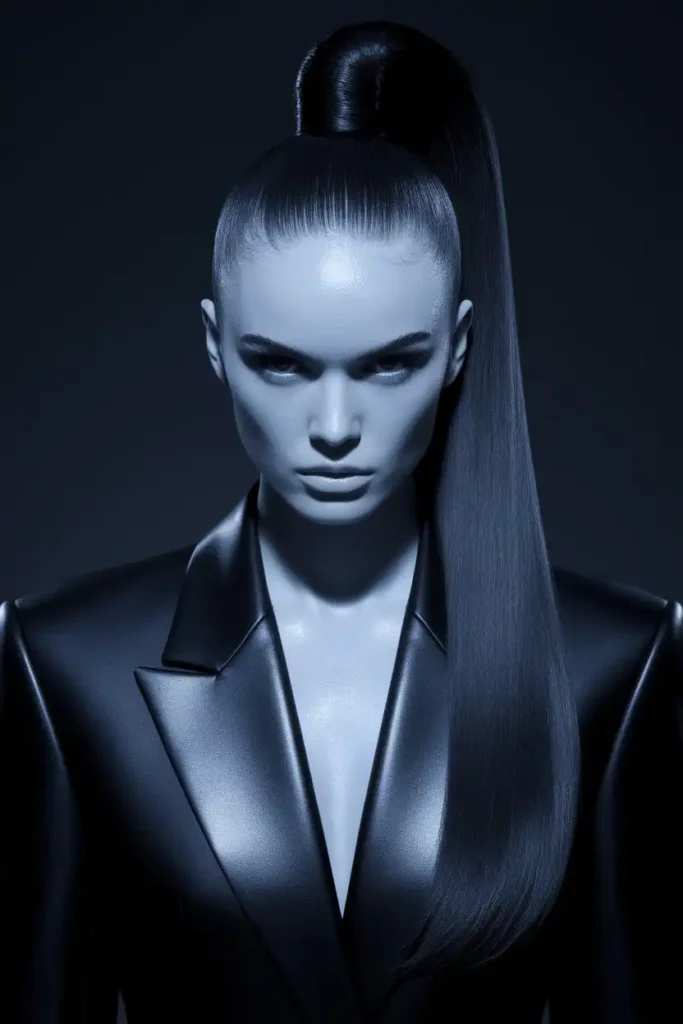
18. Slicked-Back Bun
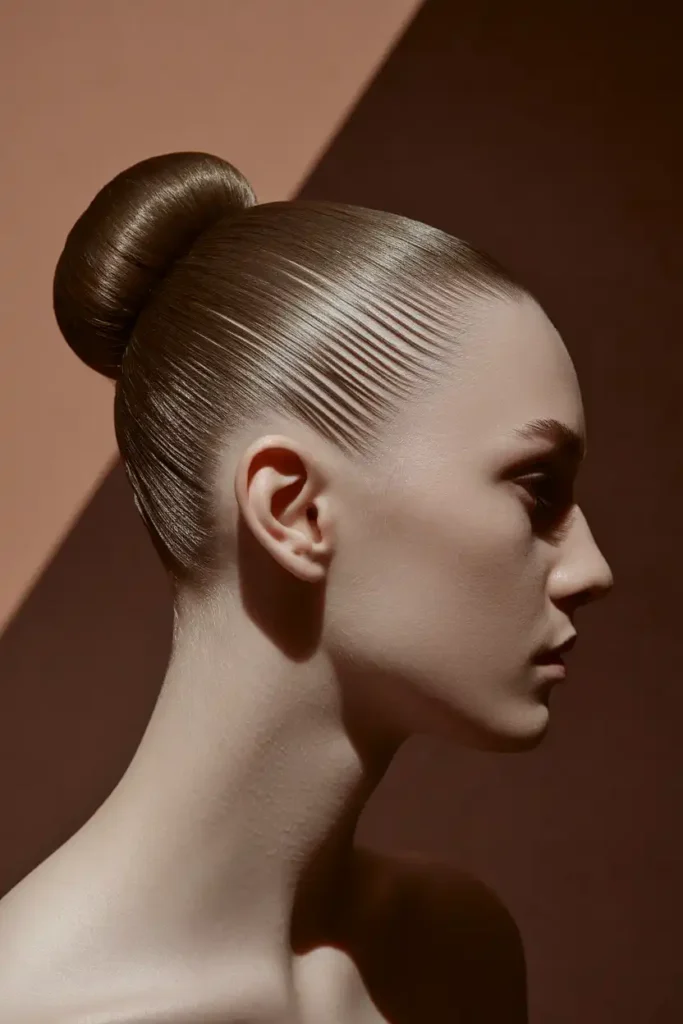
The slicked-back bun is the sharpest look on this list and the one that most rewards patience. Apply a generous amount of gel or edge control to dry hair, then brush everything back tightly, gathering at the crown. Secure with a strong elastic, then wrap the hair into a bun and pin. While the product is still slightly wet, smooth over any remaining flyaways with a brush or your fingers and hold for a moment.
This style is a strong choice for ultra-modern or minimalist weddings, for guests with striking features they want to foreground, or for anyone who simply wants to wear a statement earring without any visual competition from their hair. It can look severe in the wrong context, but at a fashion-conscious wedding, it is a confident and completely intentional decision.
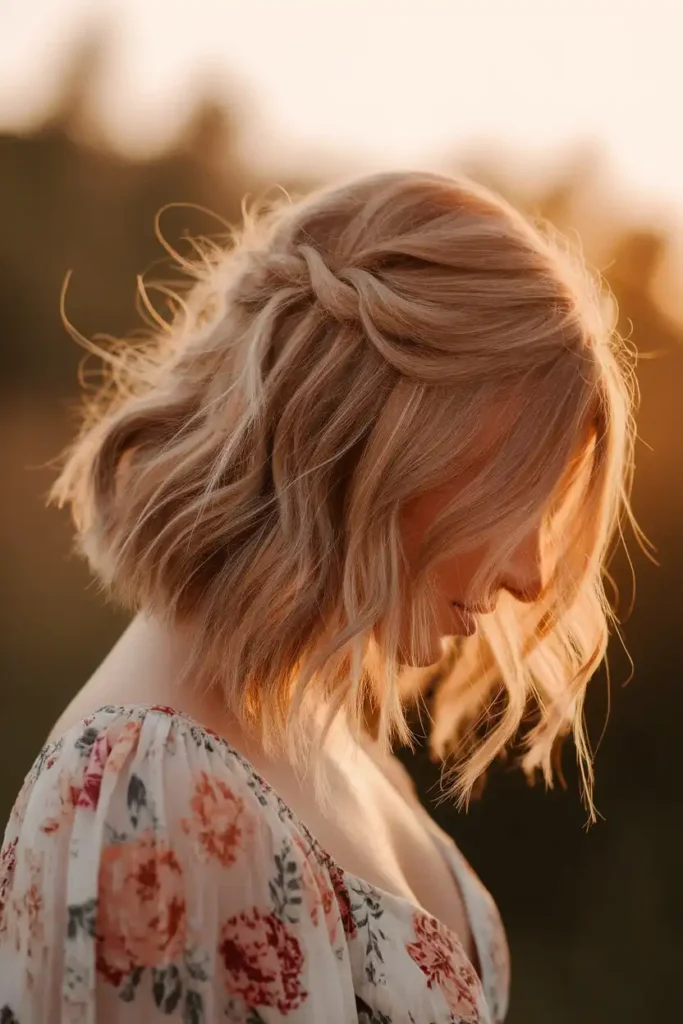
19. Waterfall Braid
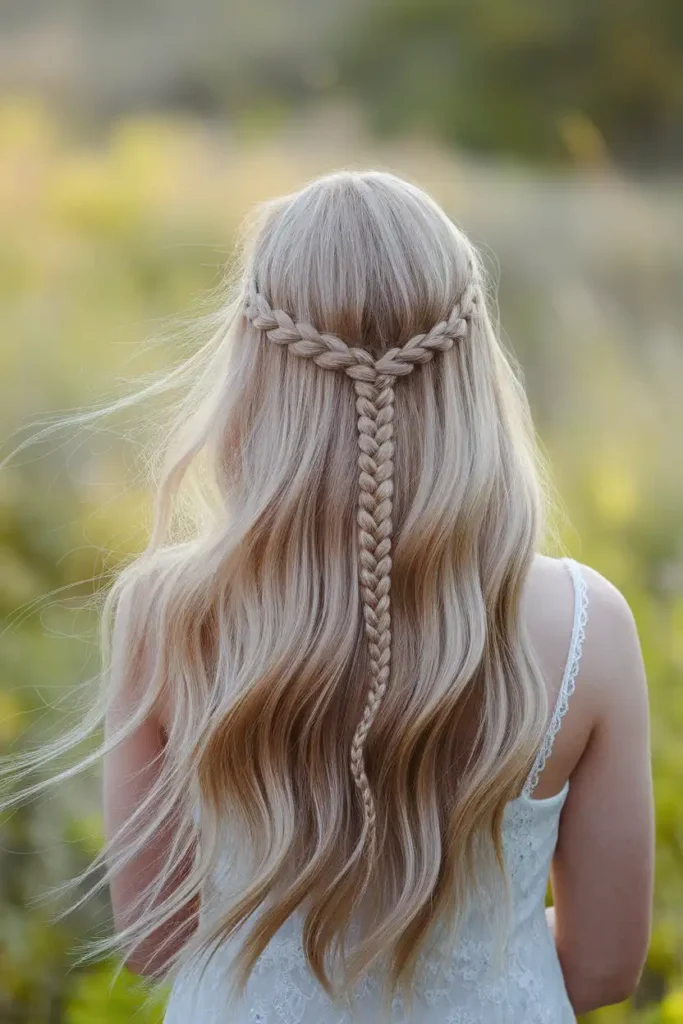
A waterfall braid is a French braid where you drop one section out instead of pulling it back in, allowing hair to cascade through the braid like, as the name suggests, a waterfall. It runs horizontally across the head, usually starting behind one ear and ending at the other side. The dropped sections create the visible cascade that makes it look far more intricate than it is.
This braid is excellent for guests with medium to long hair who want something decorative without a full updo. It works beautifully with loose waves left beneath it because the texture contrast between the braid and the flowing hair adds visual depth. It is also comfortable to wear all day, since the braid itself does not create any pressure points the way a tight updo can.
20. Pinned Waves
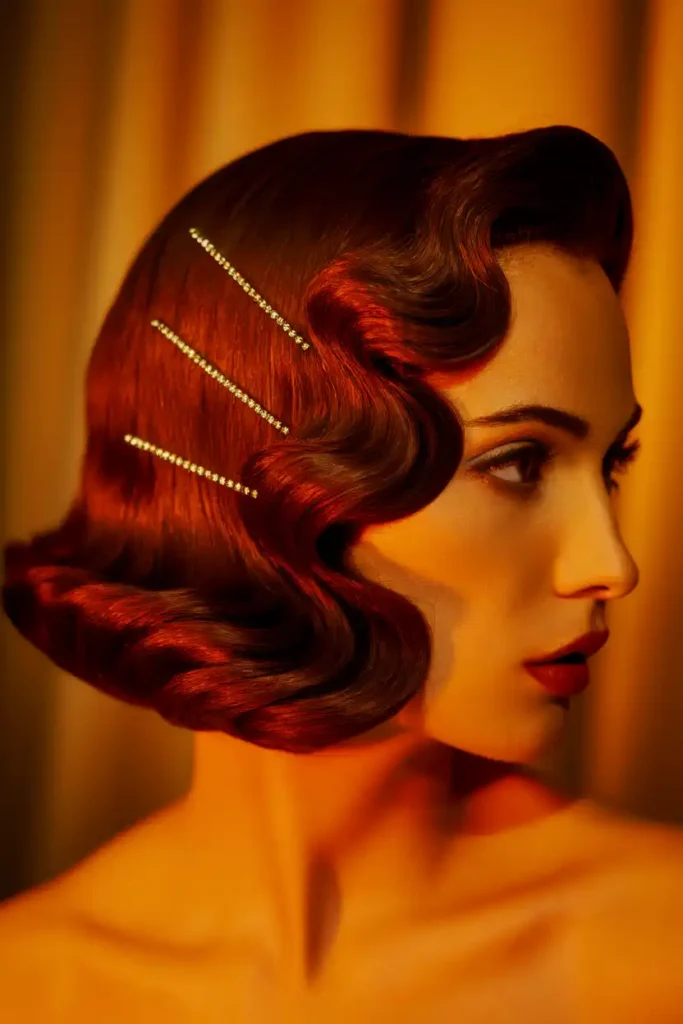
Pinned waves are a high-glamour option that requires a little patience. Create your waves first with a curling iron, then while the waves are still slightly warm, use a wide-tooth comb to encourage them into S-shaped curves close to the head. Pin each wave flat with a clip or bobby pin and allow them to cool completely before removing the pins. The cooled wave retains the shape and lies close to the head.
The result looks structured and deliberate, especially when combined with a deep side part. Decorative rhinestone or pearl pins used to hold the waves become visible accessories, which adds to the vintage glamour effect. This style works best for guests at formal, evening, or black-tie weddings where the drama feels proportionate to the setting.
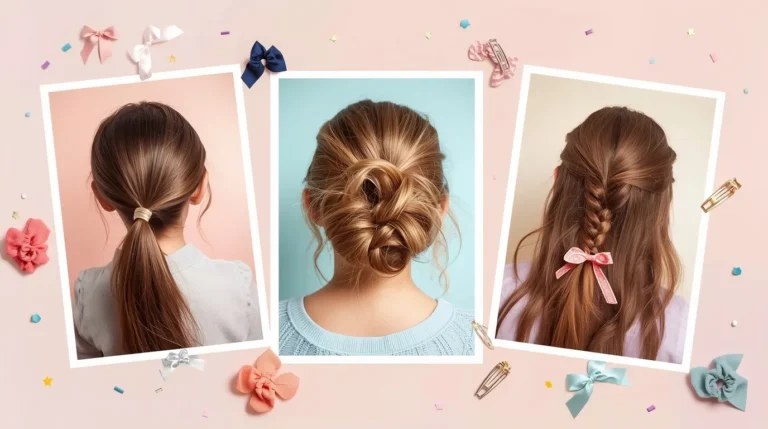
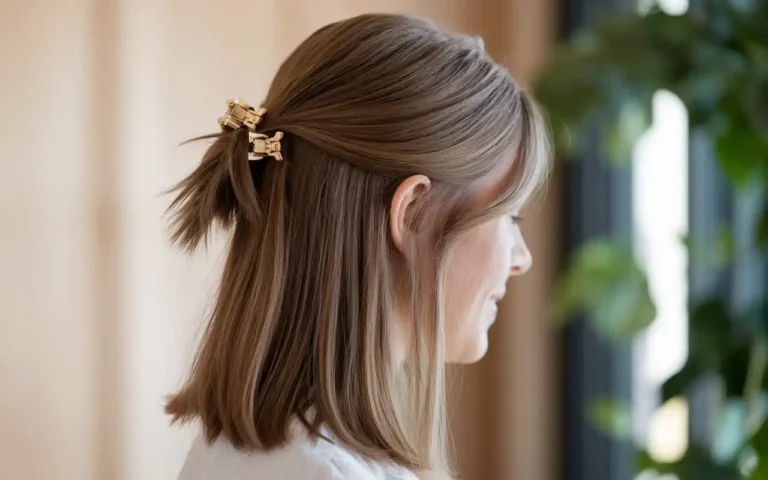
21. Accessories That Carry Any Style
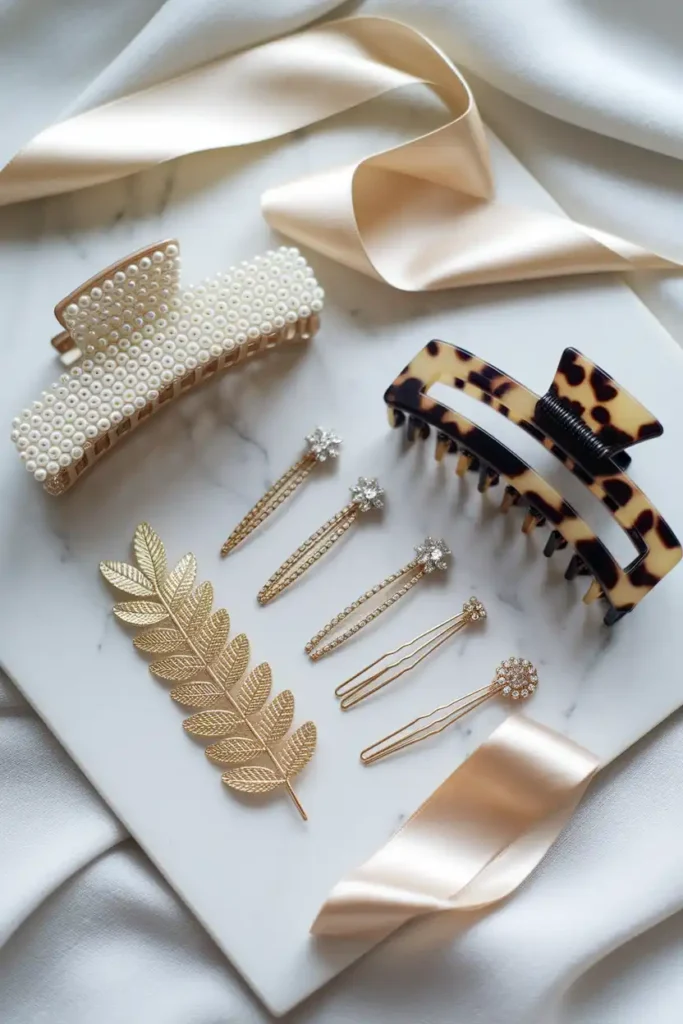
Hair accessories in 2024 and 2025 have gotten genuinely good. The claw clip, for example, was dismissed for years as a relic of the 1990s and is now a legitimate styling tool. A large pearl or acetate claw clip turns a gathered half-up into a polished choice in under 30 seconds. Silk ribbons tied around a ponytail or braid communicate luxury in a way that costs almost nothing. Gold leaf pins, rhinestone barrettes, and fabric-wrapped elastics all photograph beautifully.
The practical point here is that accessories allow you to simplify your styling technique while still arriving at a put-together result. Instead of spending 30 minutes executing a complex updo, you can spend 10 minutes on a basic twist and 5 minutes selecting the right accessory to anchor it. If you are unsure about your styling skills, invest in two or three quality accessories rather than trying to out-technique your hair into submission.
Conclusion:
None of these hairstyles require a professional. Most of them require between two and four products you probably already own, dry shampoo, hairspray, bobby pins, and one heat tool or none at all. The ones that look the most elaborate are rarely the ones that take the most time.
The best choice depends on your hair type, the formality of the wedding, and how long you are willing to spend getting ready. A sleek low ponytail for a formal evening ceremony. A braided crown for an outdoor garden wedding in July. A textured low bun for a morning ceremony followed by a long reception. Match the energy of the event and wear whatever you are confident enough in to forget about for the rest of the day, because that is the version of any style that always looks best.