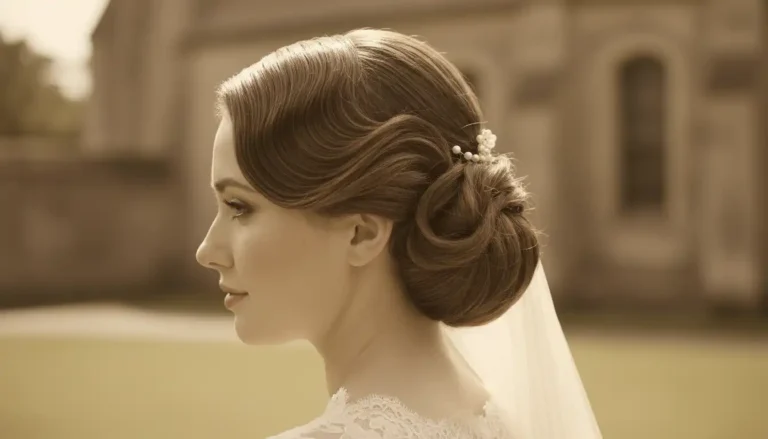
23 Sleek Wedding Hair Updo Looks for Modern Brides
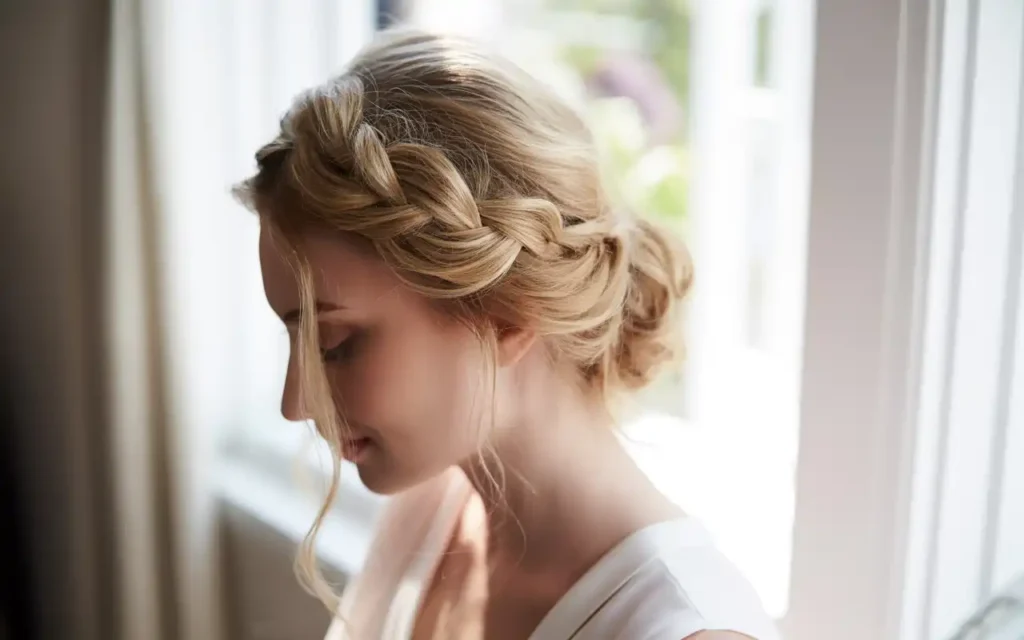
Your hair sets the tone for every photo you will keep from your wedding day. The right wedding hair updo does more than look pretty in the mirror. It holds through humidity, sits well under your veil, and flatters your face from every angle the camera catches. This list gives you 23 sleek looks sorted by hair type, face shape, and setting, so you can skip the guesswork. Each one solves a real problem, from fine hair that falls flat to curls that need taming. Find the one that fits you.
1. The Low Bun That Photographs Well From Every Angle
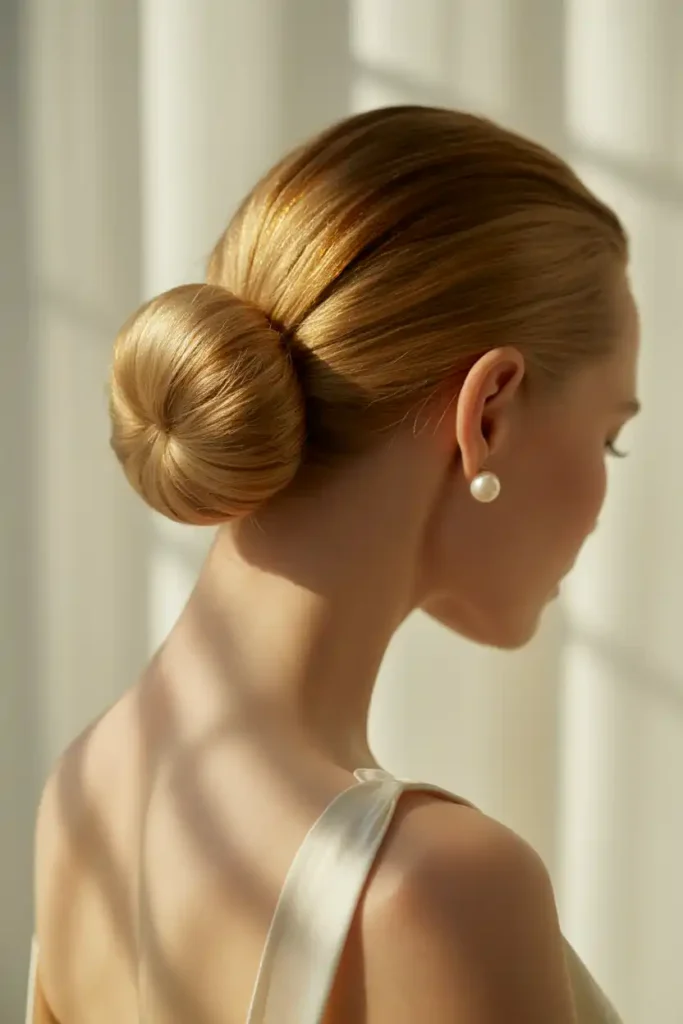
A low bun is the safest choice you can make, and photographers quietly love it. It sits below the veil line, so it reads clean whether the camera catches you from the front, side, or back. If your last few buns slid loose by dinner, the fix is placement. Set the bun lower and tighter against the neck, then anchor it with two crossed bobby pins forming an X under the base.
The mistake most brides make is going too polished. A bun with zero texture can look severe in person, even if it photographs fine. Pull two thin pieces loose at the front and mist them so they hold a soft bend. Ask your stylist to leave a little give at the crown for volume. If you want one dependable option for a long day, start here and adjust the finish later.
2. Sleek Twisted Chignon for Fine Hair
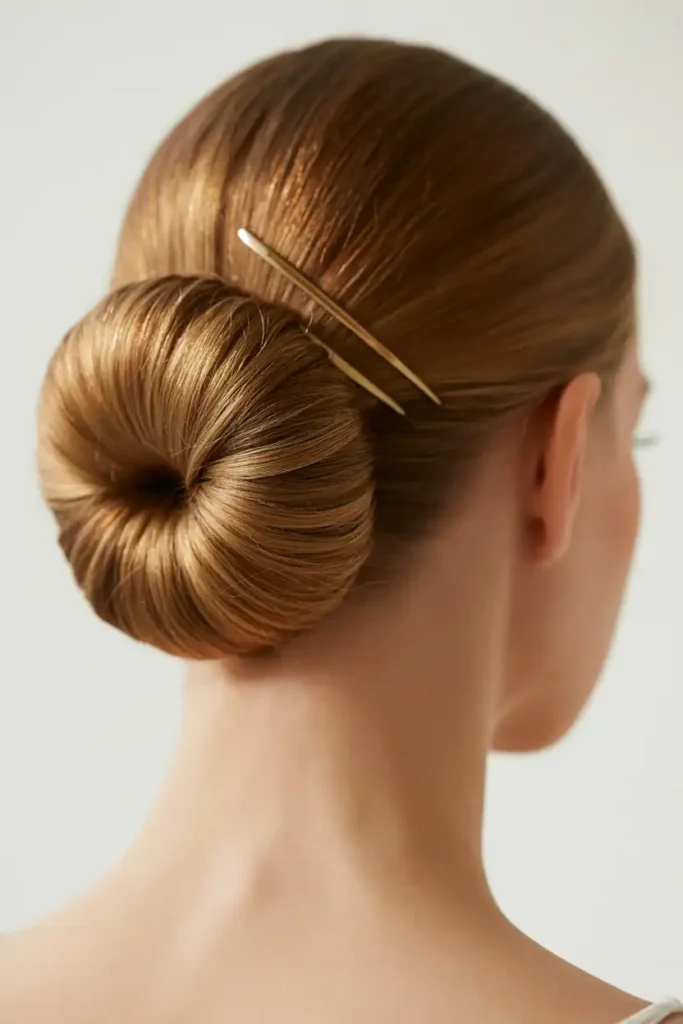
Fine hair collapses under weight, which is why a twisted chignon works better than a full bun for you. The twist gives shape without needing thickness. You fold the length, coil it, and pin the coil flat so it looks intentional rather than sparse. Fine hair also grips product well, so a light texture spray before pinning makes a real difference in how long it holds.
Here is what keeps a chignon from falling on fine hair:
- Backcomb lightly at the roots before you twist, only at the crown
- Use matte bobby pins in your natural color, not shiny ones
- Set the twist slightly off-center so any thin spots hide in the fold
- Finish with a firm-hold spray, then press the style flat with your palm for 10 seconds
Test this style two weeks out so you know how many pins your hair actually needs. Fine hair is unpredictable, and the number is usually higher than you think.
3. Vintage Wedding Hair Waves Pinned to the Side
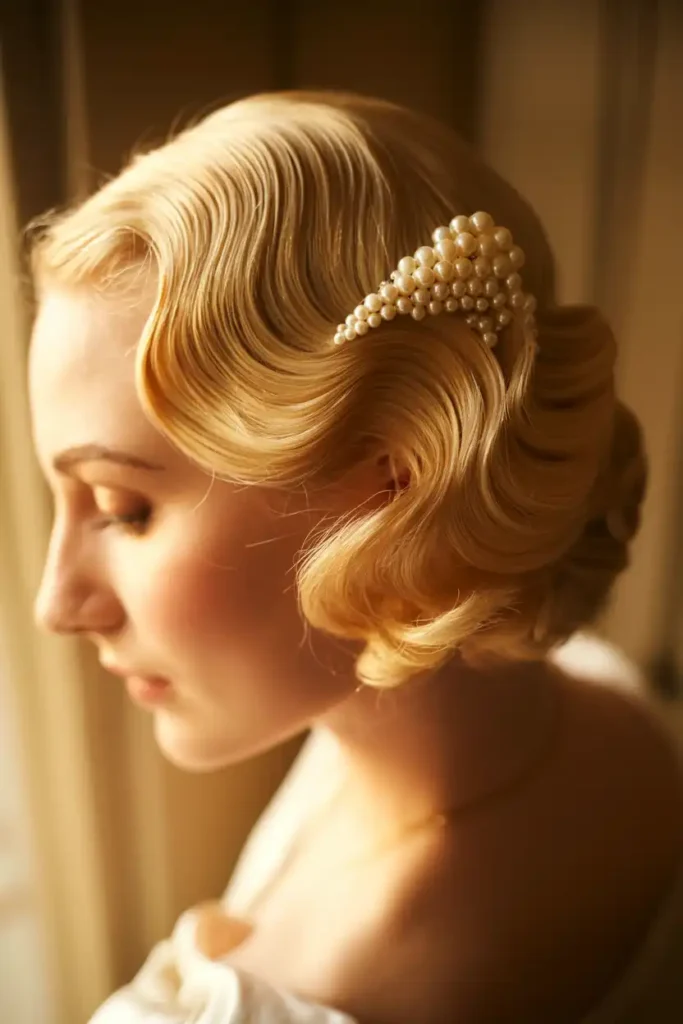
Vintage wedding hair pulls from the 1920s and 30s, when finger waves and pin curls did the styling work. The look suits you if you want something with a story instead of a trend. The ridged waves sit close to the head near the face, then loosen into a pinned gather at the side. It flatters strong cheekbones and photographs beautifully in warm light.
The problem with vintage waves is that they drop fast if your hair resists a curl. Set the waves the night before with pin curls or a fine-tooth comb and gel, then sleep on a silk pillowcase to protect the ridges. In the morning, brush through gently with a boar-bristle brush to soften without flattening. If your hair is stubborn, book a stylist who specifically lists retro or editorial work in their portfolio. This is not a style to attempt cold on the wedding morning.
4. Soft Wavy Wedding Hair Gathered Into a Half-Updo
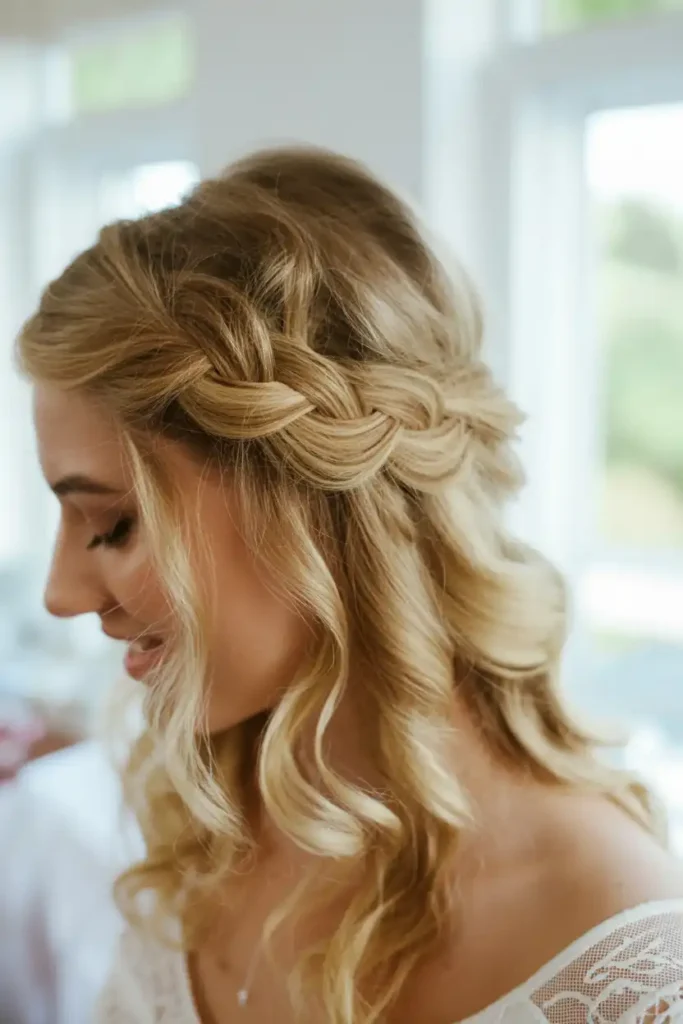
Wavy wedding hair gives you the romance of loose hair with the security of pinned hair. You keep length flowing at the back while the top stays controlled and off your face. This is the right call if you love your hair down but worry about it looking messy in the ceremony photos. The half-up structure holds the front in place through hugs, wind, and a long reception.
Get the waves right first, because a limp wave ruins the whole look. Curl one-inch sections away from your face with a wand, leave the ends out for a lived-in bend, then break the curls apart with your fingers instead of a brush. Gather the top third of your hair, twist it back, and pin it under so the join disappears. A thin braid crossing the gather adds interest without much effort. Try it once before the day so you learn how much your waves relax over a few hours.
5. Fishtail Braid Wrapped Into a Low Knot
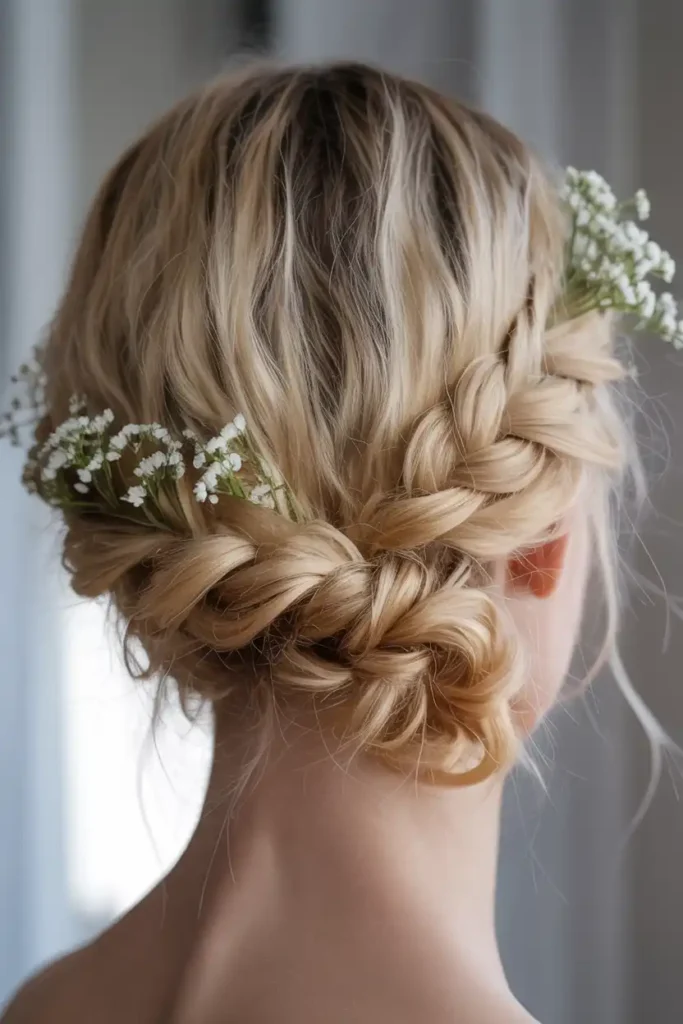
A fishtail braid reads more intricate than it is, which makes it a smart pick when you want detail without hiring an expert. You braid it loose, then coil the tail into a knot and pin it. The weave catches light in a way a standard bun never will, so it gives you texture in every photo. It works especially well on hair with some length and a bit of grip.
The common mistake is braiding too tight. A fishtail looks best when you gently tug the edges outward after braiding to widen the pattern, a step called pancaking. Do this before you coil it, then pin the coil so the braid stays visible on the outside of the knot. Tuck small florals along the seam to soften the edges. If your ends are slippery, spray them with a light hold product before you start so the braid holds its shape through the day.
6. The Braided Updo for Thick, Heavy Hair
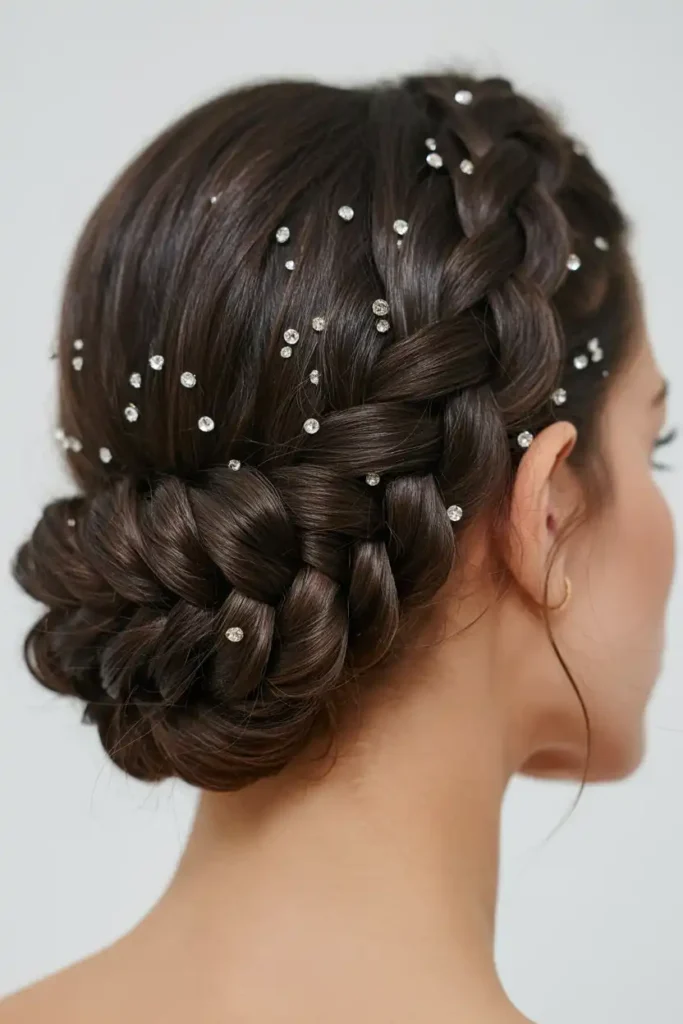
Thick hair is a gift and a problem on a wedding day. It holds any style, but a single bun looks like a heavy lump and pulls at your scalp for hours. A braided updo solves both issues by dividing the weight across two or three braids, then weaving them into a wide, flat shape at the back. The braids distribute tension so your head does not ache by the toast.
Build it in sections. Split your hair into three parts, braid each one, then wrap and pin them into a low, spread-out bun rather than a tall one. A wide shape sits comfortably and photographs better on dense hair. Add small crystal pins between the braids to catch light. If your hair is both thick and long, ask your stylist about a hidden hair net under the bun to hold the weight. Book a trial so you can wear it for a few hours and confirm it stays put and stays comfortable.
7. Curled Bun Hairstyles With Real Volume
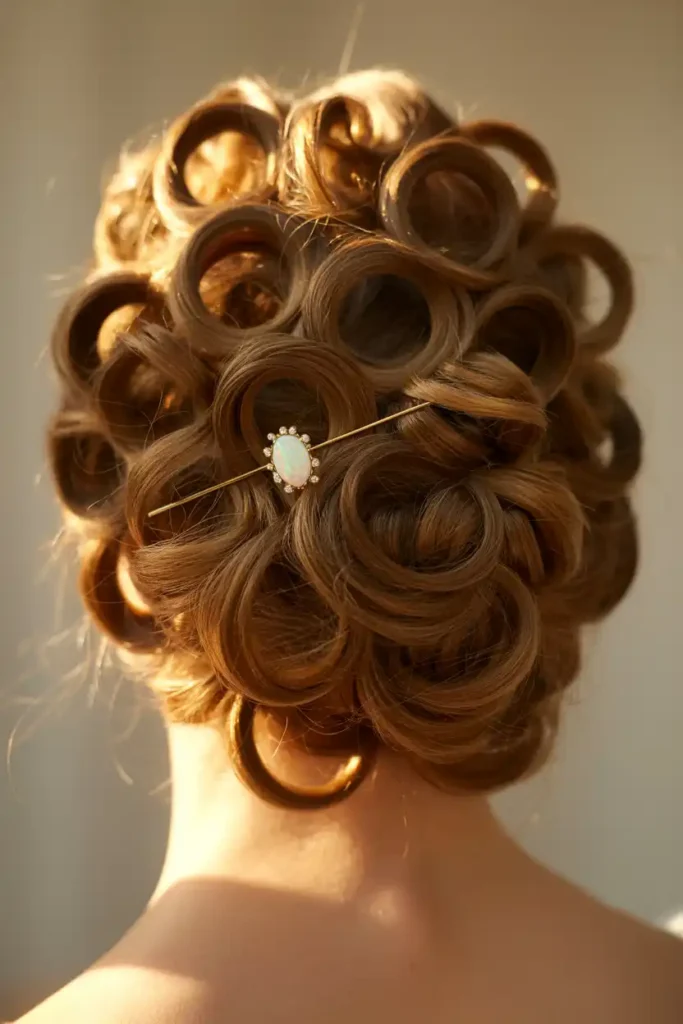
Curled bun hairstyles give you a soft, full shape that a sleek bun cannot. Instead of smoothing everything flat, you curl the hair first, then pin the curls into a rounded cluster. The result has depth and movement, which suits brides who want romance over structure. It also hides thin spots well, because the curls fill space that a flat bun would leave empty.
Curl before you pin, always. Wrap one-inch sections around a curling iron, let each curl cool in your palm to set it, then pin the cooled curls loosely into a bun shape. Leave a little air between curls so the volume stays. If you pin too tight, you lose the dimension that makes this style work. A single detailed pin does more than a cluster of plain ones here. Practice the curling step on its own first, since the pinning is quick once your curls hold.
8. The Grown-Up Version of a Messy Prom Bun
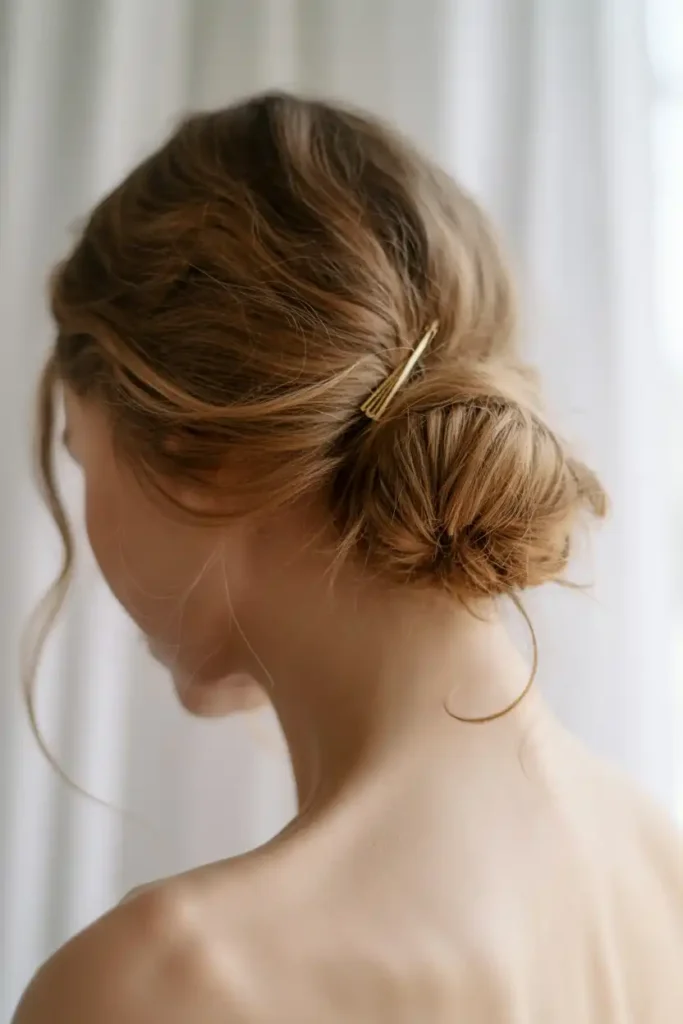
A messy bun for prom usually means loose, playful, and a little wild. For a wedding, you keep the softness but add structure so it looks refined instead of unraveling. The trick is control underneath and looseness on the surface. You build a secure base, then pull pieces out on purpose to create that relaxed finish that reads expensive rather than careless.
Start with day-old hair or add texture spray, because clean hair is too slippery for this look. Twist the hair into a loose bun, secure the core tightly, then gently tug small sections free around the crown and hairline. Frame your face with two soft tendrils and curl them slightly. The difference between messy-chic and just-messy is that every loose piece is placed on purpose. Do a practice run and take photos on your phone, since this style looks different in a mirror than it does in a camera.
9. Classy Low Bun for an Elegant Wedding
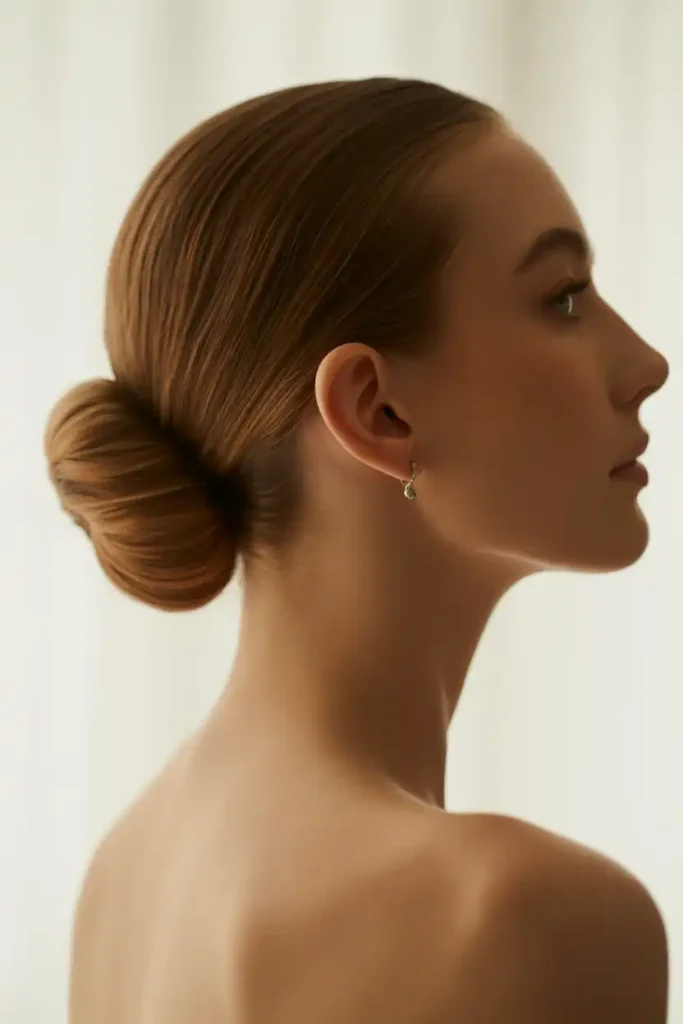
A classy low bun fits an elegant wedding because it never competes with your dress. It stays quiet, clean, and timeless. This is the look for you if you are wearing a detailed gown or statement jewelry and want your hair to stay in the background. A center part with a smooth low bun creates a balanced, symmetrical frame that suits almost every face shape.
The polish comes from the prep. Blow-dry your hair straight first, apply a smoothing serum to kill flyaways, then gather everything low and wrap it into a tight, clean bun. Hide every pin inside the bun so the surface stays seamless. A little edge control along the hairline keeps baby hairs from ruining the smooth finish in photos. If your gown has a high back or intricate neckline, this bun keeps the attention where you want it. Confirm the part and finish at your trial so nothing surprises you on the day.
10. Brunette Low Bun Wedding Hairstyle With Added Depth
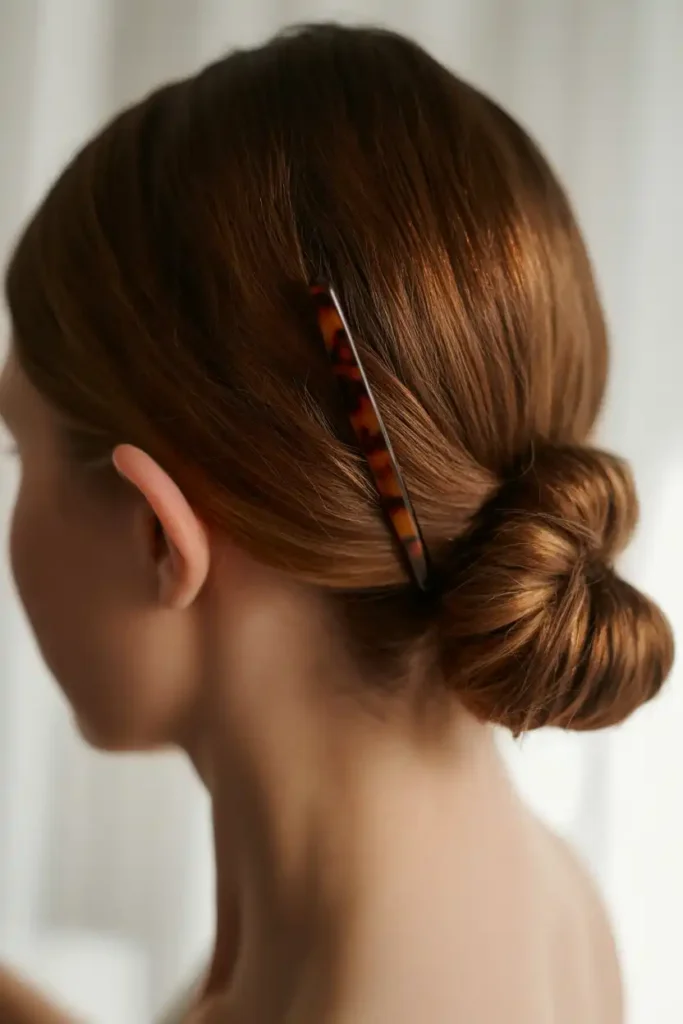
A brunette low bun wedding hairstyle can fall flat if the color reads as one solid block. Dark hair absorbs light, so a plain brunette bun sometimes looks shapeless in photos. The fix is dimension. If your hair has subtle lighter pieces through the mid-lengths, the bun catches light and shows its shape instead of disappearing into shadow.
You do not need to dye your hair. A stylist can create the illusion with placement, pinning slightly lighter or sun-touched sections toward the outside of the bun where the camera sees them. If your color is uniform, ask about a few face-framing highlights a month before the wedding, kept soft and natural. Even a half shade of contrast helps dark hair photograph with depth. Book your color at least three weeks ahead so it settles and any brassiness gets corrected before the day.
11. Crown Braid Updo for Outdoor and Boho Brides
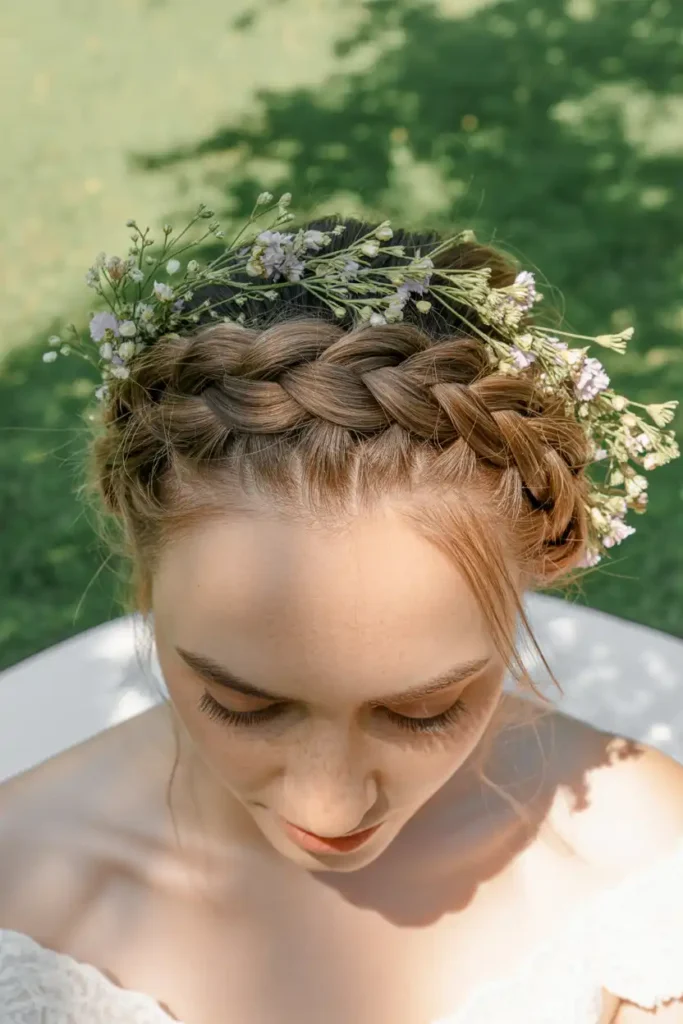
A crown braid updo suits garden ceremonies, beach weddings, and any setting where a stiff style would look out of place. The braid wraps around your head and keeps every strand secured, which matters when you are outside dealing with wind. It gives you a relaxed, romantic look that still holds up through an entire day on your feet.
Braid it slightly loose and set it back from your hairline so it frames your face without looking tight. Leave a few soft pieces down at the temples to keep it from looking too done. Small wildflowers or greenery tucked into the braid suit an outdoor setting far better than crystals. If your hair is layered and shorter pieces keep escaping, pin them under as you go and mist with a flexible-hold spray. Try this style outdoors on a breezy day before the wedding so you know it stays put in real conditions.
12. Where to Place a Pearl Pin So It Reads Expensive
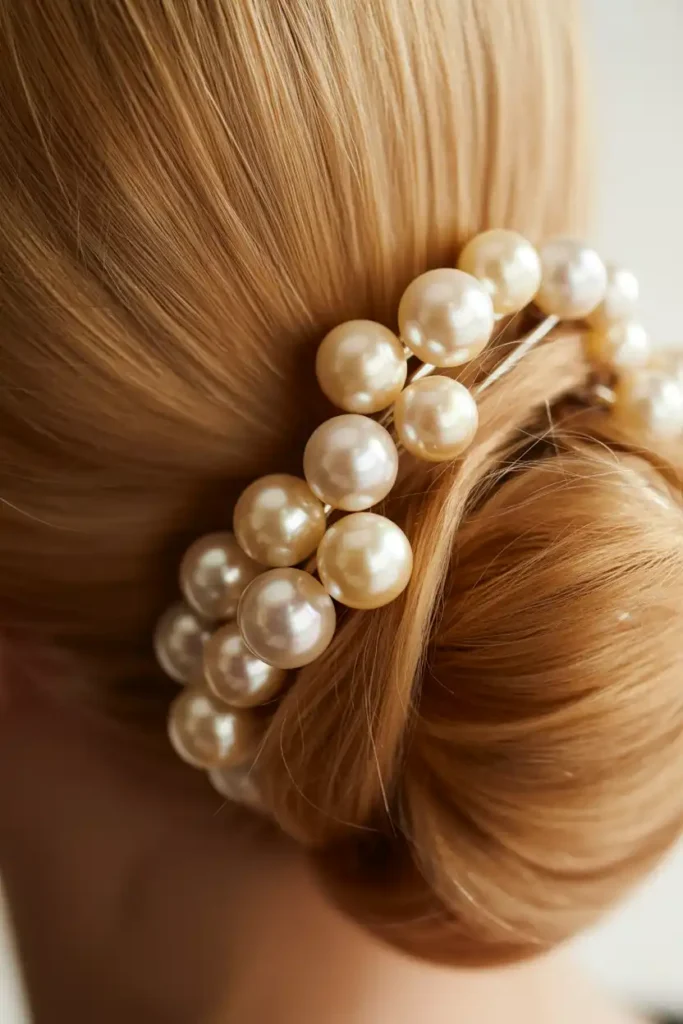
A pearl pin can make a simple bun look custom, but placement decides everything. Scattered randomly, pearls look cheap. Clustered with intention, they look like couture. The rule is to group them, not spread them evenly. Odd numbers work better than even ones, so try three or five pins grouped along one side rather than a symmetrical row.
Place them where the eye already travels, usually the seam where the bun meets the head, or trailing up one side toward the crown. Vary the pearl sizes if you can, mixing larger and smaller pins for a natural, layered look. Push each pin in fully so no metal shows. If your dress has pearl detailing, echo it in your hair for a pulled-together feel, but keep the hair pearls slightly smaller so they do not compete. Buy an extra set of pins in case one loosens during the day. Test the placement at your trial and photograph it, since pearls sit differently than they appear in the mirror.
13. The Pammy Bun for Short-to-Medium Length Hair
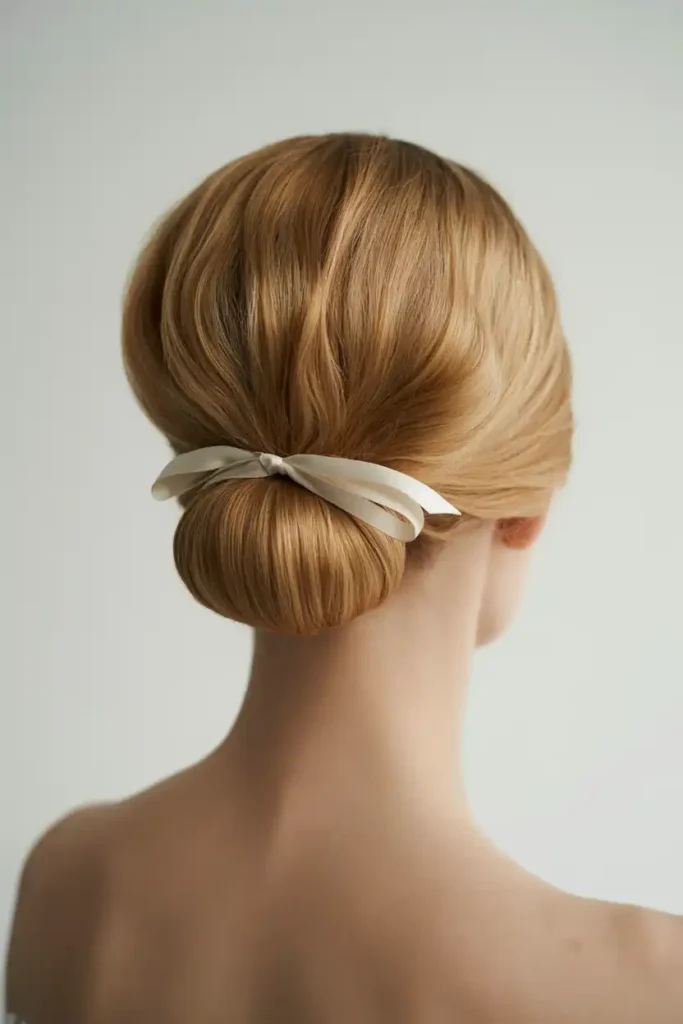
The Pammy bun creates a full, rounded shape even when your hair is not very long. It uses a bun form or padding underneath to build volume, which is why it works so well for short-to-medium hair that cannot form a large bun on its own. If you have always wanted a fuller updo but your length has limited you, this is your answer.
Wrap your hair over a hidden bun form or a rolled hair donut, then pin the ends underneath and smooth the surface. The padding does the shaping while your own hair covers it. Match the form to your hair color so nothing peeks through on thinner sections. A fabric ribbon or thin band wrapped at the base hides the join and adds a soft detail. This style holds remarkably well because the form gives it structure. Practice wrapping the form neatly before the day, since a lumpy surface is the only thing that gives this trick away.
14. Simple Curled Updo You Can Do Yourself
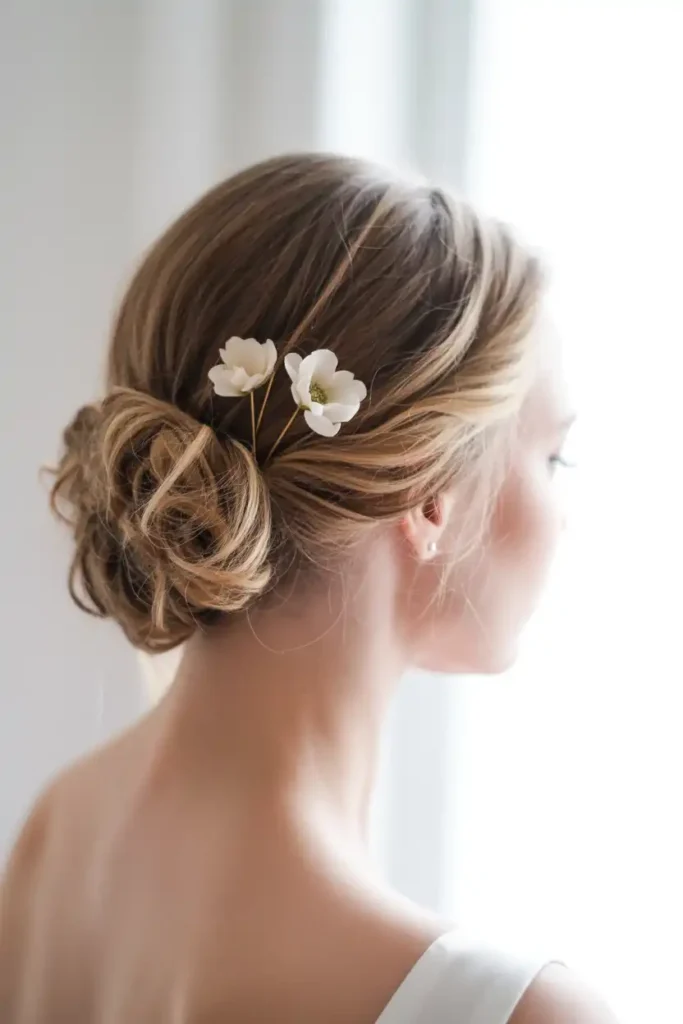
A simple curled updo gives you a soft, romantic result without professional skill. You curl your whole head, then pin the curls loosely toward the back and let them gather into a relaxed shape. This is the look for a bride on a budget, an elopement, or anyone who wants to style her own hair without stress on the morning of.
Here is the short version of how to do it:
- Curl one-inch sections all over with a wand, curling away from your face
- Let each curl cool completely before you touch it
- Gently gather the sides and back, twisting loosely as you go
- Pin the gathered curls at the crown, leaving soft pieces at the front
- Mist with flexible-hold spray, not stiff-hold
Keep the pinning loose so the curls stay soft and full. If you pull it tight, you lose the whole effect. Practice twice before the day, once to learn the curls and once to learn the pinning. By the third try it takes under 25 minutes.
15. A Sleek Bun That Flatters a Round Face
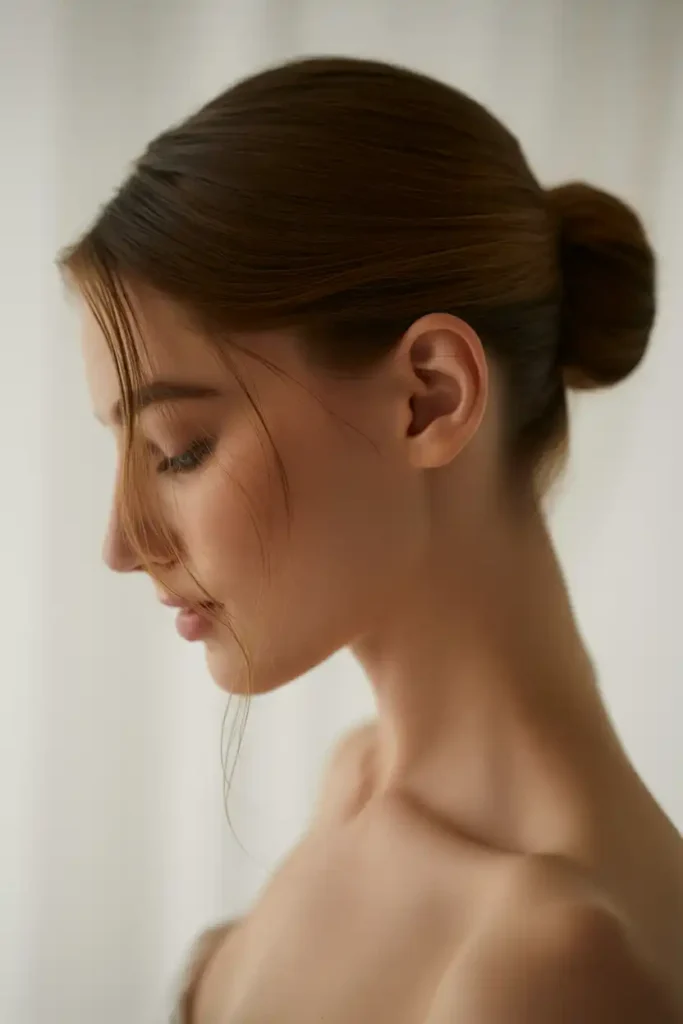
A very tight, centered bun can make a round face look rounder, which is a real frustration if you want the sleek look but not the widening effect. The fix is a deep side part and a couple of face-framing pieces left loose along the jaw. These add vertical lines that lengthen your face instead of framing it as a circle.
Part your hair deeply to one side, then pull the rest into a smooth bun set slightly high, since a mid-to-high placement lifts the eye upward. Leave two soft pieces at the front and curl them gently inward toward your jaw. This draws the line of the face longer and softer. Avoid a low, centered bun with a slick center part, since that combination widens the face in photos. Test both a side and center part at your trial and compare the photos side by side. The difference is usually obvious once you see it on camera.
16. The Twisted Rope Updo for Effortless Texture
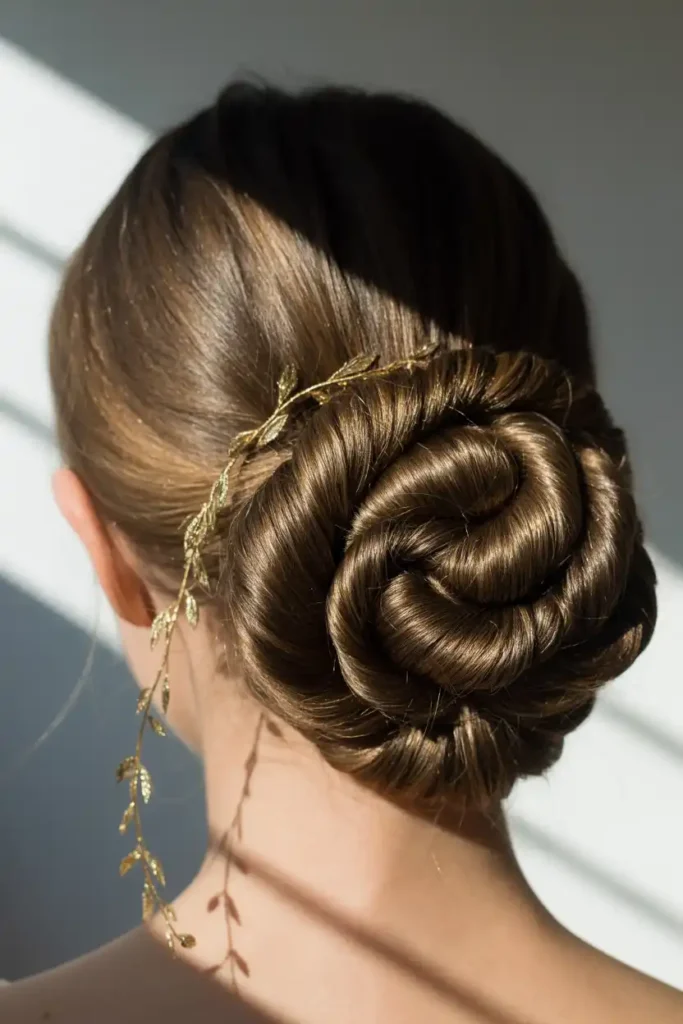
A rope twist gives you the intricate look of a braid with less effort. You divide a section into two strands, twist each one clockwise, then wind them around each other counterclockwise so they hold. Two rope twists brought together into a low bun create texture and dimension that a plain updo lacks, and they take far less time than a fishtail or Dutch braid.
Twist firmly so the rope holds its spiral, then pin the twists into a low coil at the back. The key is twisting each strand tightly before you wind them together, since loose strands unravel. If your hair is layered, secure shorter pieces with small pins as you twist. A thin gold vine or a few scattered pins along the twist catch light and finish the look. This style suits a bride who wants detail but is styling at home or on a budget. Try it a couple of times so your hands learn the twisting rhythm.
17. The Low Chignon That Sits Right Under a Veil
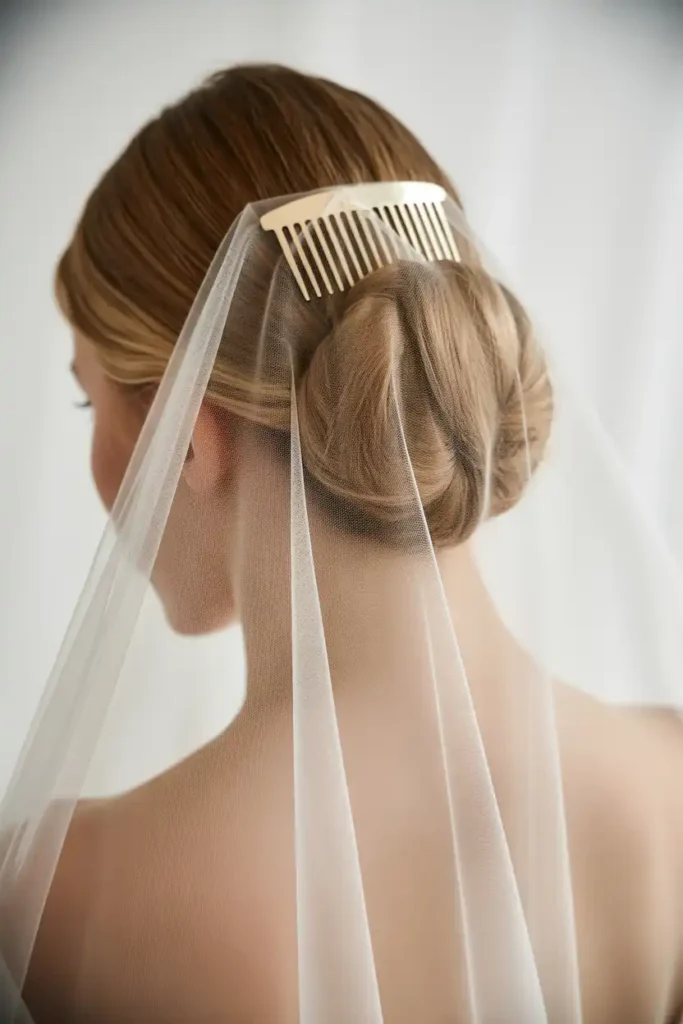
If you are wearing a veil, your updo has to work around it, and a low chignon is the most veil-friendly shape there is. It sits below the spot where a veil comb anchors, so you can place and remove the veil without wrecking your hair. Brides who choose a high bun often find the veil fights the style all day. A low chignon avoids that entirely.
Set the chignon low at the nape and leave a smooth section of hair above it where the veil comb will grip. Ask your stylist to build in a small anchor point, like a few crossed pins or a tiny hidden braid, that the comb can hook into securely. That way the veil stays put during the ceremony and comes out cleanly for the reception without pulling your bun loose. Bring your actual veil to the trial. Placement changes depending on the comb, and you want to test the real one, not a stand-in.
18. Building Crown Volume Without Damaging Your Hair
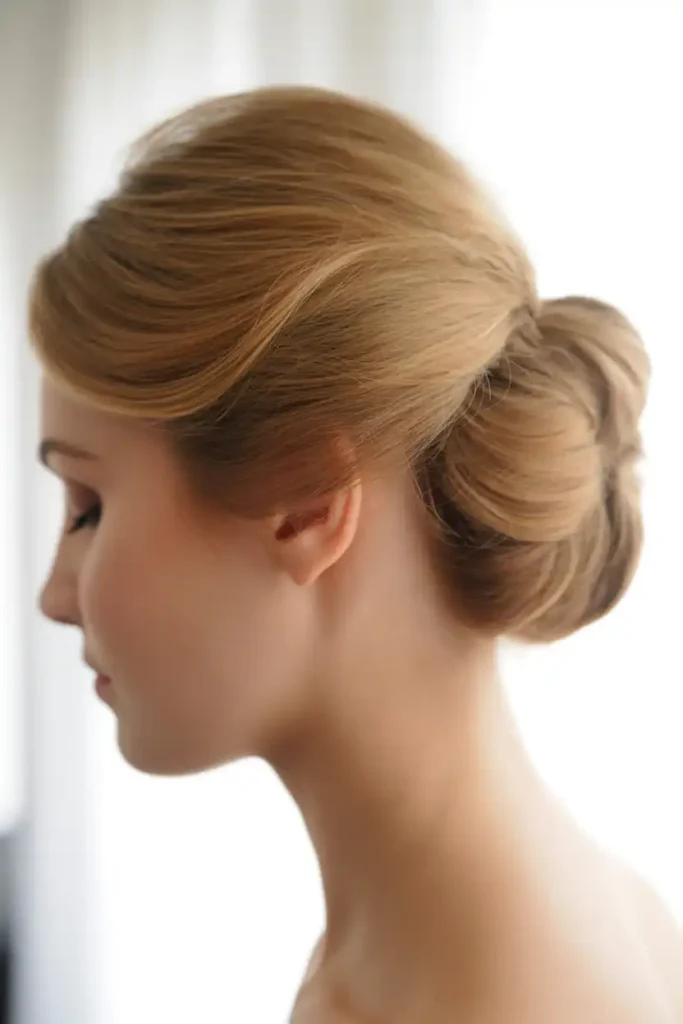
Flat crown hair makes any updo look like it is sliding backward off your head. You want lift at the top, but aggressive teasing damages your hair and looks stiff in photos. There is a gentler way to get height that holds through the day without frying your strands.
Use these methods instead of heavy backcombing:
- Backcomb lightly and only at the roots, using a soft touch
- Place a small hidden volume insert under the crown section
- Lift sections with a dab of root-lift mousse before drying
- Pin a subtle bump underneath rather than teasing the surface hair
The goal is smooth height, not a rigid mound. Smooth the top layer over any padding so the surface stays sleek while the volume sits hidden underneath. This keeps the shape balanced and protects your hair from the breakage that heavy teasing causes. Ask your stylist to show you the crown from the side at your trial, since you cannot judge crown height in a front-facing mirror.
19. The Off-Center Bun for a Softer Silhouette
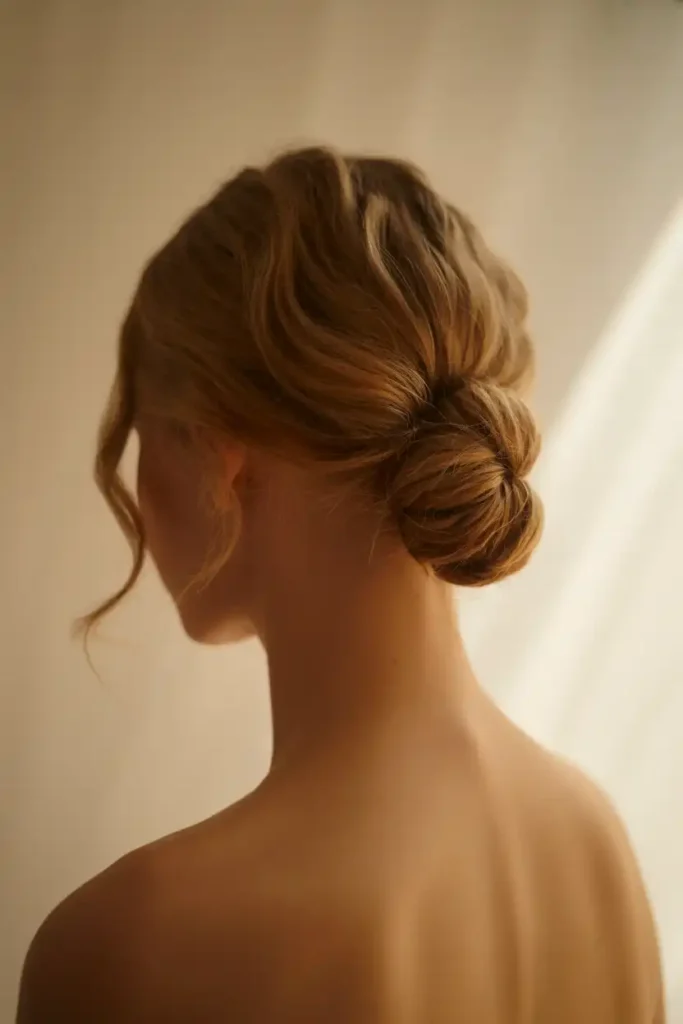
A perfectly centered bun can look rigid and formal, which is not what every bride wants. Setting the bun slightly off-center softens the whole look and adds a relaxed, modern feel. This small shift makes a big difference if you find symmetrical styles too stiff for your personality or your venue.
Position the bun low and just off to one side, then leave softer pieces on the opposite side of your face to balance it. The asymmetry should feel intentional, not accidental, so keep the base secure even though the shape is relaxed. This look suits softer, less structured dresses and outdoor or intimate weddings. It also flatters faces that feel too framed by centered styles. Try it with your dress on if you can, since asymmetry reads differently against different necklines. Snap a photo from behind to check the balance before you commit.
20. An Updo That Holds Up in Heat and Humidity
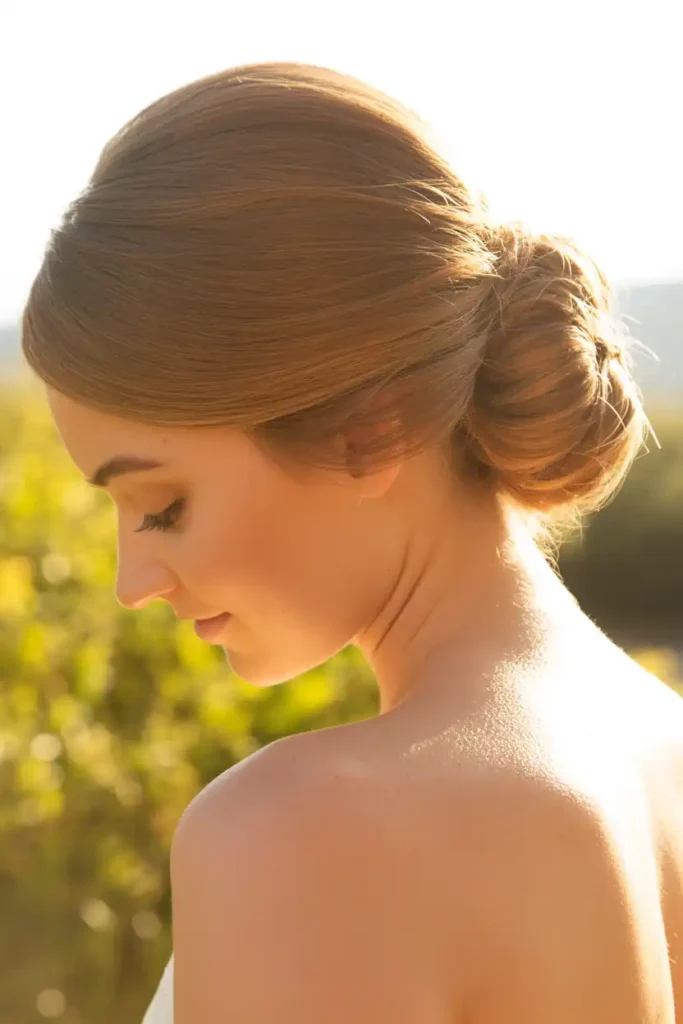
Humidity is the enemy of a smooth updo. If you are marrying in summer, near water, or in a warm climate, your biggest worry is frizz and slippage by the time photos start. The solution is in the prep and the products, not just the style itself.
Start with a smoothing treatment or anti-humidity serum on damp hair, then blow-dry fully, since damp hair invites frizz. Choose a lower, tighter style over a loose one, because loose pieces are the first to frizz and fall in humidity. Set the finished updo with a humidity-resistant hairspray and carry a travel-size version for touch-ups. Avoid oil-based shine products, which attract moisture and can make hair slip. If your hair frizzes easily, a keratin or smoothing treatment done a couple of weeks ahead gives you a real advantage. Test your chosen style outdoors on a humid day before the wedding so you know exactly how it behaves.
21. Face-Framing Pieces That Actually Stay in Place
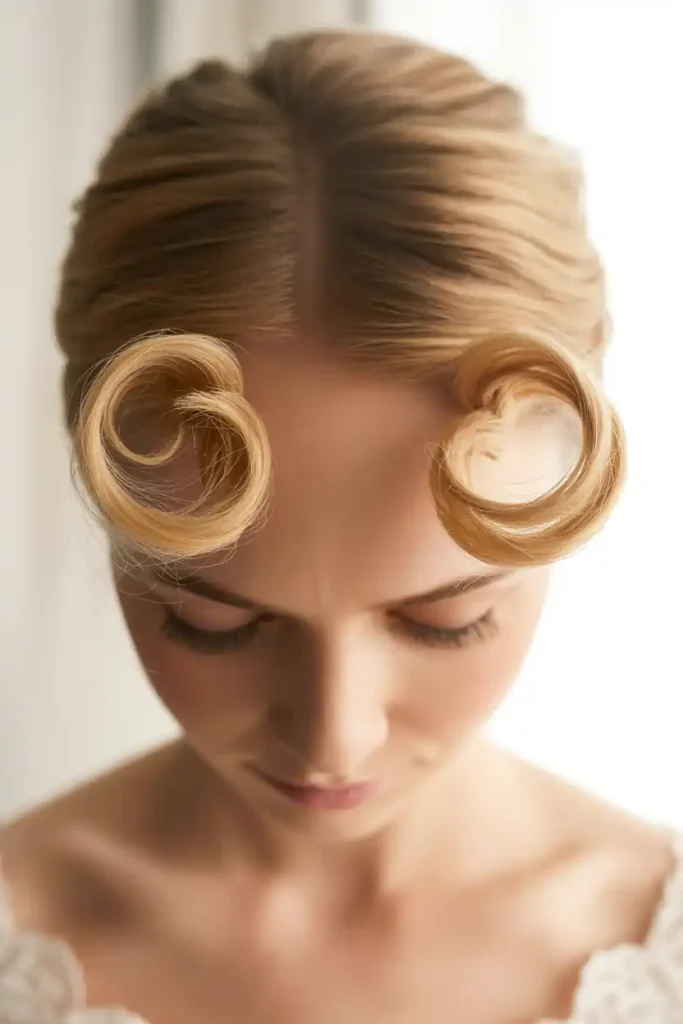
Face-framing pieces make an updo look soft and romantic, but they drop, straighten, and stick to your face by the reception if they are not set right. If you have watched those pretty tendrils turn into limp strands in past photos, the problem is the curl and the product, not the idea.
Curl the framing pieces with a small wand and curl them away from your face, then let each one cool fully before you move it. Use a light-hold spray on the cooled curl, not a heavy gel, so it stays soft but keeps its bend. Keep these pieces thin, since thick sections fall faster than fine ones. Curl them last, right before you leave, so they are freshest for the ceremony. Carry a mini curling wand or a few small clips for a quick reset before photos. The difference between a soft frame and a droopy one is almost always the setting time, so let those curls cool properly.
22. The 20-Minute Updo for a Busy Morning
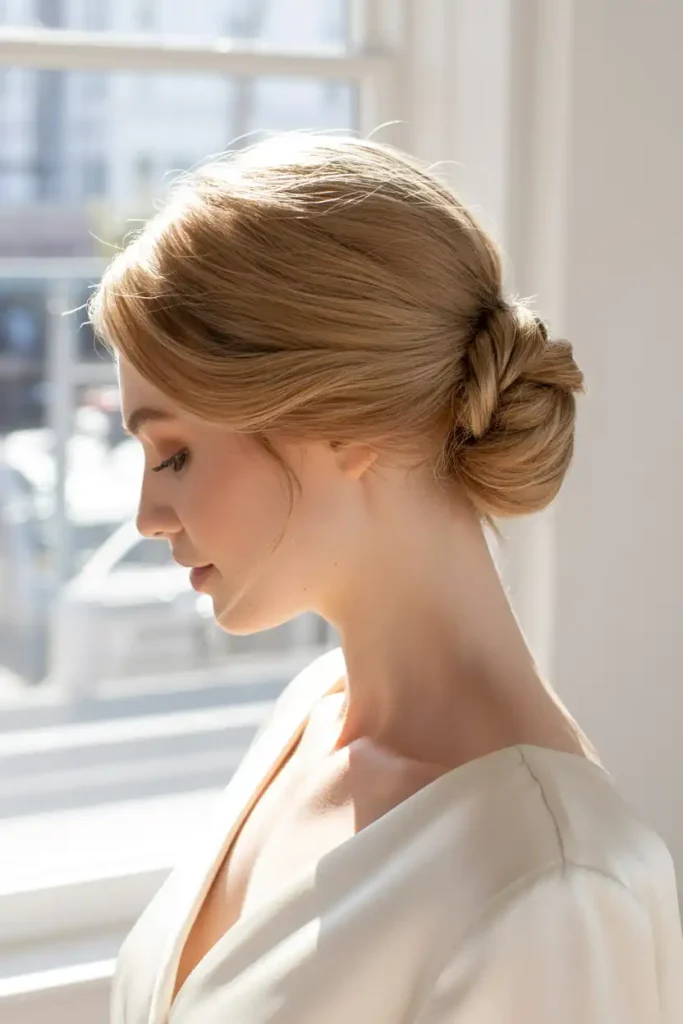
Not every bride has a stylist and three hours on the morning of the wedding. If you are doing your own hair, eloping, or just want a low-stress start to the day, you need a look that takes minutes and still holds. A simple twisted updo delivers exactly that.
Gather your hair at the back, twist it upward into a vertical roll, tuck the ends inside, and pin along the seam. That single French-twist motion gives you a finished shape in one move. Add texture spray first so the twist grips, and leave a couple of soft pieces at the front so it does not look severe. A few pearl or floral pins turn a two-minute twist into something wedding-worthy. Practice the twist twice so your hands remember it under pressure. Once you have it, this style is your reliable backup no matter how the morning goes.
23. What to Test Before You Commit at Your Trial
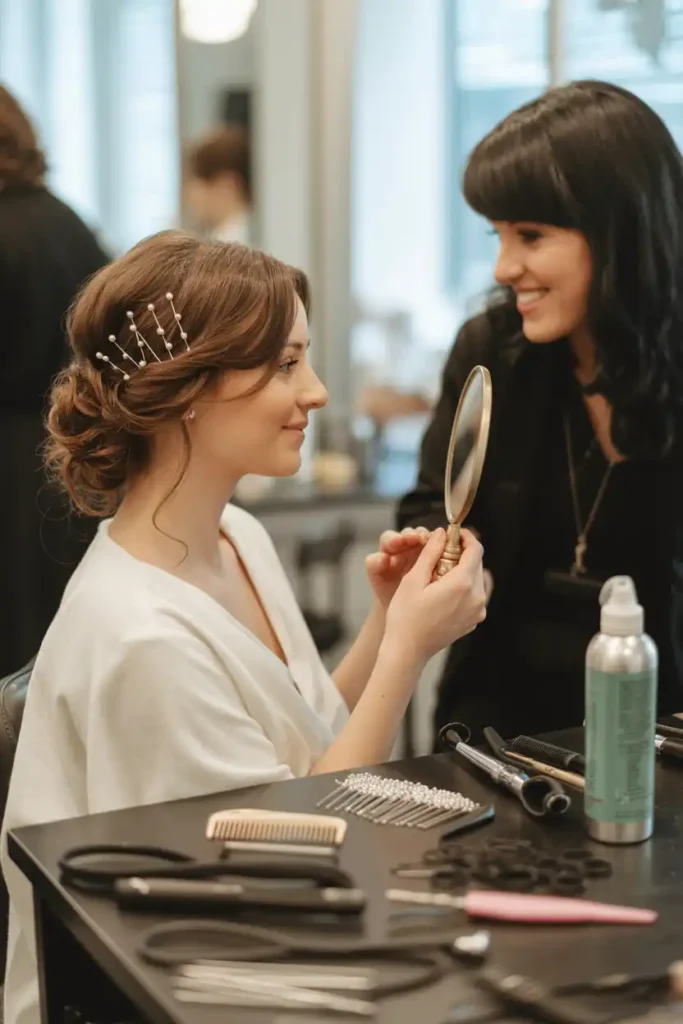
A trial is where you catch every problem before it matters. Booking your wedding hair updo without a trial is a gamble, and it is the one step brides most often skip and later regret. The trial is your chance to test the style in real conditions and change what does not work.
Bring these to your trial so you test the real thing:
- Your actual veil and any hair accessories
- A photo of your dress neckline and back
- Your earrings, so you see how they sit with the style
- A phone to photograph the look from every angle
Wear the style for a few hours after the appointment to see how it holds. Move around, put on a jacket, take it off, check that pins do not shift. Ask your stylist to note down exactly what she used, since a good trial only helps if it is repeatable on the day. Schedule it four to six weeks before the wedding, close enough to match your final color and cut but with time to adjust if something is off.
Conclusion:
Your wedding hair updo should work for your hair, your dress, and the way you actually move through the day. These 23 looks cover fine hair, thick hair, humidity, veils, round faces, and short lengths, so at least one of them fits your exact situation. Pick two or three that speak to you, then test them at a trial four to six weeks out. Wear each for a few hours and photograph it from every angle before you decide. The style that still looks fresh after dinner, holds under your veil, and makes you feel like yourself is the one to book.