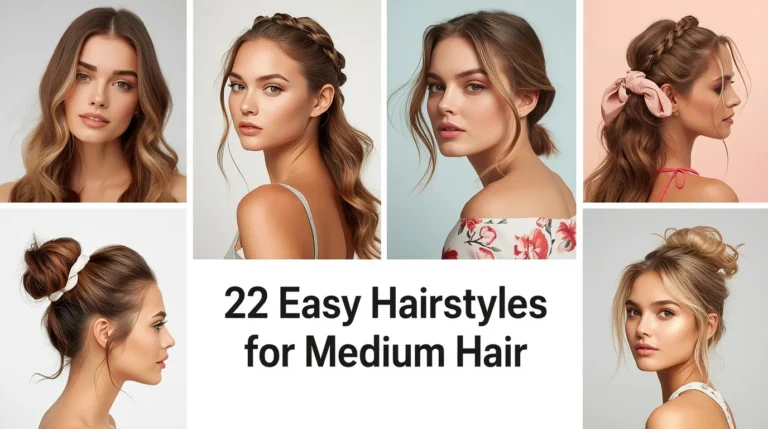
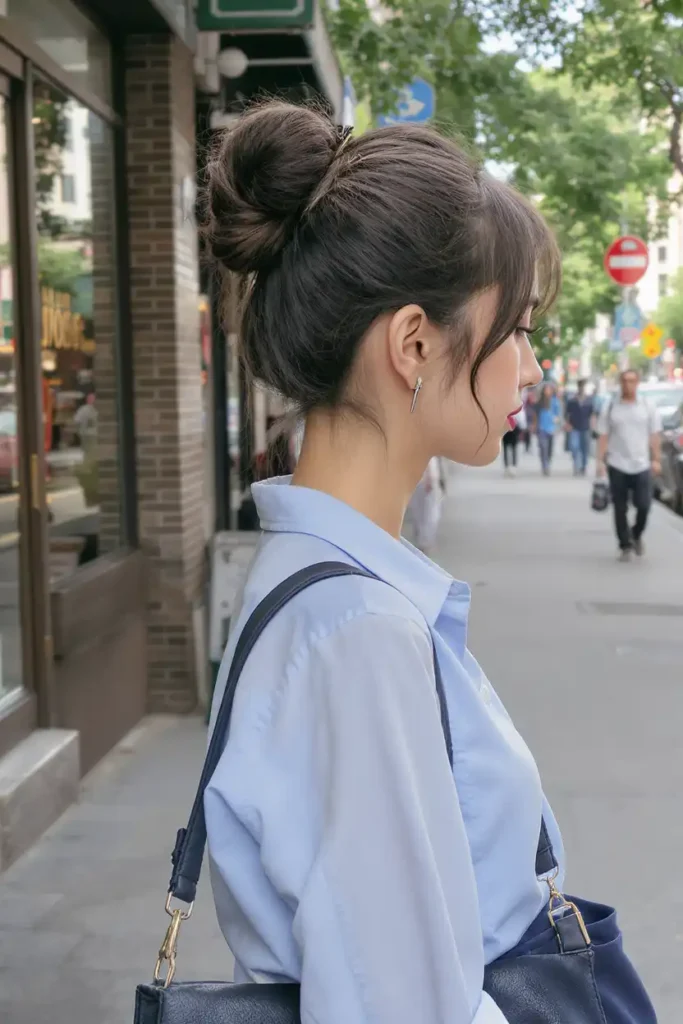
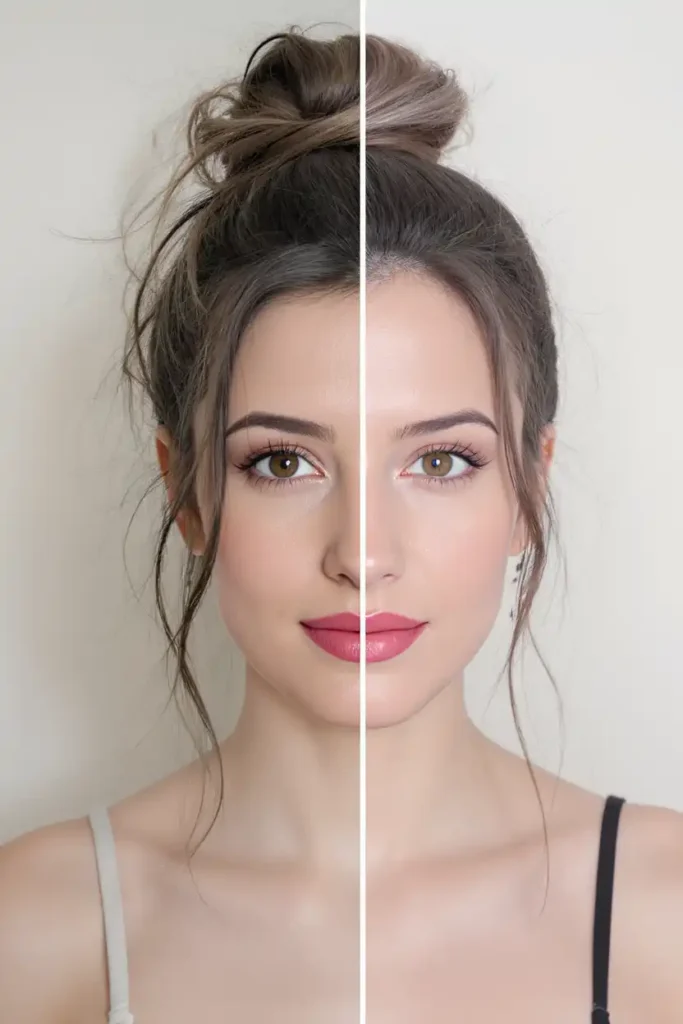
21 High Bun Hairstyle Trends Dominating Right Now
Not every bun hairstyle works for every hair type, face shape, or occasion. That’s the real problem. You scroll through tutorials, try the look, and it either falls apart or just doesn’t suit you. This list cuts through that. These 21 high bun trends are current, practical, and cover everything from fine hair fixes to natural hair care to runway-inspired styles you can actually recreate at home. Find what works for your hair and wear it with confidence.
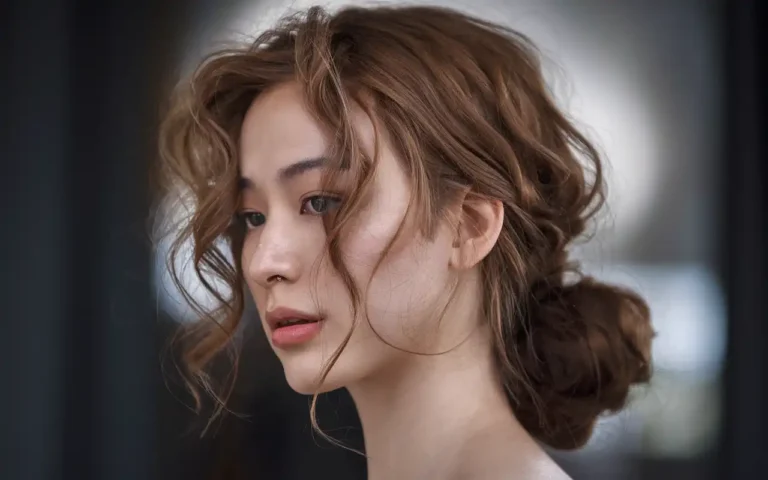
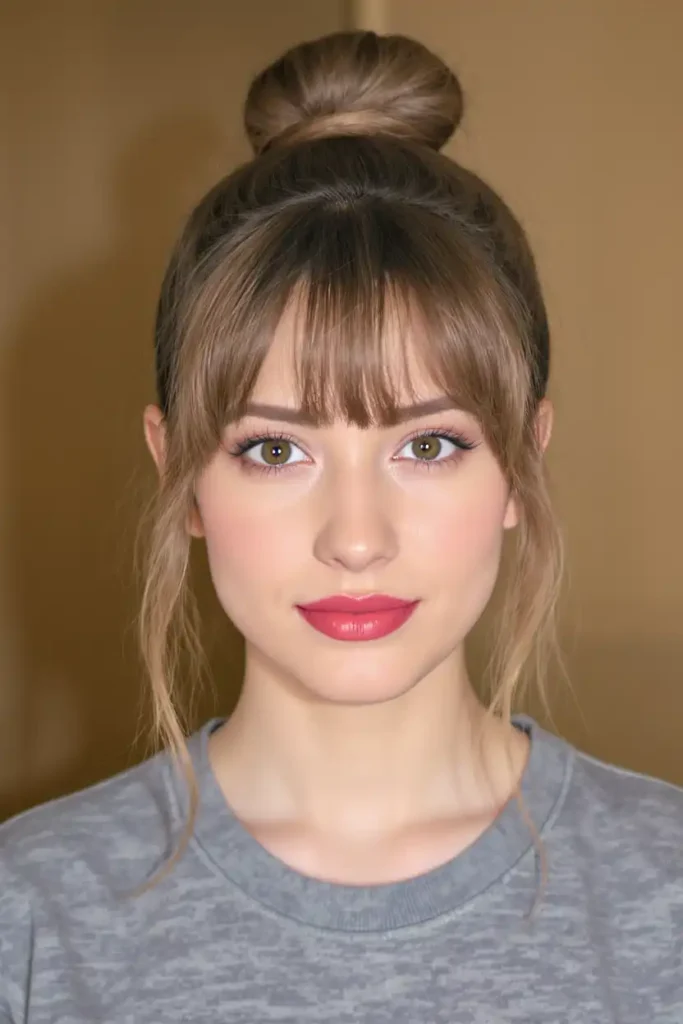
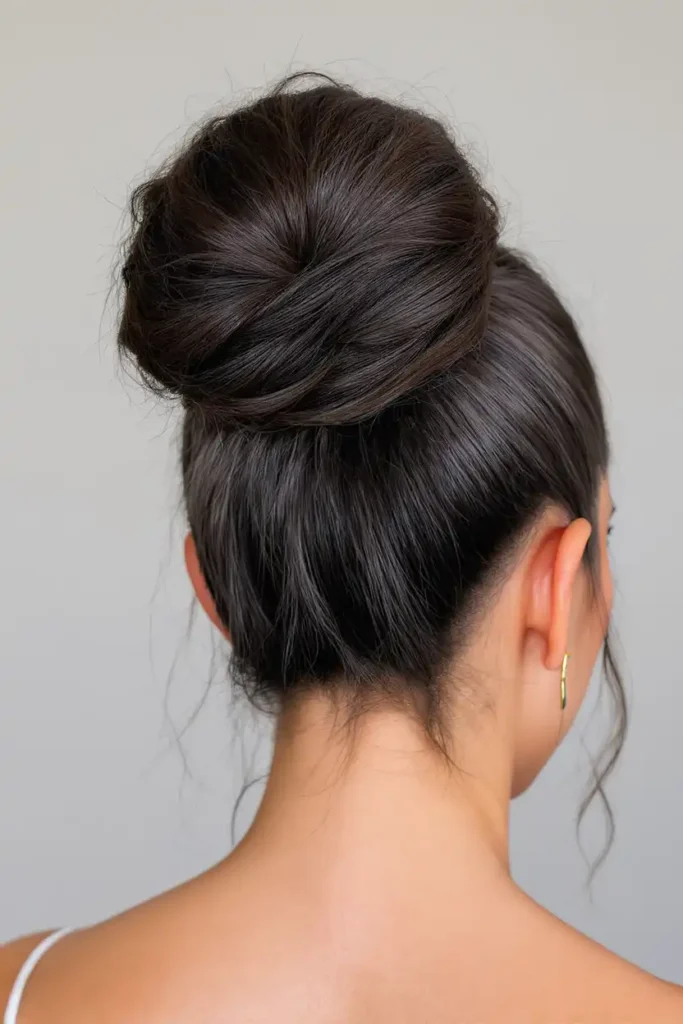
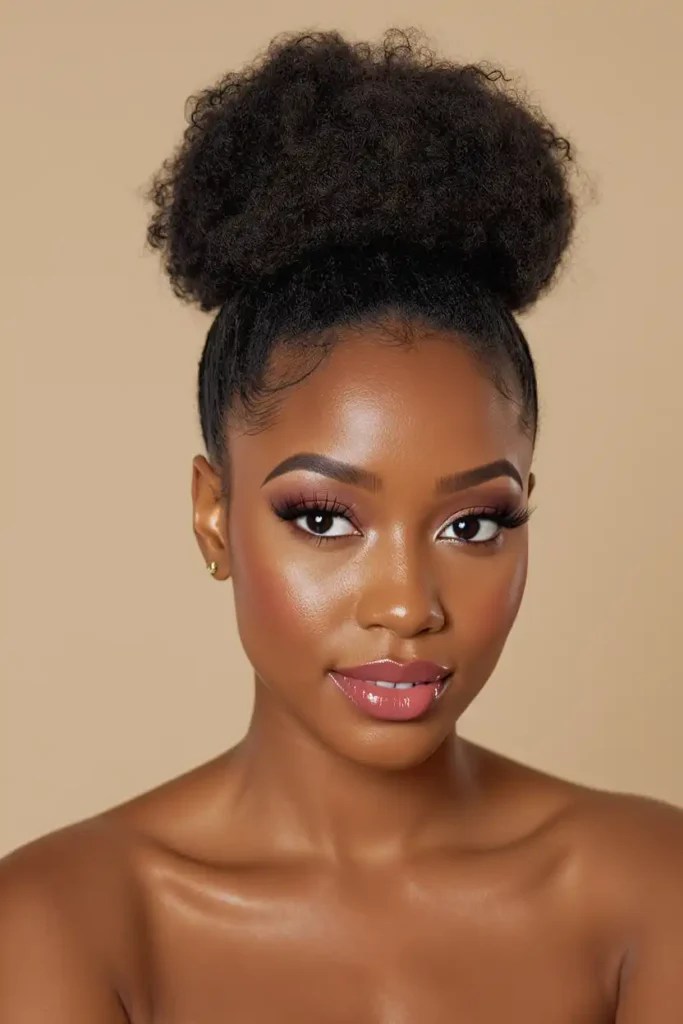
1. The Classic High Bun Hairstyle Everyone Keeps Coming Back To
If you’ve ever stood in front of a mirror with five minutes to spare, this is the style you reach for. The classic high bun sits right at the crown, pulled tight and wrapped clean. It works because it’s predictable in the best way.
Smooth your hair back with a boar bristle brush before pulling it up. This removes surface frizz without disturbing your natural texture. Secure with a strong elastic, wrap the tail around the base, and pin it flat. No product? A tiny bit of water on a toothbrush handles the baby hairs at your temples.
2. Sleek and Polished High Bun for Work or Formal Settings
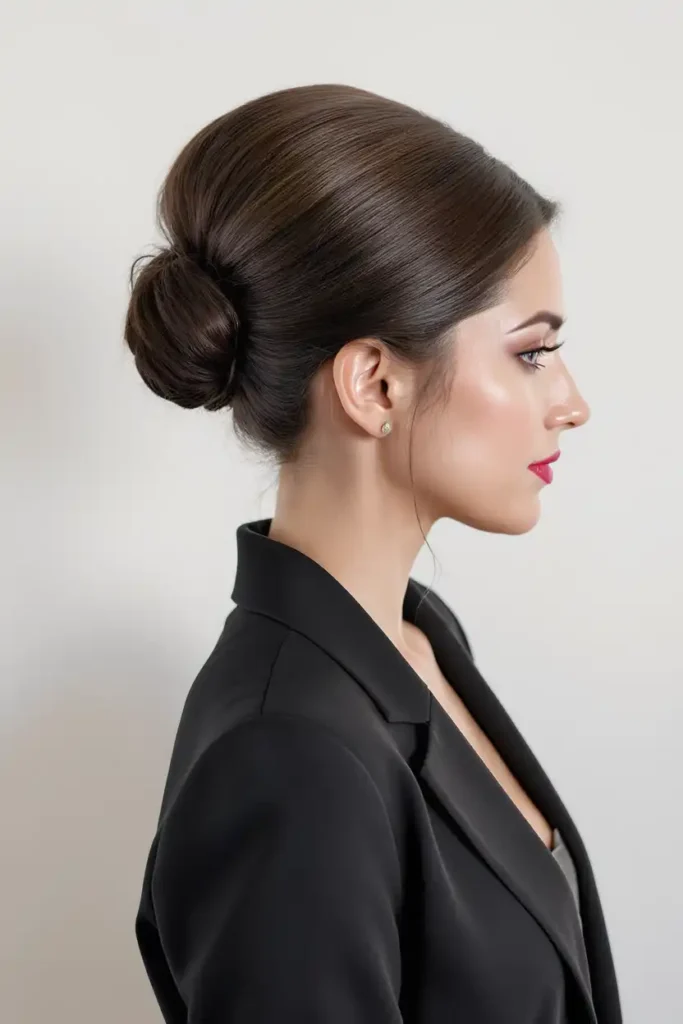
When you need your hair to look intentional and put-together, a sleek high bun does the job without requiring much time. It reads professional, keeps hair off your face, and pairs well with anything from a blazer to a gown.
Apply a light-hold gel or edge control to the hairline before pulling back. Use a soft brush to smooth everything toward the crown, then secure tightly. The difference between a polished bun and a messy one is usually just taking 60 extra seconds with a brush. Wrap the ends neatly, pin them under, and finish with a light-hold spray to keep it in place through a full workday.
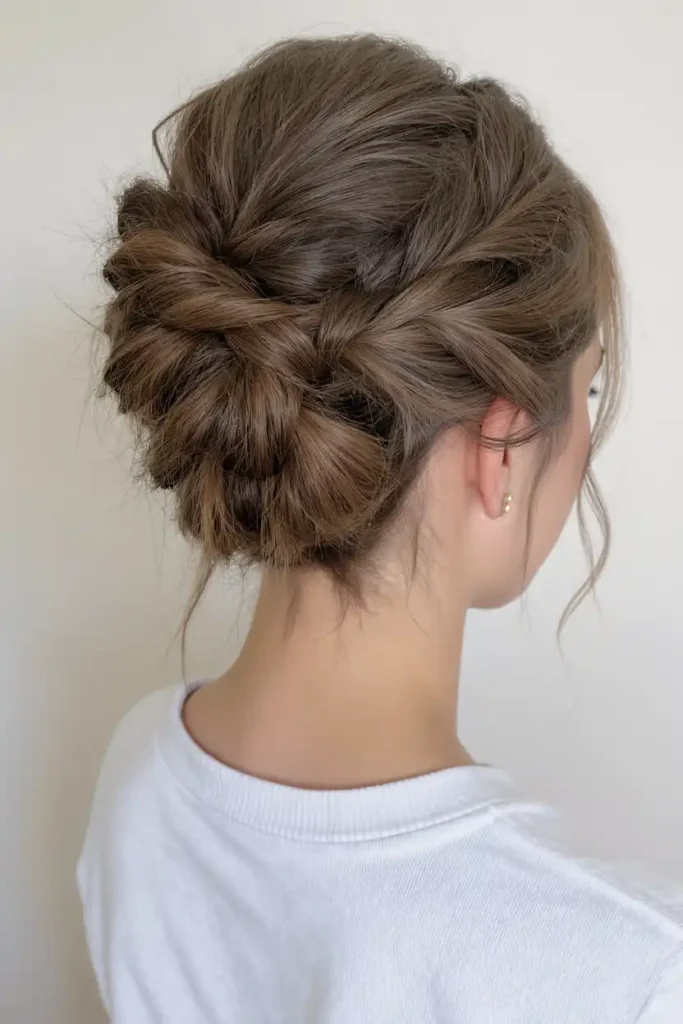
3. Messy High Bun That Actually Looks Intentional
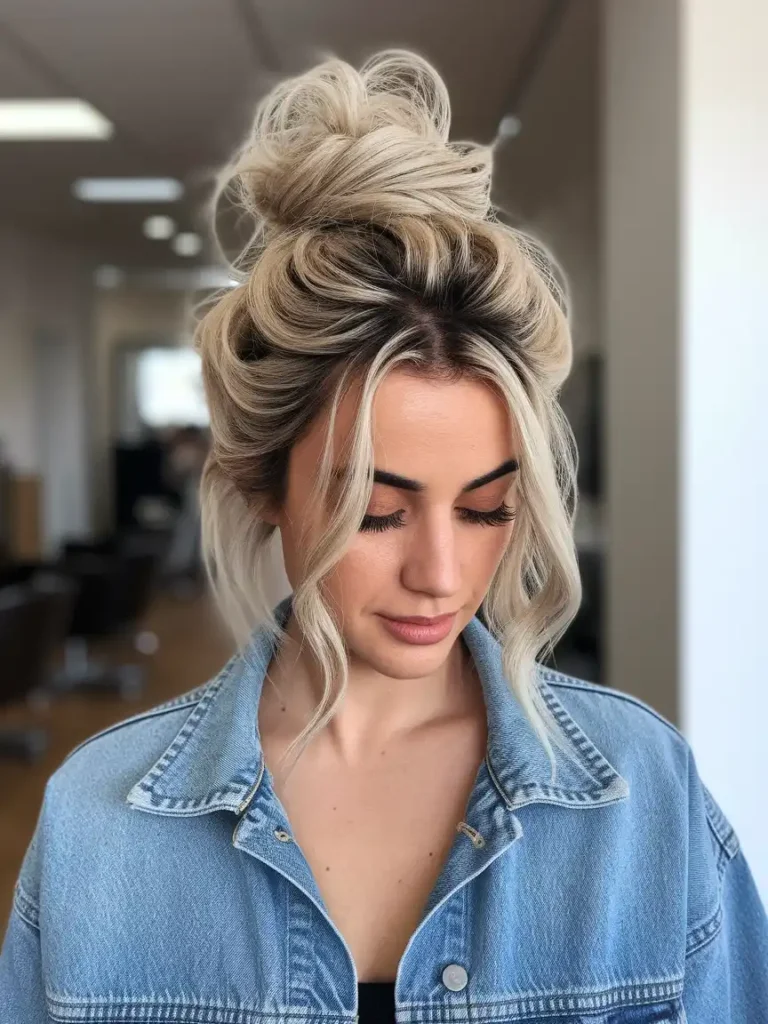
The messy high bun gets a bad reputation because most people pull it too tight at first, then yank pieces out randomly. That’s what makes it look accidental instead of styled. The trick is building the looseness in from the start.
Gather your hair loosely before tying it, not after. Once secured, gently pull small sections from the bun outward to create volume and softness. Pull a few pieces down at the temples and nape. Use a texturizing spray before you start if your hair is fine or slippery. This gives each strand something to grip so the style actually holds for more than an hour.
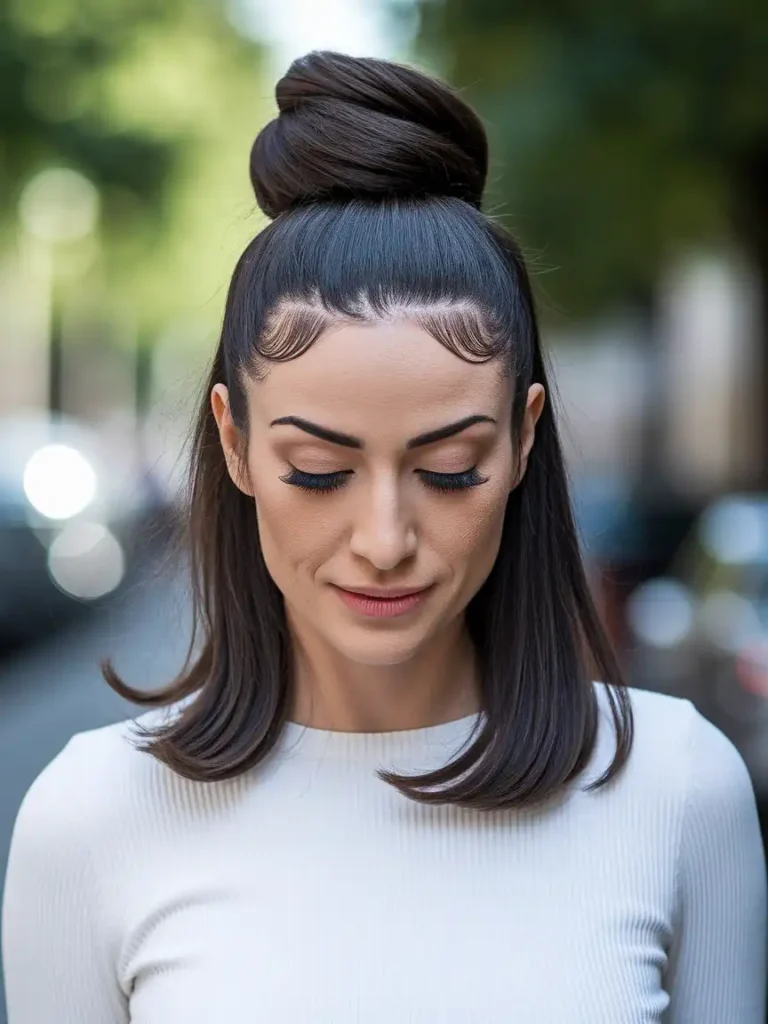
4. High Bun With Curtain Bangs for a Softer Look
If your high bun feels too severe or makes your face look too exposed, curtain bangs solve that immediately. They soften the forehead and break up the all-pulled-back effect without adding complexity to your routine.
You don’t need a fresh haircut to try this. If you already have layers around your face, pull your hair back and let the shortest pieces fall forward. Curl them slightly inward with a small barrel iron for that soft, lived-in drape. The bun stays high and tight while the bangs do the work of making the whole look feel less harsh. Works especially well on oval, round, and heart-shaped faces.
5. High Bun on Natural Hair Without the Damage
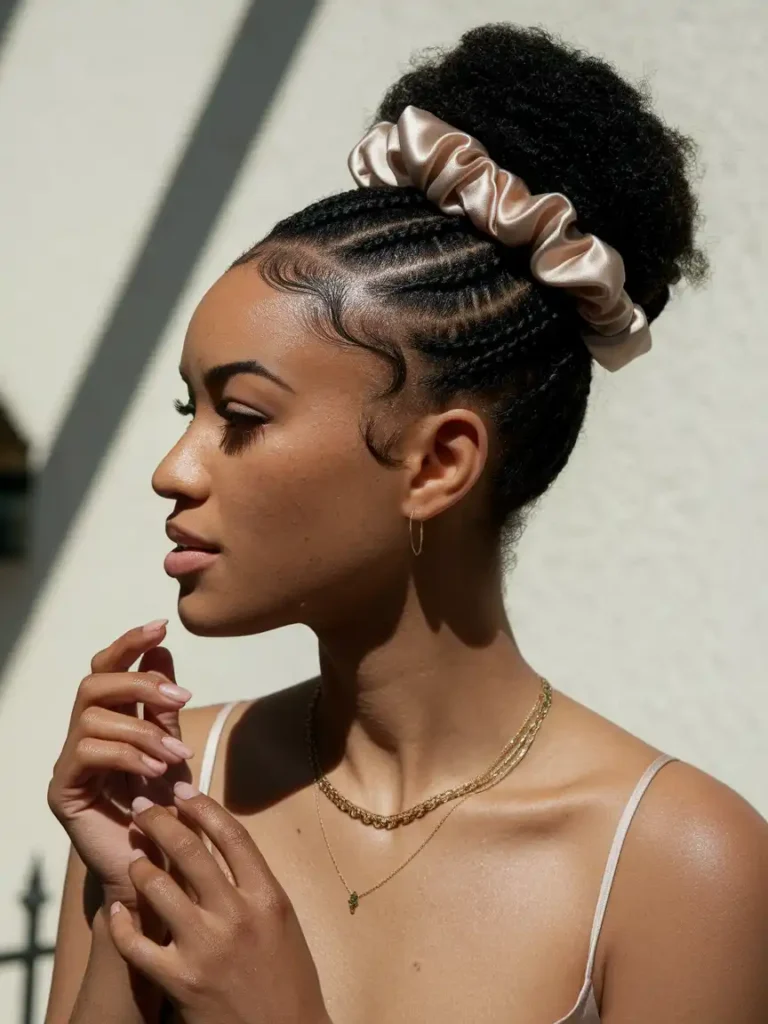
Pulling natural hair into a high bun daily causes breakage at the hairline and nape, especially if you’re using regular elastics or pulling on dry hair. That’s a real problem that adds up over time.
Here’s how to protect your hair while still wearing this style:
- Always stretch or moisturize your hair before pulling it up
- Use a satin or silk scrunchie instead of a rubber band
- Avoid placing the elastic in the exact same spot every day
- Take the bun down at night and sleep on a satin pillowcase or bonnet
Rotating the position slightly, even half an inch, reduces tension damage over weeks of wear. Your edges will thank you.
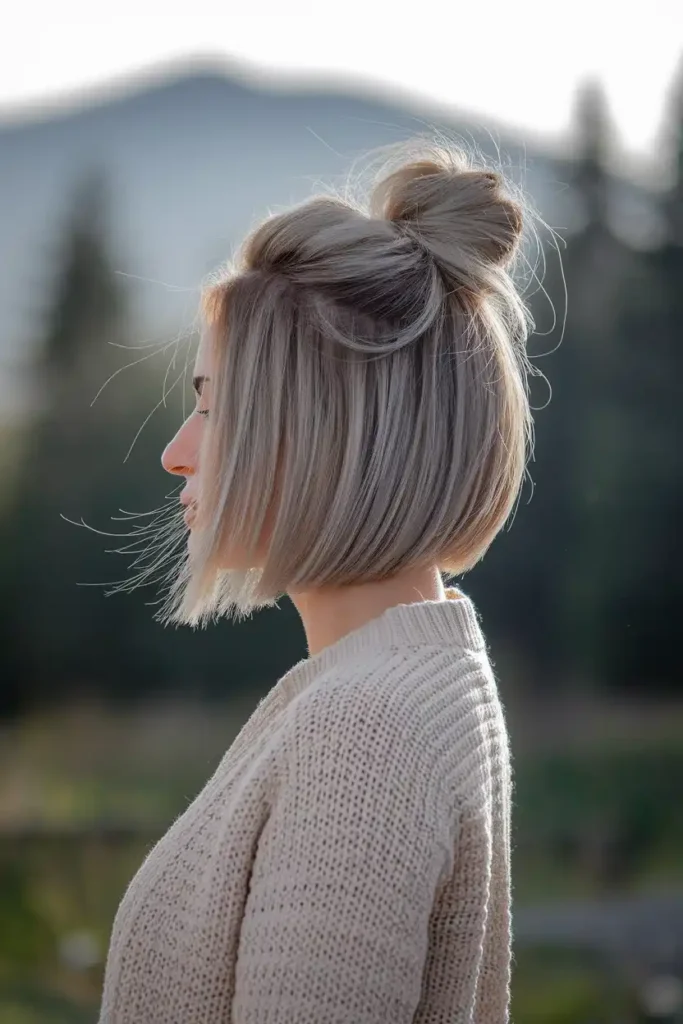
6. Half-Up High Bun for When You Want Hair Down Too
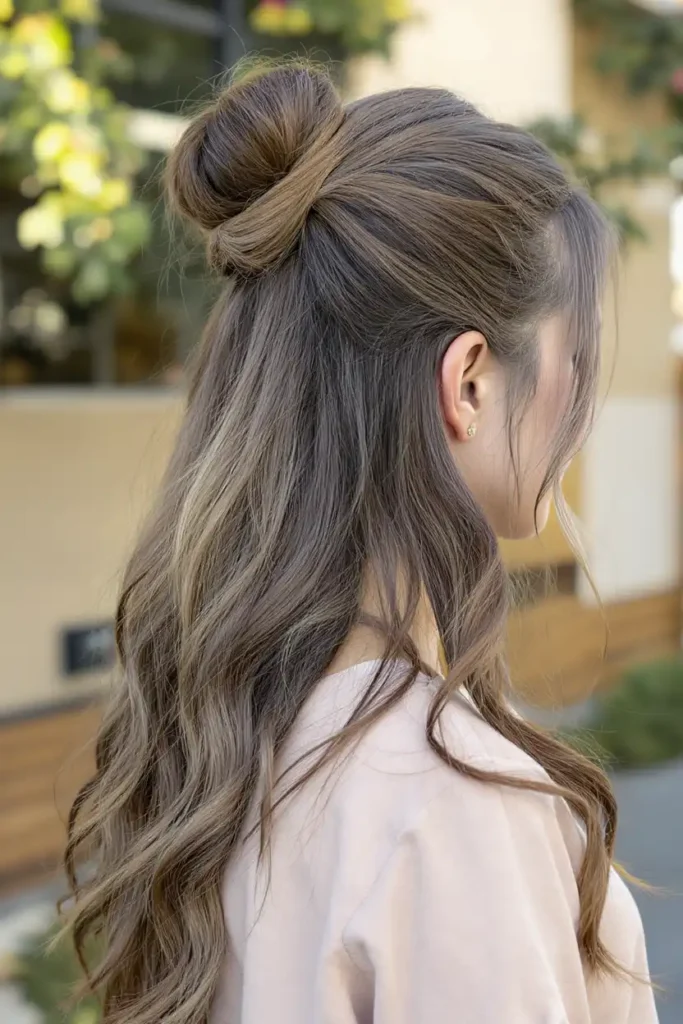
You want your hair up but you also want the length visible. The half-up high bun is a direct answer to that. It gives you structure at the crown and movement below, and it takes under three minutes.
Section off the top half of your hair from ear to ear, gather it at the crown, and tie it into a bun. The key is making sure the bun sits high enough to look intentional, not like it slipped. Leave the bottom half natural or add a few loose curls for contrast. If your hair is layered, the loose sections will frame your face naturally. One bobby pin on each side of the bun keeps the top section flat and clean.
7. High Bun With a Wrap for a Polished Finish
Leaving the elastic visible is the one detail that makes even a good bun look unfinished. Wrapping a section of hair around the base costs you maybe 30 seconds and changes the entire result.
After securing your bun, pull a small section of hair from the underside of the ponytail before fully tightening the elastic. Once the bun is in place, wrap that section around the base until the elastic disappears. Pin the end underneath with a bobby pin that matches your hair color. This works on straight, wavy, and coily hair types. If your hair is too short for a full wrap, a thin ribbon or hair coil in a matching color works just as well.
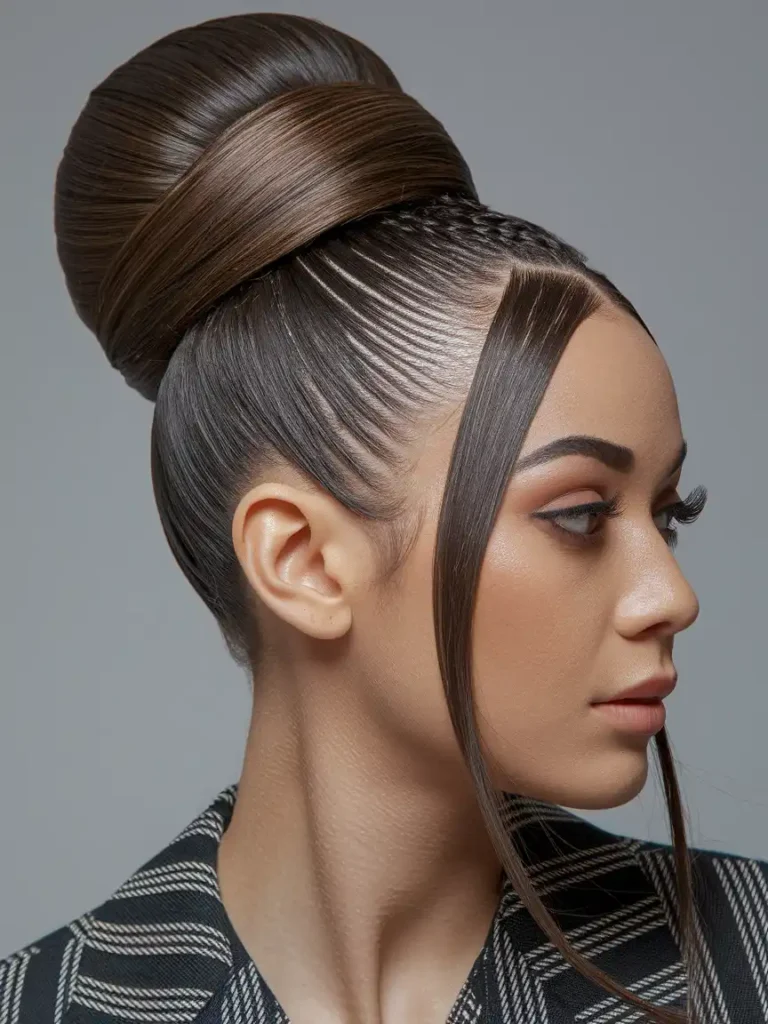
8. Braided High Bun for Texture and Interest
A plain bun can feel repetitive. Adding a braid into the structure gives the same updo a different finish without learning a new style from scratch.
Before wrapping your ponytail into a bun, braid the entire length of it. A simple three-strand braid works. Then coil the braid around the base and pin it in place. The braid texture shows through the finished bun, especially on the outer edges. For a looser look, gently pull the braid slightly wider before coiling. This style also holds better for longer periods because the braid adds grip that a smooth ponytail doesn’t have.
9. Space Buns: The High Double Bun You’ll Actually Wear
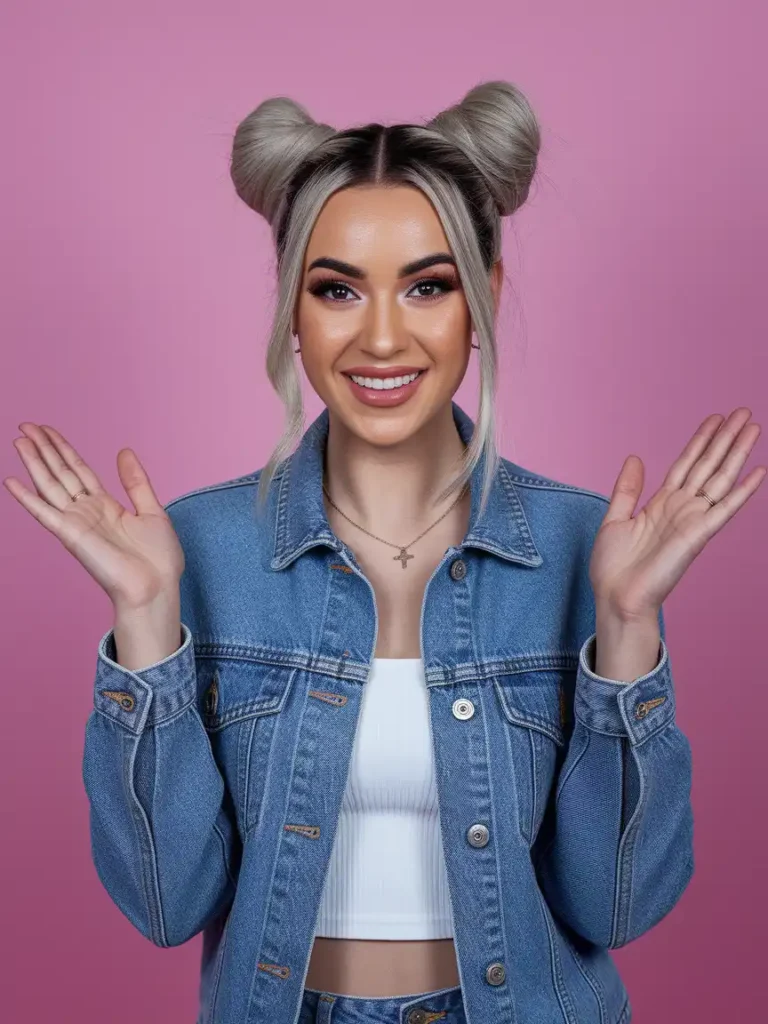
Space buns work far beyond festival season. When done neatly, they read as fun and put-together rather than costumey. The mistake most people make is placing them too far apart or too low, which throws off the symmetry.
Part your hair straight down the center from forehead to nape. Gather each section high on the crown, roughly level with the tops of your ears or slightly above. Secure each side with an elastic and wrap into individual buns. Use a rat tail comb to keep the center part clean. If your hair has different textures front to back, apply a light cream to the roots before parting so both sides cooperate equally.
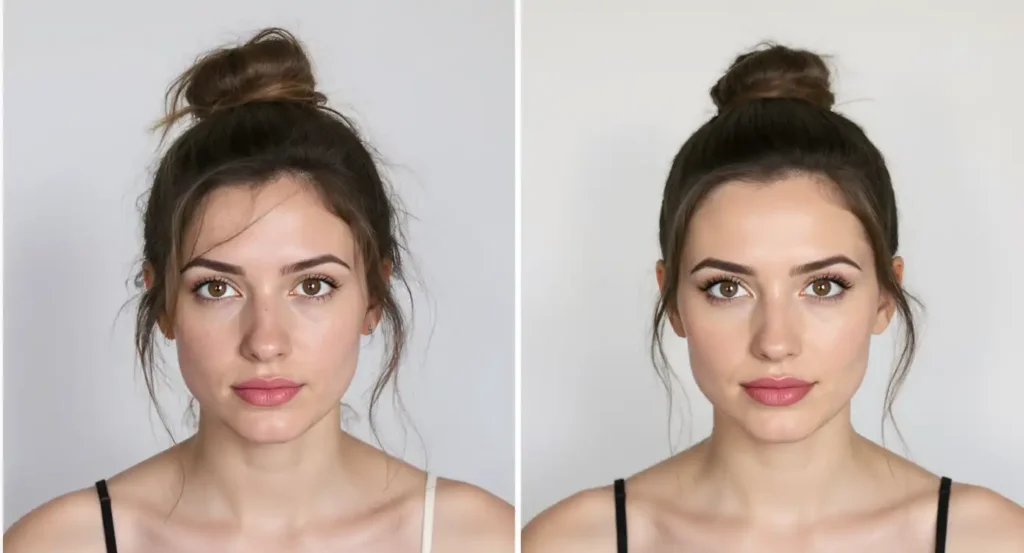
10. High Bun Hairstyle With Baby Hairs Laid and Defined
Your hairline is part of the style. Leaving baby hairs unstyled when everything else is smooth creates an unfinished look that pulls attention for the wrong reason.
Apply a small amount of edge control or light-hold gel to your hairline using a soft toothbrush or edge brush. Work in small sections, laying each piece flat and curving it into a shape rather than just pressing it down. Let it set for two to three minutes before touching it. A light mist of hairspray over the finished edges locks them in place for hours. This step takes three minutes and makes the entire updo look twice as deliberate.
11. Top Knot vs. High Bun: Understanding the Difference
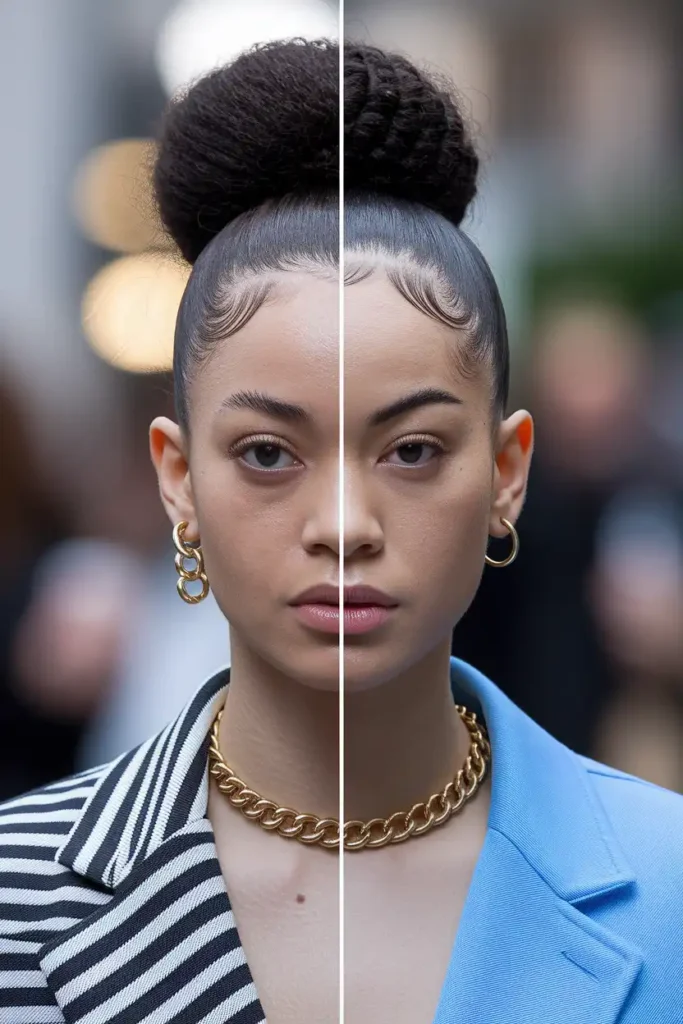
People use these terms interchangeably but they’re different silhouettes. A top knot sits at the very peak of the head and tends to be compact. A high bun sits at the crown, slightly behind the hairline, and is typically fuller and more rounded.
Knowing which one suits you matters because face shape plays a role. A top knot adds height and works well on rounder faces. A fuller high bun adds volume at the back of the head, which works better on longer or more angular faces. Neither is universally flattering. Try both and look at the full profile, not just the front, before deciding which one becomes your go-to.
12. Quick High Bun for Bad Hair Days

Second-day hair is often the hardest to style because it’s flat at the roots and unpredictable everywhere else. A high bun is the most reliable solution, but only if you work with the texture instead of against it.
Don’t try to brush second-day hair smooth before pulling it up. The friction causes frizz and breakage. Instead, use dry shampoo at the roots, let it absorb for 60 seconds, then scrunch the lengths lightly to revive any texture. Pull the hair back loosely, gathering it into a high bun without over-tightening. A slightly looser bun on second-day hair looks more intentional than a tight one that shows every bump and inconsistency.
13. High Bun Styles That Work for Short Hair
Short hair can absolutely go into a high bun. It just looks different, and that’s fine. The issue is that most tutorials assume shoulder-length or longer hair, so short-haired readers give up before they try.
If your hair reaches your chin or slightly above, gather everything to the crown and secure it. Some pieces will fall out, and that’s part of the style. Pin any shorter layers back with bobby pins that match your hair color. A small bun on short hair looks deliberate and modern when you keep the edges smooth. Add a thin headband or scarf behind the hairline to give the style more structure and prevent the bun from collapsing throughout the day.
14. High Bun With Accessories That Upgrade the Whole Look
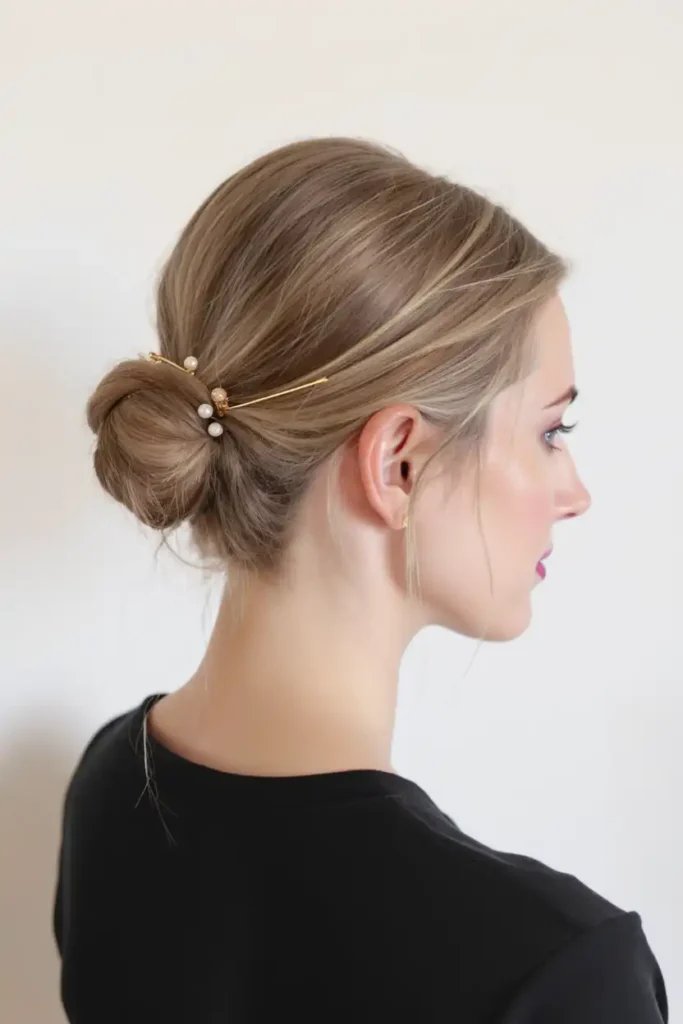
Accessories change what a high bun communicates. The same bun you wear to the gym, when finished with a few pearl pins or a silk scarf, becomes appropriate for a dinner or event.
Keep the rule simple: one accessory at a time. A single hair cuff wrapped around the base, two or three decorative pins placed at even intervals around the bun, or a thin ribbon tied at the elastic. Avoid clustering too many pieces together because it looks heavy rather than intentional. For events, metal accessories with a warm or gold tone photograph well and add polish without looking overdressed. Buy a small set of bobby pins in a color matching your hair and keep them in your bag.
15. Voluminous High Bun for Fine or Thin Hair
Fine hair falls flat in a bun fast. Twenty minutes after you styled it, the volume is gone and the bun looks deflated against your head. This is a texture problem, and it has a direct fix.
Use a bun donut or foam ring that matches your hair color. Place it over your ponytail, spread the hair evenly over the ring, tuck the ends underneath, and secure with pins. The ring does the structural work. For even more volume, lightly backcomb the ponytail before placing it over the ring. A light-hold texturizing spray applied before you start gives fine strands something to grip so the finished bun keeps its shape for the rest of the day.
16. High Bun on Thick Hair Without the Headache
Thick hair in a high bun creates a different problem than fine hair. It gets too heavy, the elastic snaps, the bun droops by midday, and the base feels like a rock on your head. Most thick-haired people just use more pins and hope for the best.
Instead, split your ponytail into two sections before wrapping. Coil the first section clockwise around the base, pin it. Then coil the second section over the first, in the same direction, and pin again. Two coils, layered and pinned separately, distribute the weight more evenly than one large coil. Use two elastics stacked at the base for extra hold. This method keeps the bun sitting high even after several hours of wear.
17. High Bun With Loose Tendrils for a Romantic Look
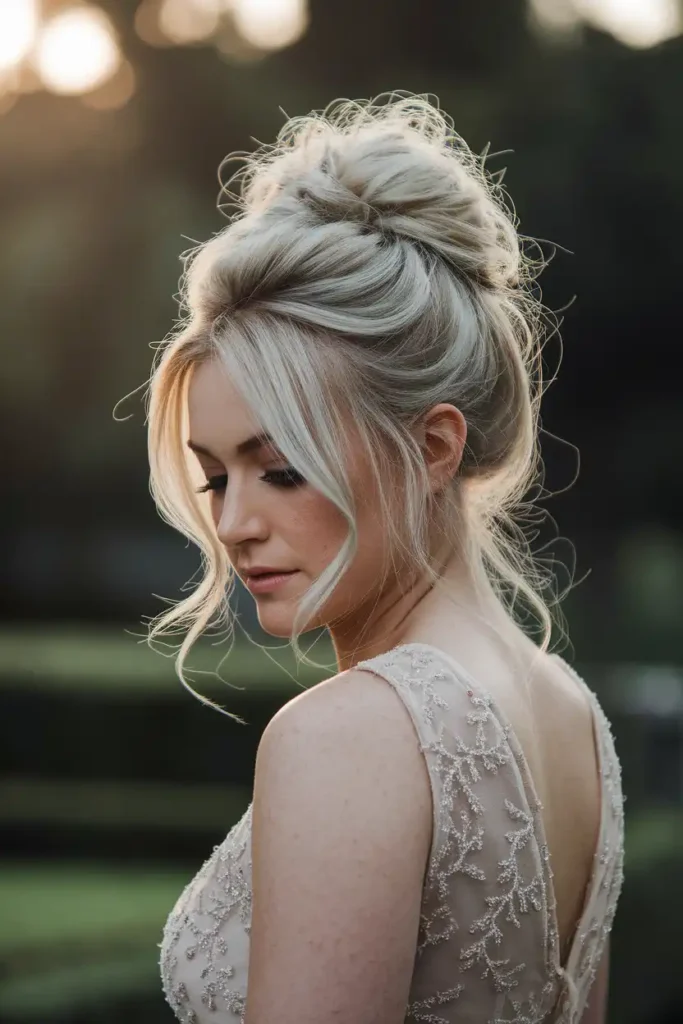
A tight, severe bun works for some occasions and completely misses on others. When you want the style to feel softer, pulling a few pieces loose around the face and neck changes the tone of the whole look.
Pull out pieces before the bun dries or sets, not after. Trying to pull pieces from an already-finished bun causes frizz or disturbs the structure. Instead, identify two or three sections at the temples and one at the nape, leave them out of the elastic intentionally, and curl them with a small-barrel wand after the bun is done. Wrap each piece loosely around the barrel for five seconds. Don’t brush them out afterward. The curl softens as it cools and gives you that natural, relaxed shape.
18. High Bun for Curly Hair That Preserves Your Curl Pattern
Pulling curly hair into a high bun on dry, unprepped hair causes frizz, loses the curl definition, and can cause breakage at the hairline. The preparation before the style matters more than the styling itself.
Apply a leave-in conditioner or light curl cream to damp hair and let it partially dry before gathering into the bun. This preserves the curl pattern so the bun has texture rather than frizz. Use a scrunchie with a wide band to avoid creating a crease. If your hair is fully dry, spritz with water and a tiny amount of conditioner before pulling it up. Pineappling your hair at night (gathering it loosely at the top with a scrunchie before bed) also protects the curl pattern so your next-day bun starts with better texture.
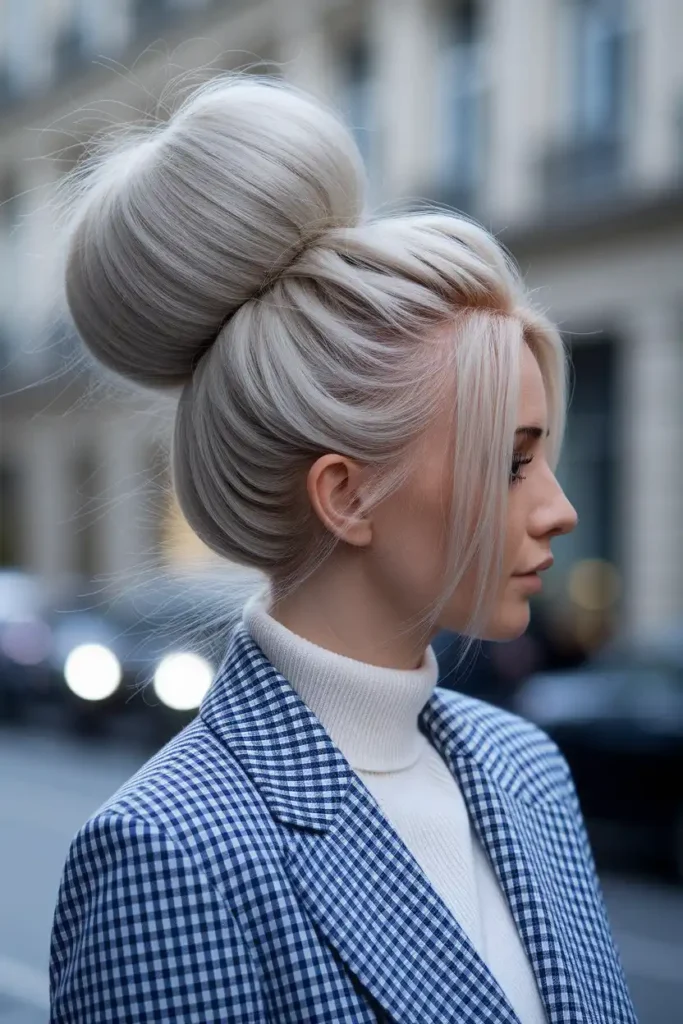
19. High Bun Trends Seen on Runways and Street Style

Runway high buns in recent seasons have leaned toward height and structure. You’re seeing extra-tall buns that sit well above the crown, sculpted shapes with visible directional wrapping, and buns paired with slicked-back sides for contrast.
You don’t need a stylist to try these. For a taller bun, backcomb the ponytail before wrapping and use a foam donut positioned higher than usual. For slicked sides, apply gel from the hairline back toward the bun and smooth with a brush before it dries. The street style version of these trends is more wearable than the runway version, so take the concept, not the exact execution, and adapt it to your hair type and daily life.
20. How to Keep a High Bun in Place All Day
A bun that falls apart by noon is usually a pinning problem, not a hair problem. Most people use two or three bobby pins when they need six to eight, and they place them all in the same direction.
Here’s what actually keeps a high bun in place:
- Use at least 6 to 8 bobby pins for medium to thick hair
- Insert pins in alternating directions, crossing them in an X pattern for stronger hold
- Push each pin into the bun and then back down into the elastic for maximum grip
- Apply a light-hold hairspray after finishing, not before
- Avoid touching or adjusting the bun throughout the day
Touching it repeatedly is the fastest way to loosen what you’ve already pinned. Set it once, spray it, and leave it alone.
21. High Bun Hairstyle Mistakes and How to Fix Them
Most high bun problems come down to three things: pulling hair back without smoothing it first, using the wrong elastic, and not securing the bun close enough to the base. Small errors compound quickly with this style.
Here are the most common mistakes and their direct fixes:
- Bumpy roots: Brush hair in one direction before gathering. Don’t rake fingers through it.
- Bun sitting too low: Pull the elastic up the ponytail before wrapping, not after.
- Elastic snapping: Use a spiral hair tie or double up with two elastics.
- Bun drooping by noon: Add two more pins crossing in opposite directions at the base.
- Frizzy finish: Smooth the bun with a soft bristle brush and a very light mist of spray after pinning.
Fix one variable at a time so you know exactly what changes the result.
Conclusion:
A bun hairstyle doesn’t have to be complicated to look good. The 21 styles in this list prove that whether your hair is thick, fine, curly, or short, there’s a version that works for you. Pick one, try it this week, and adjust from there. Small tweaks in technique make a real difference. Bookmark this page so you can come back when you need a quick reference before styling.